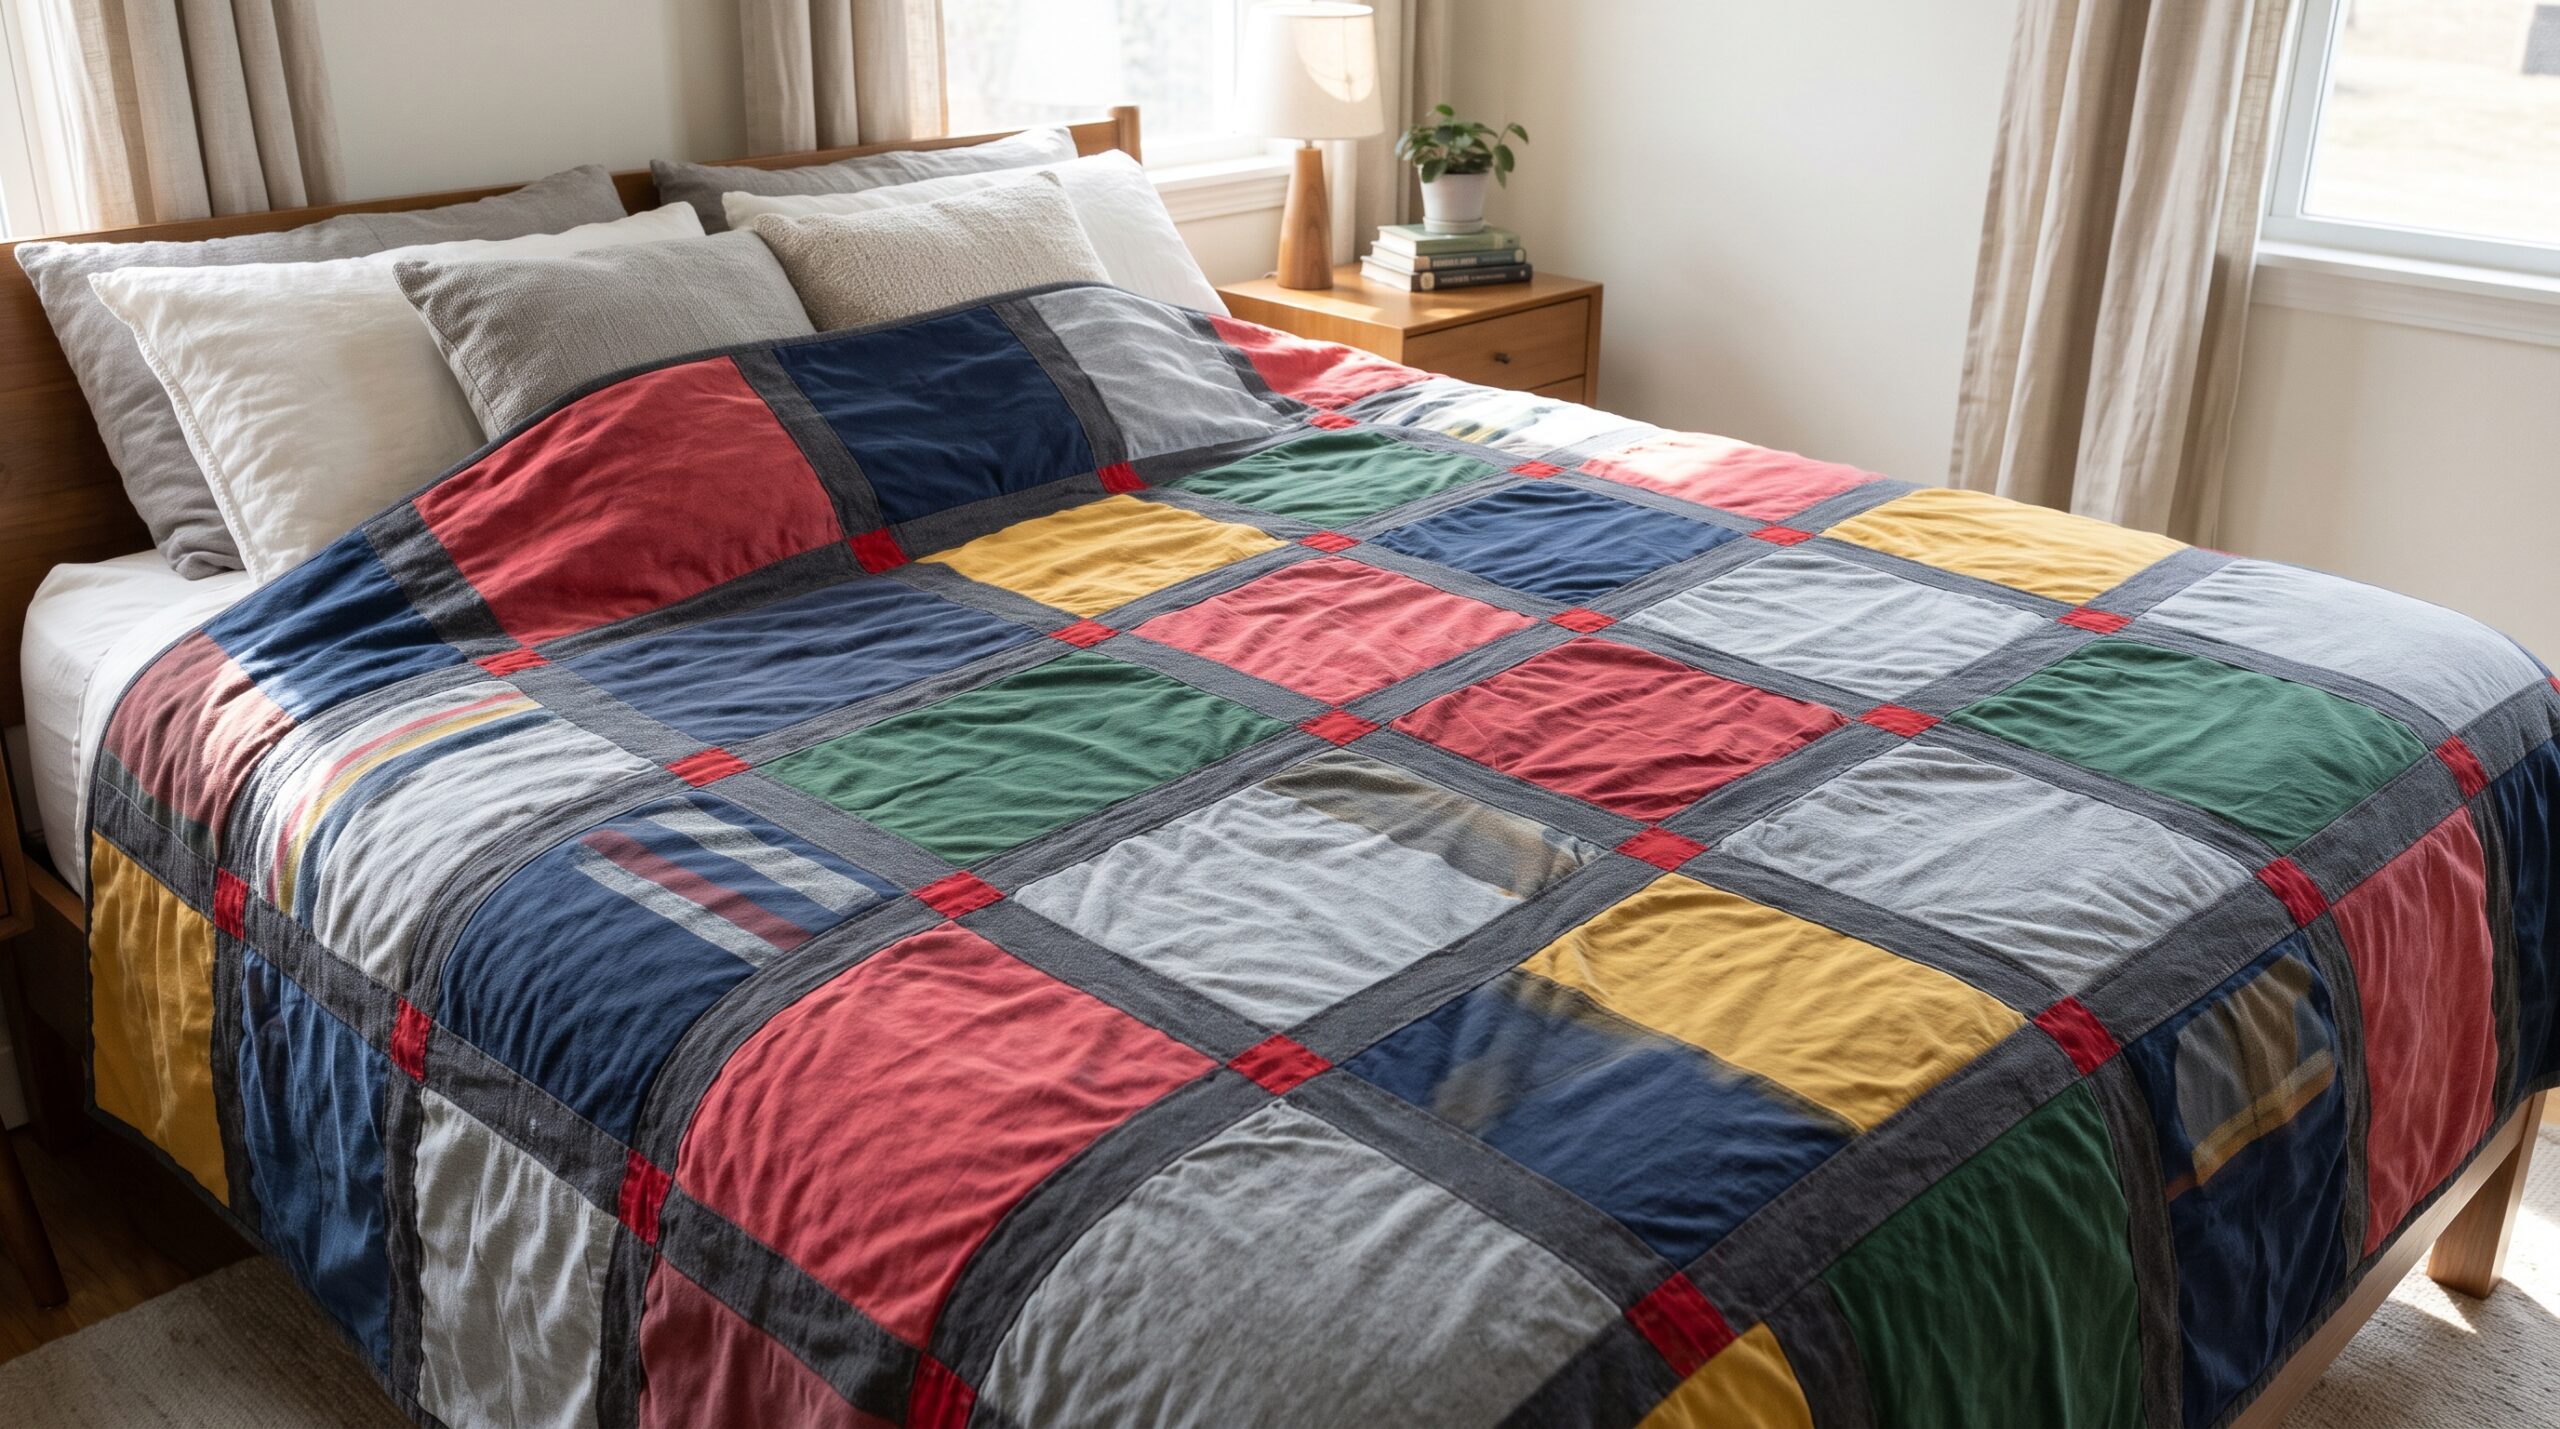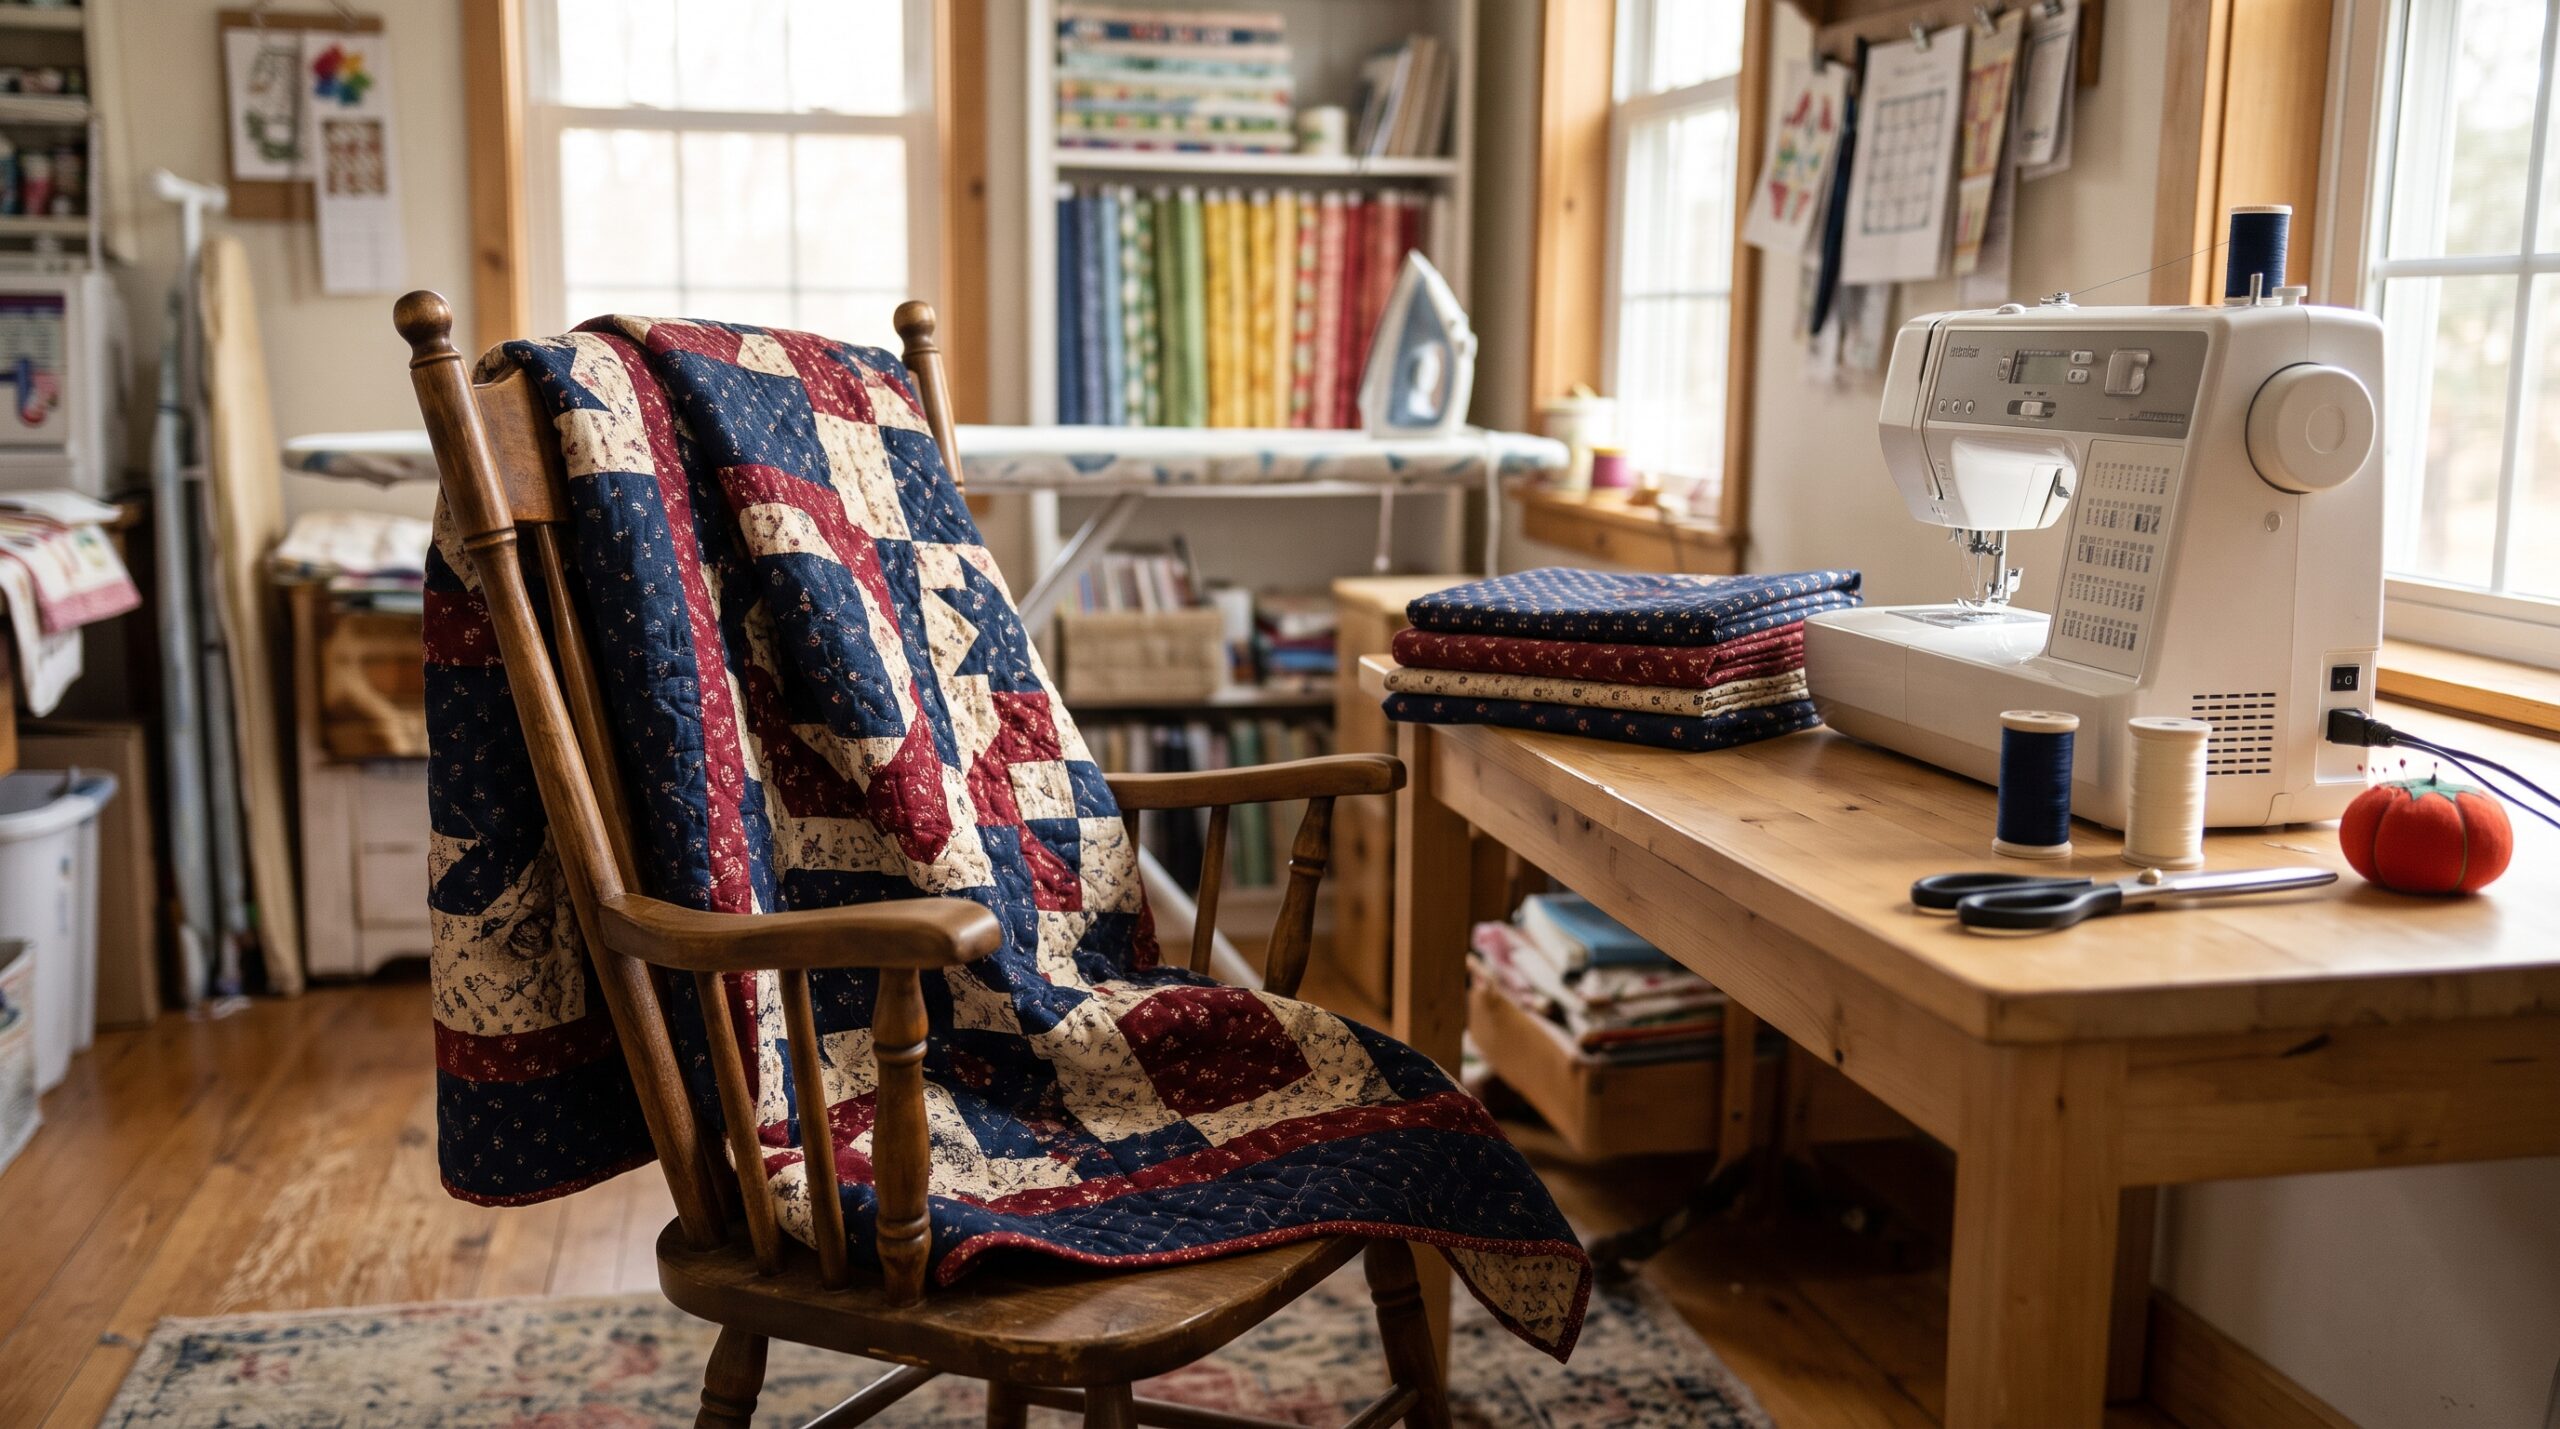
Learning how to make a quilt is easier than it looks. Every quilt, from a simple baby quilt to a king-size heirloom, is made the same way: you sew a quilt top, layer it with batting and backing, quilt the three layers together and finish the edges with binding. This beginner guide walks you through each stage, from choosing a pattern and fabric to the last binding stitch, so you can make your first quilt with confidence.
Quilting supplies for beginners
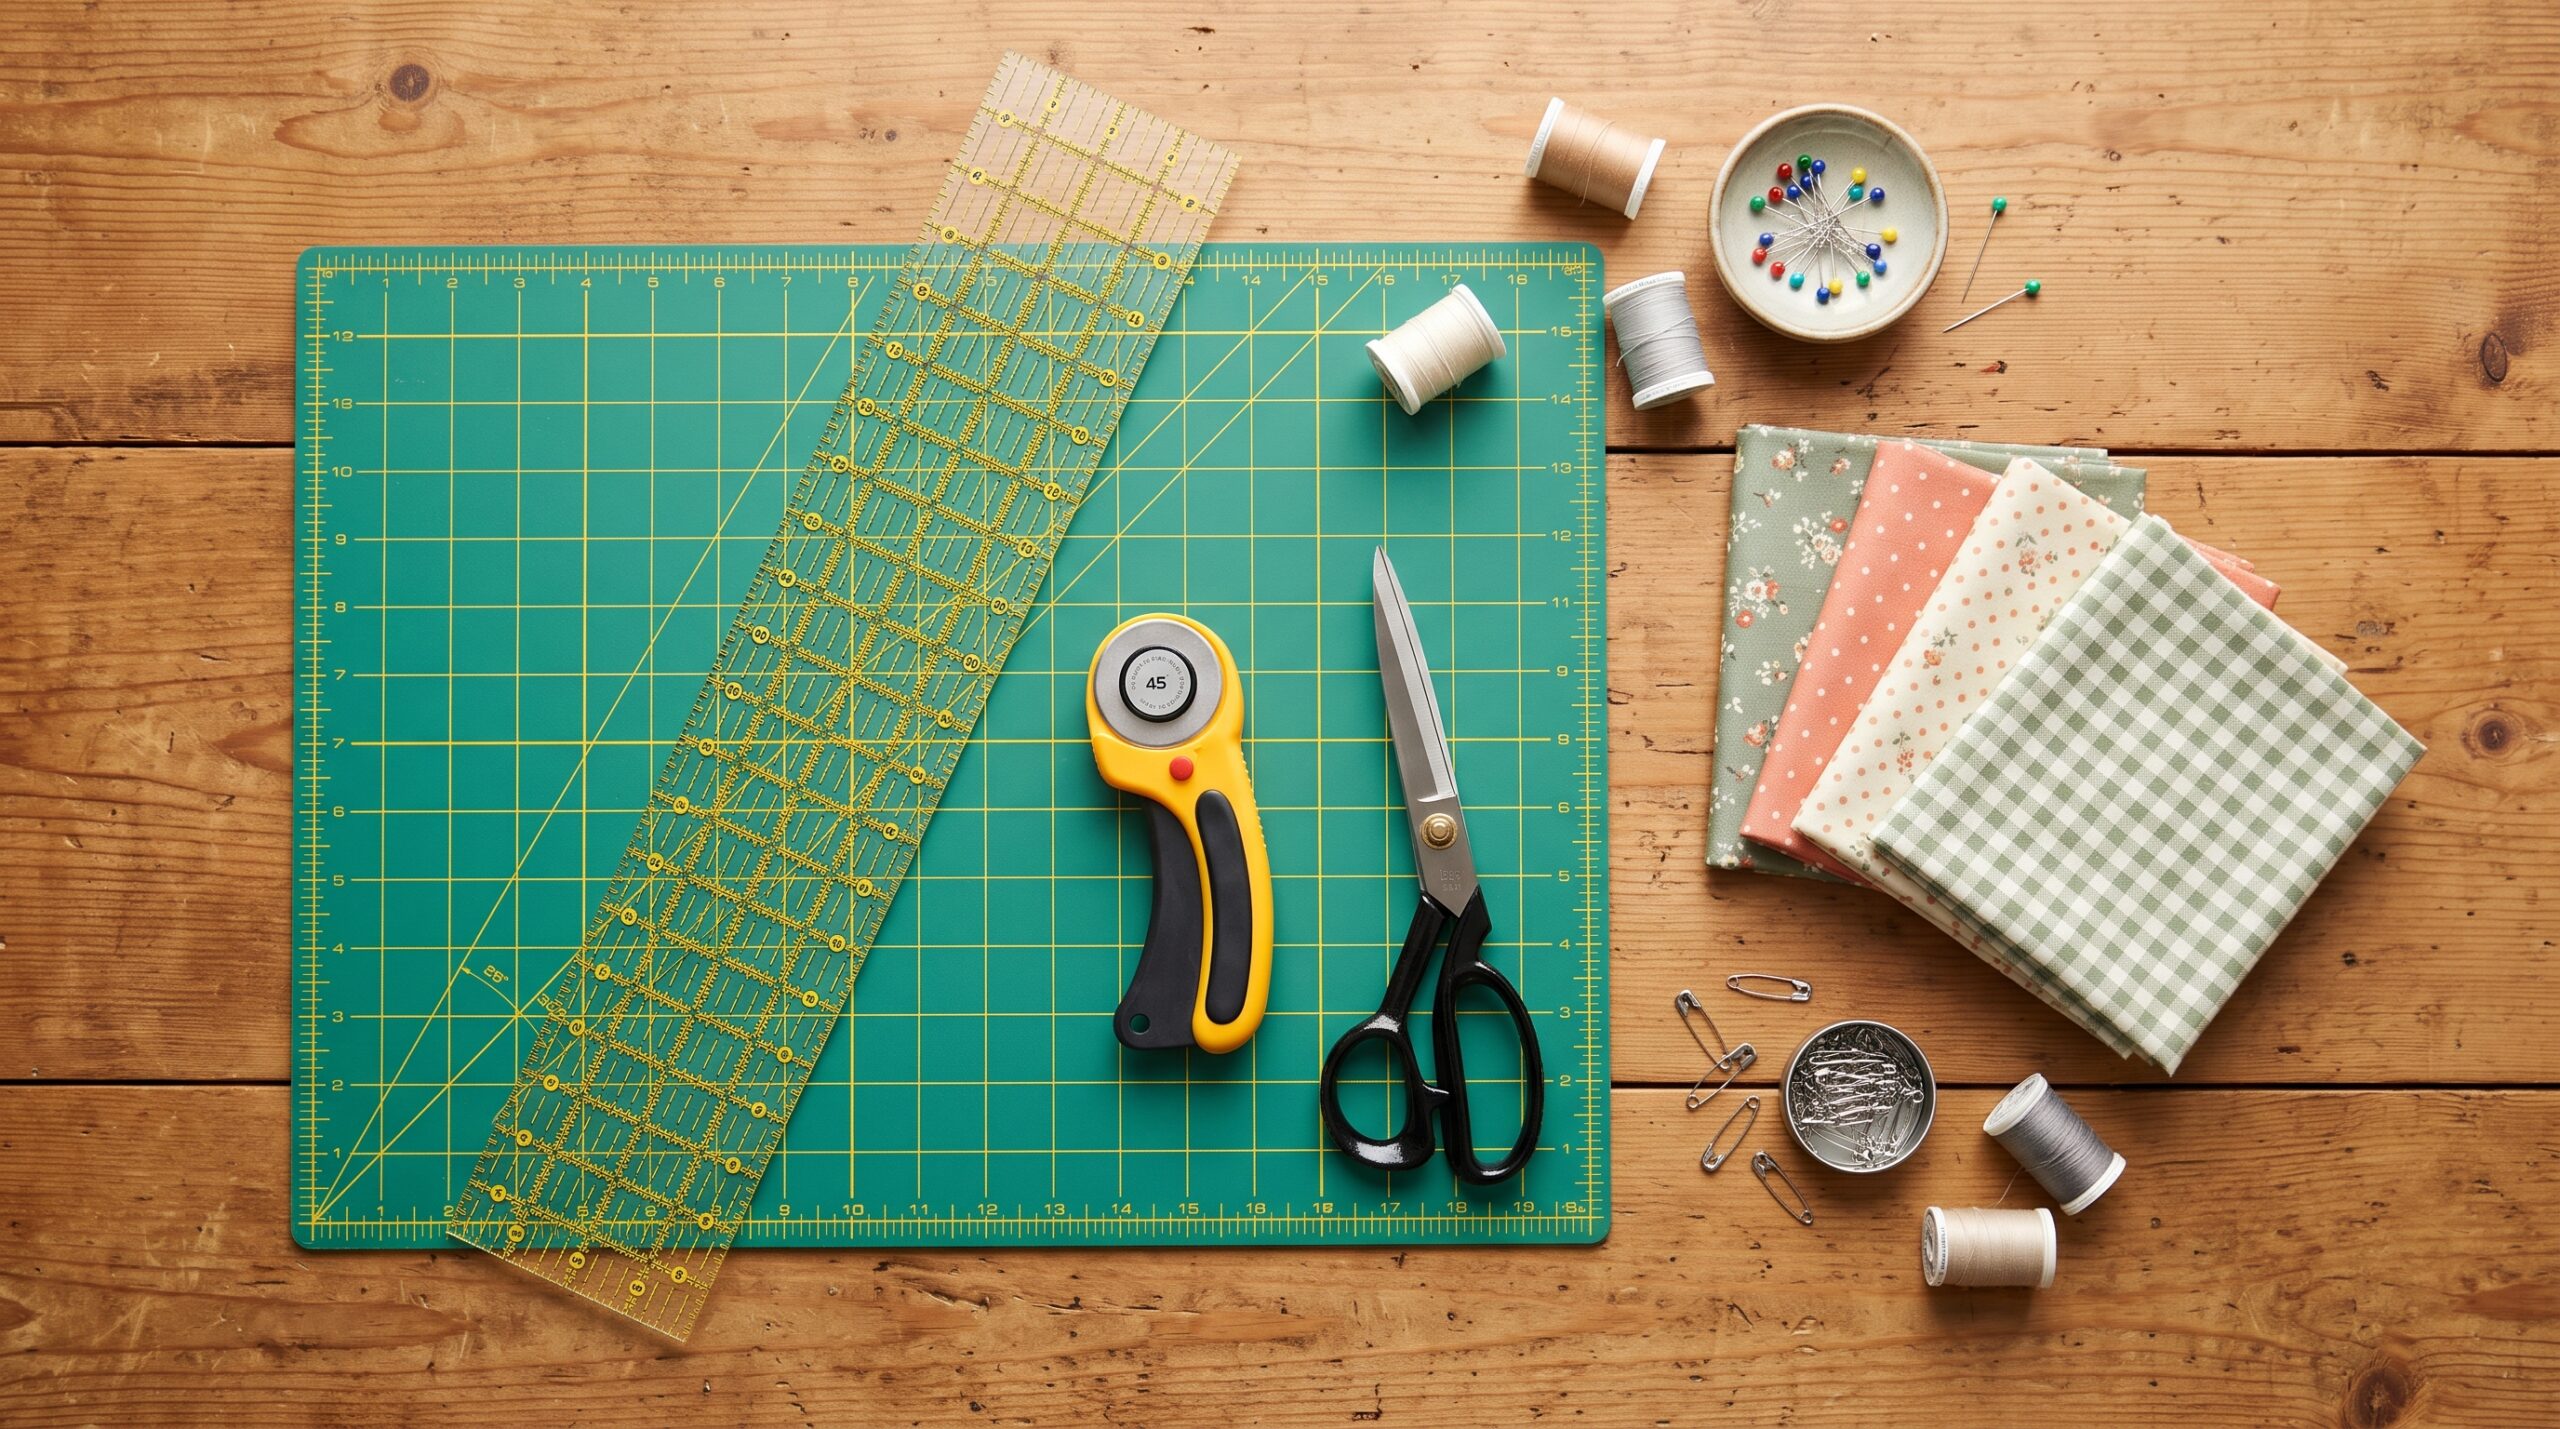
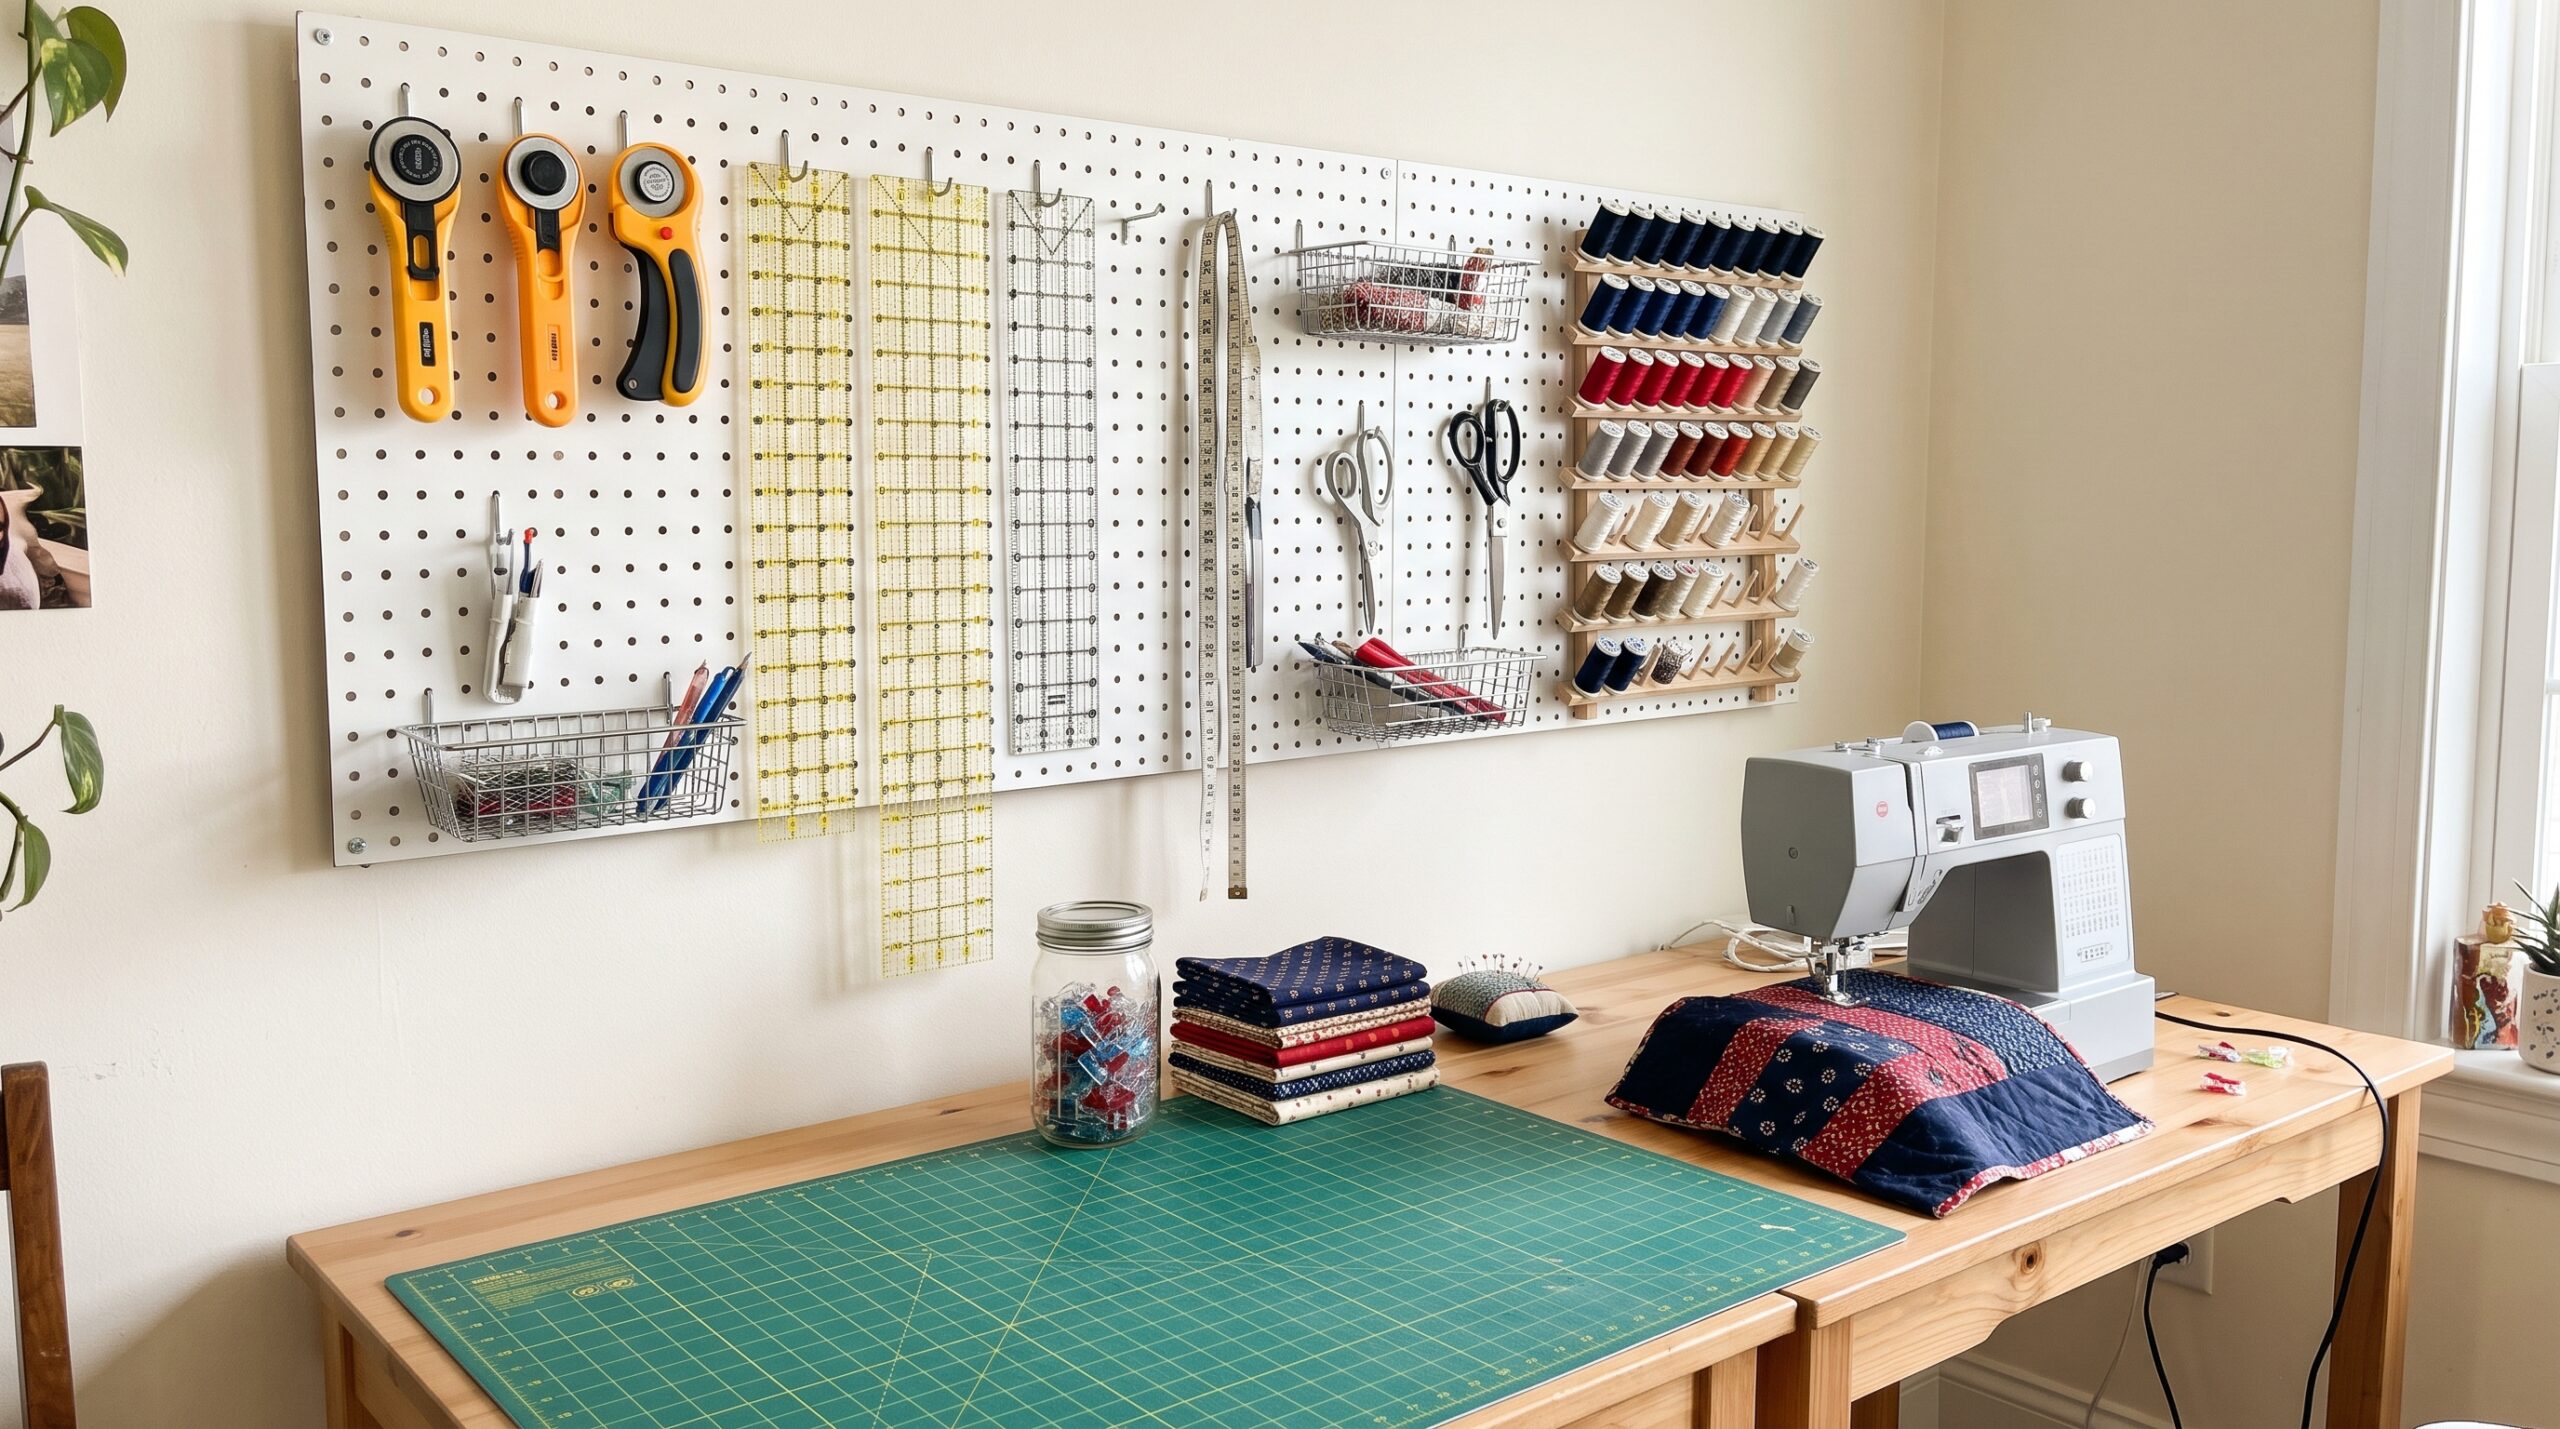
You do not need a dedicated sewing room or expensive equipment to make a quilt. A basic sewing machine and a few cutting tools are enough to start.
| Tool or material | What it is for |
|---|---|
| Sewing machine | Any machine with a good straight stitch. A quarter-inch foot and a walking foot make piecing and quilting easier. |
| Rotary cutter, mat and ruler | Fast, accurate cutting. A 6″ x 24″ acrylic ruler covers most cuts. |
| Quilting cotton | Medium-weight 100% cotton for the quilt top, usually 42″ to 44″ wide. |
| Batting | The soft middle layer. Cotton or a cotton blend is easy to work with for a first quilt. |
| Backing fabric | The bottom layer. Wide backing fabric avoids piecing on larger quilts. |
| Thread | Good-quality cotton or polyester thread in a neutral color such as gray or beige. |
| Iron and pressing surface | Pressing every seam keeps blocks flat and accurate. |
| Pins, clips and safety pins | For matching seams, holding binding and basting the layers. |
| Design wall | A vertical surface for laying out blocks and judging colors before you sew them together. |
Step 1: Choose a quilt pattern and size
For a first quilt, pick a pattern made of squares and rectangles, such as a nine patch, a simple patchwork of squares or a rail fence. These teach the core skills of cutting, piecing and matching seams without tricky angles. Our guide to easy quilt blocks has ten beginner-friendly options.
Next, decide how big the finished quilt should be. A baby or lap quilt is the best size for a first project because it is quick to piece and easy to quilt on a home machine. Check the quilt sizes chart for typical dimensions from baby to king, then work out how many blocks you need.
Step 2: Pick and prepare your fabric
Choose a focus fabric you love, then add coordinating prints and a background. Aim for a mix of light, medium and dark fabrics, because contrast in value is what makes the pattern show. If you are unsure where to start, read how to choose quilt colors.
- Buy a little extra. An extra quarter to half yard of each fabric covers cutting mistakes and shrinkage.
- Prewash or not. Prewashing removes sizing and lets dark or red fabrics release excess dye before they are in the quilt. Many quilters skip it and use a color catcher sheet in the first wash instead.
- Press before cutting. Wrinkles and folds lead to crooked, inaccurate pieces.
Step 3: Cut the fabric
Accurate cutting is the foundation of a quilt that lies flat. Fold the fabric selvage to selvage, square up the edge, then cut strips across the width and subcut them into squares or rectangles.
- Always cut away from your body and close the rotary cutter blade after every cut.
- Line up the ruler markings with the fabric edge, not the lines on the cutting mat.
- Remember that pattern sizes include a 1/4″ seam allowance on every side.
- Label your pieces, especially when several fabrics look alike.
Step 4: Piece the quilt blocks
Piecing means sewing the cut pieces together into blocks. Quilters use a 1/4″ seam allowance, and keeping it consistent is the single most important piecing skill.
- Sew a test seam and measure it. Adjust your needle position or seam guide until it is exactly 1/4″.
- Chain piece by feeding pairs of pieces through the machine one after another without cutting the thread. It saves time and thread.
- Press each seam before crossing it with another. Press toward the darker fabric, or press seams open for flatter blocks.
- Nest the seams at intersections by pressing them in opposite directions, so corners match neatly.
- Square up the blocks so they are all the same size before you join them.
Step 5: Lay out the blocks on a design wall
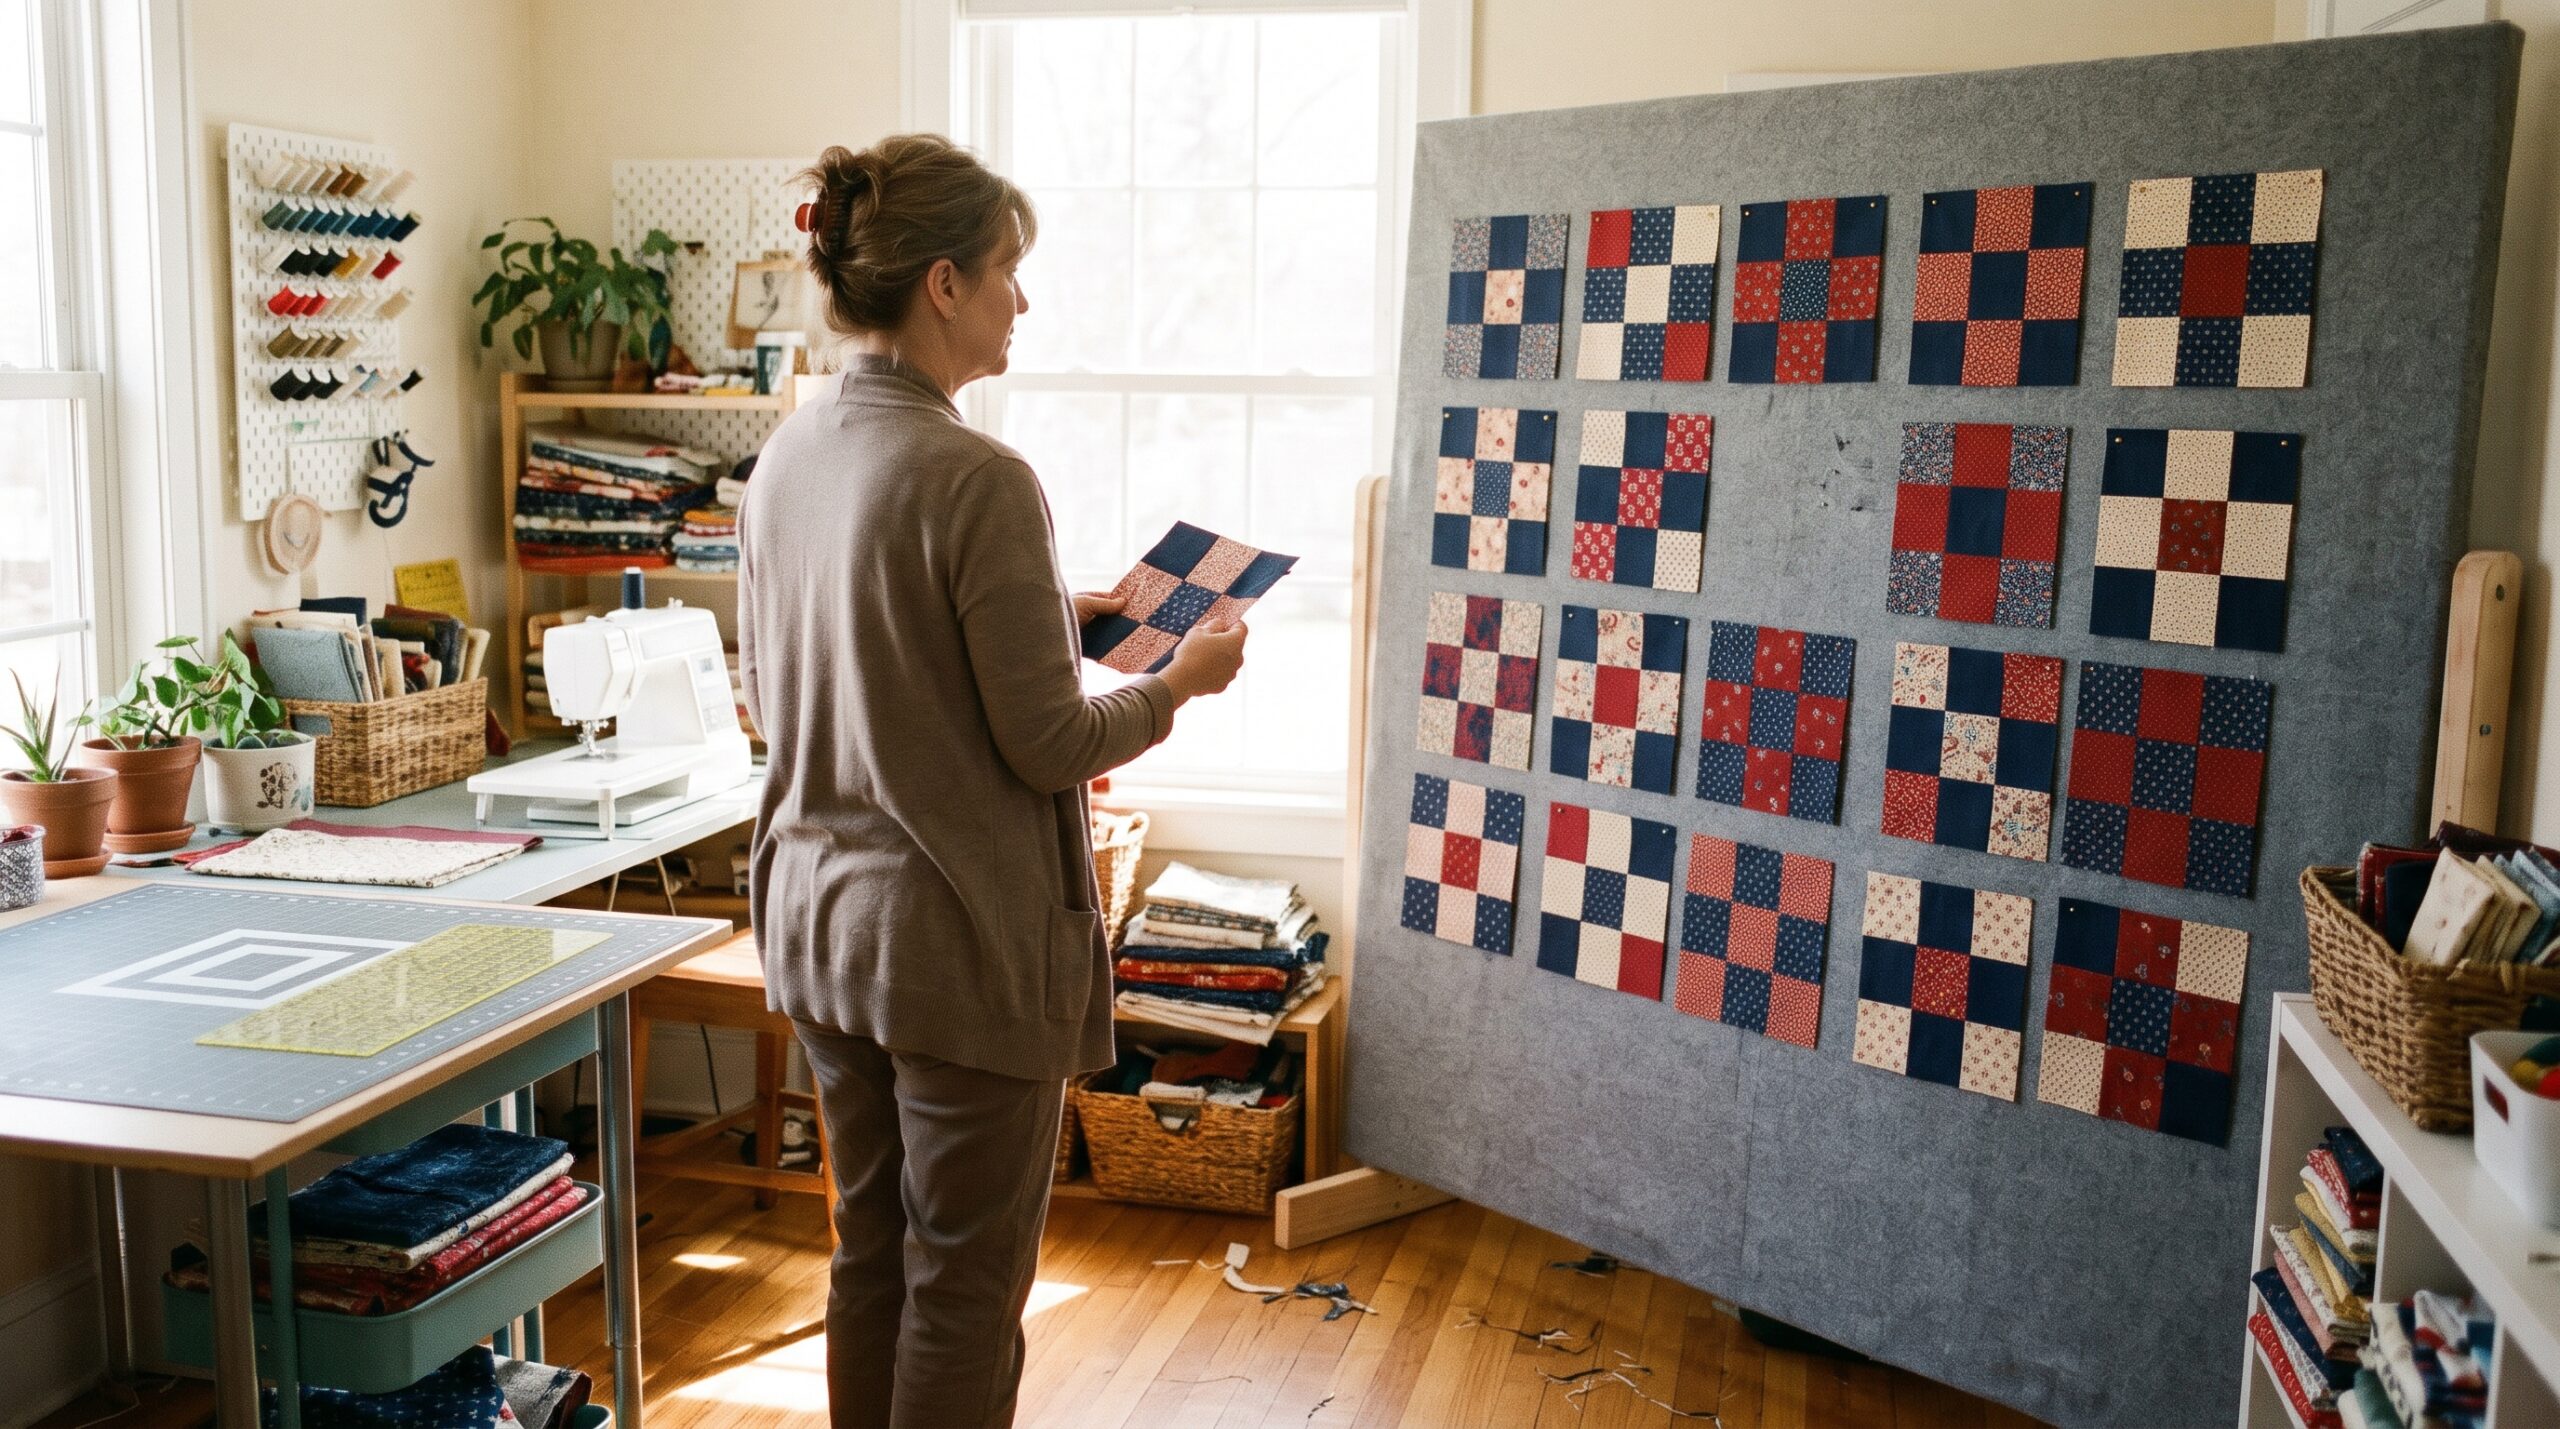
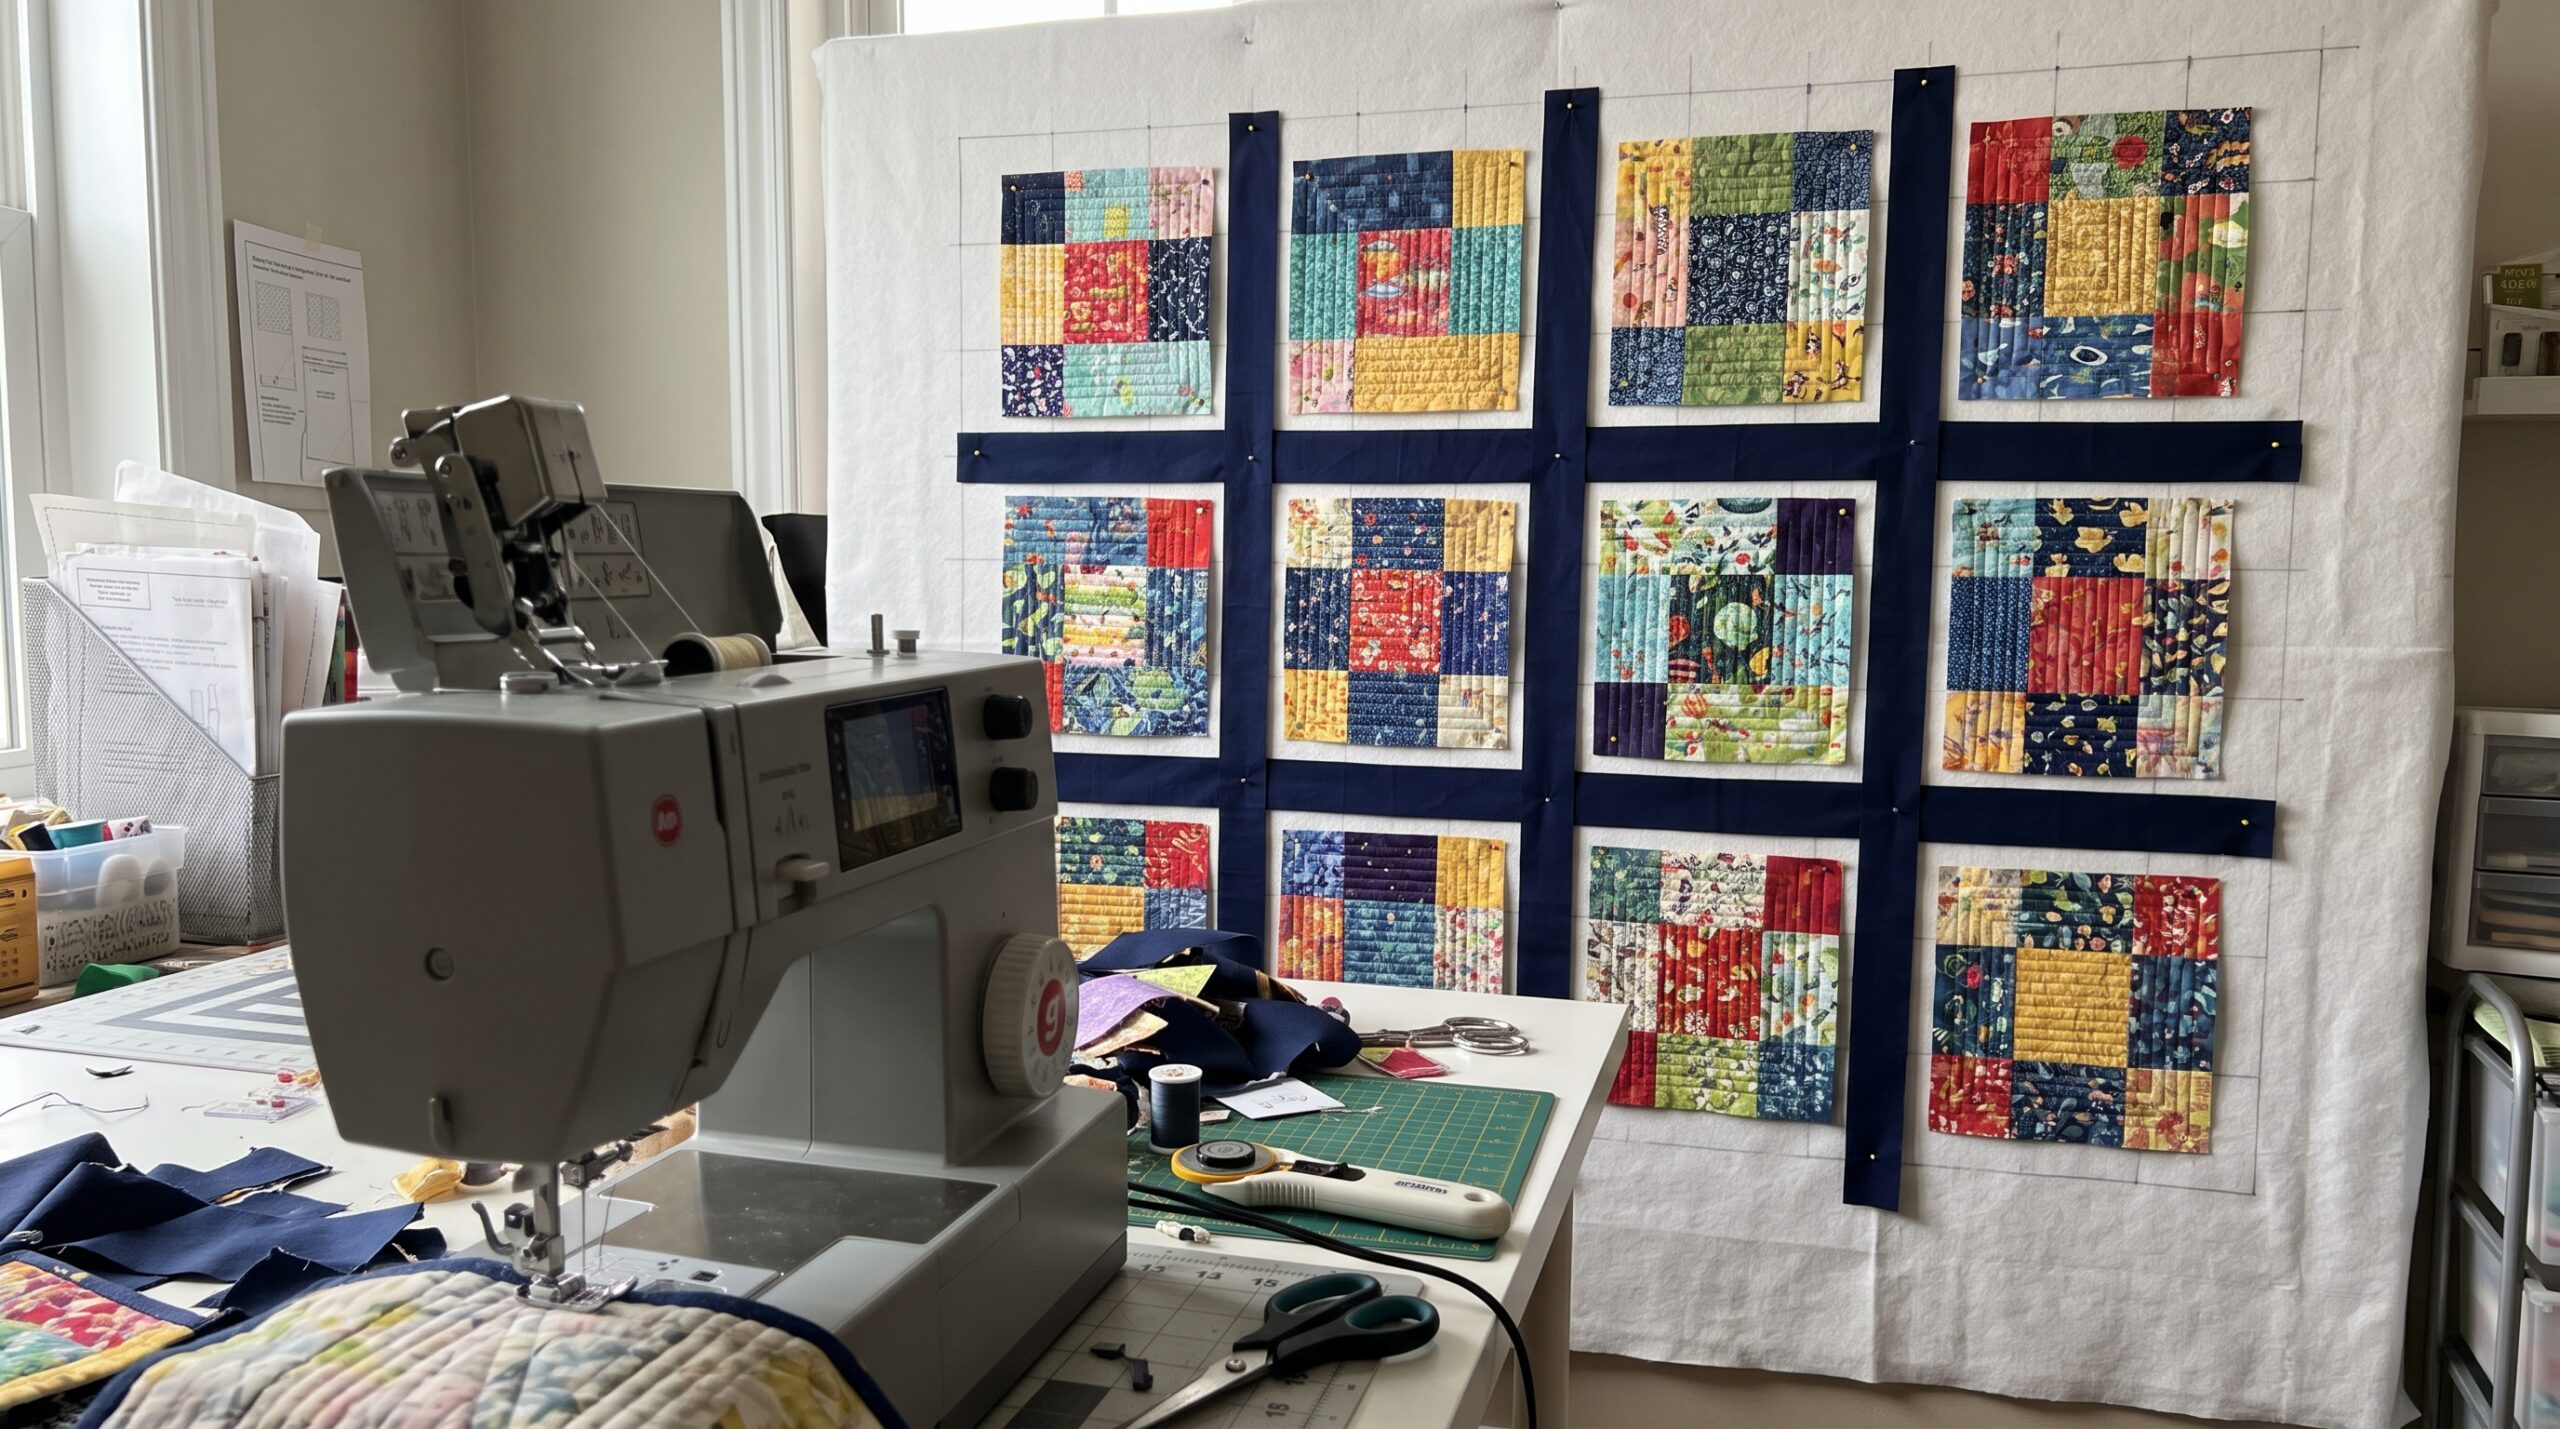
Before you sew blocks together, arrange them on a quilt design wall. Seeing the whole quilt upright, at full size, shows you what a pile of blocks on the floor cannot: whether colors are spread evenly, whether a fabric stands out too much, and how the layout works from across the room.
- Step back several feet and look at the overall balance.
- Take a photo, including a black and white one, to check value and spot clusters of the same fabric.
- Try different settings. Straight rows, on point, sashing or alternate blocks can change the look completely. See our guide to quilt layouts for ideas.
- Leave the blocks up while you sew, taking down one row at a time so the order stays right.
The large quilt design wall holds a full bed-size layout, and quilt design wall tiles suit smaller rooms and baby quilts.
Step 6: Sew the quilt top together
Sew the blocks into rows, pressing the seams of each row in alternating directions so they nest when the rows are joined. Then sew the rows together, pinning at every seam intersection.
If your pattern includes quilt sashing between the blocks, add it as you join the rows. Finish the top with one or more borders if you like. Measure through the center of the quilt to cut borders so they lie flat. Our quilt border ideas guide shows simple and pieced options.
Step 7: Make the quilt sandwich
The quilt sandwich is the three layers: backing, batting and quilt top. Cut the backing and batting at least 4″ larger than the quilt top on every side, because the layers shift slightly during quilting.
- Press the backing and quilt top.
- Tape the backing right side down to a clean floor or large table, smooth and slightly taut.
- Lay the batting on top and smooth out any wrinkles.
- Center the quilt top right side up on the batting.
- Baste the layers with curved safety pins every 4″ to 6″, basting spray, or long hand stitches.
Step 8: Quilt the layers
Quilting is the stitching that holds the three layers together and adds texture. For a first quilt, straight-line quilting with a walking foot is the easiest method.
- Stitch in the ditch along the seam lines so the stitching almost disappears.
- Sew straight lines 1/4″ from the seams, or evenly spaced diagonal lines across the quilt.
- Work from the center out to push any fullness toward the edges.
- Roll or fold the quilt so the bulk fits under the machine arm.
- Check the batting label for the maximum distance between quilting lines.
You can also hand quilt, try free-motion quilting with a darning foot, or send the quilt to a longarm quilter. If quilting a large sandwich feels daunting, the quilt as you go method lets you quilt small sections first and join them afterward.
Step 9: Bind the quilt
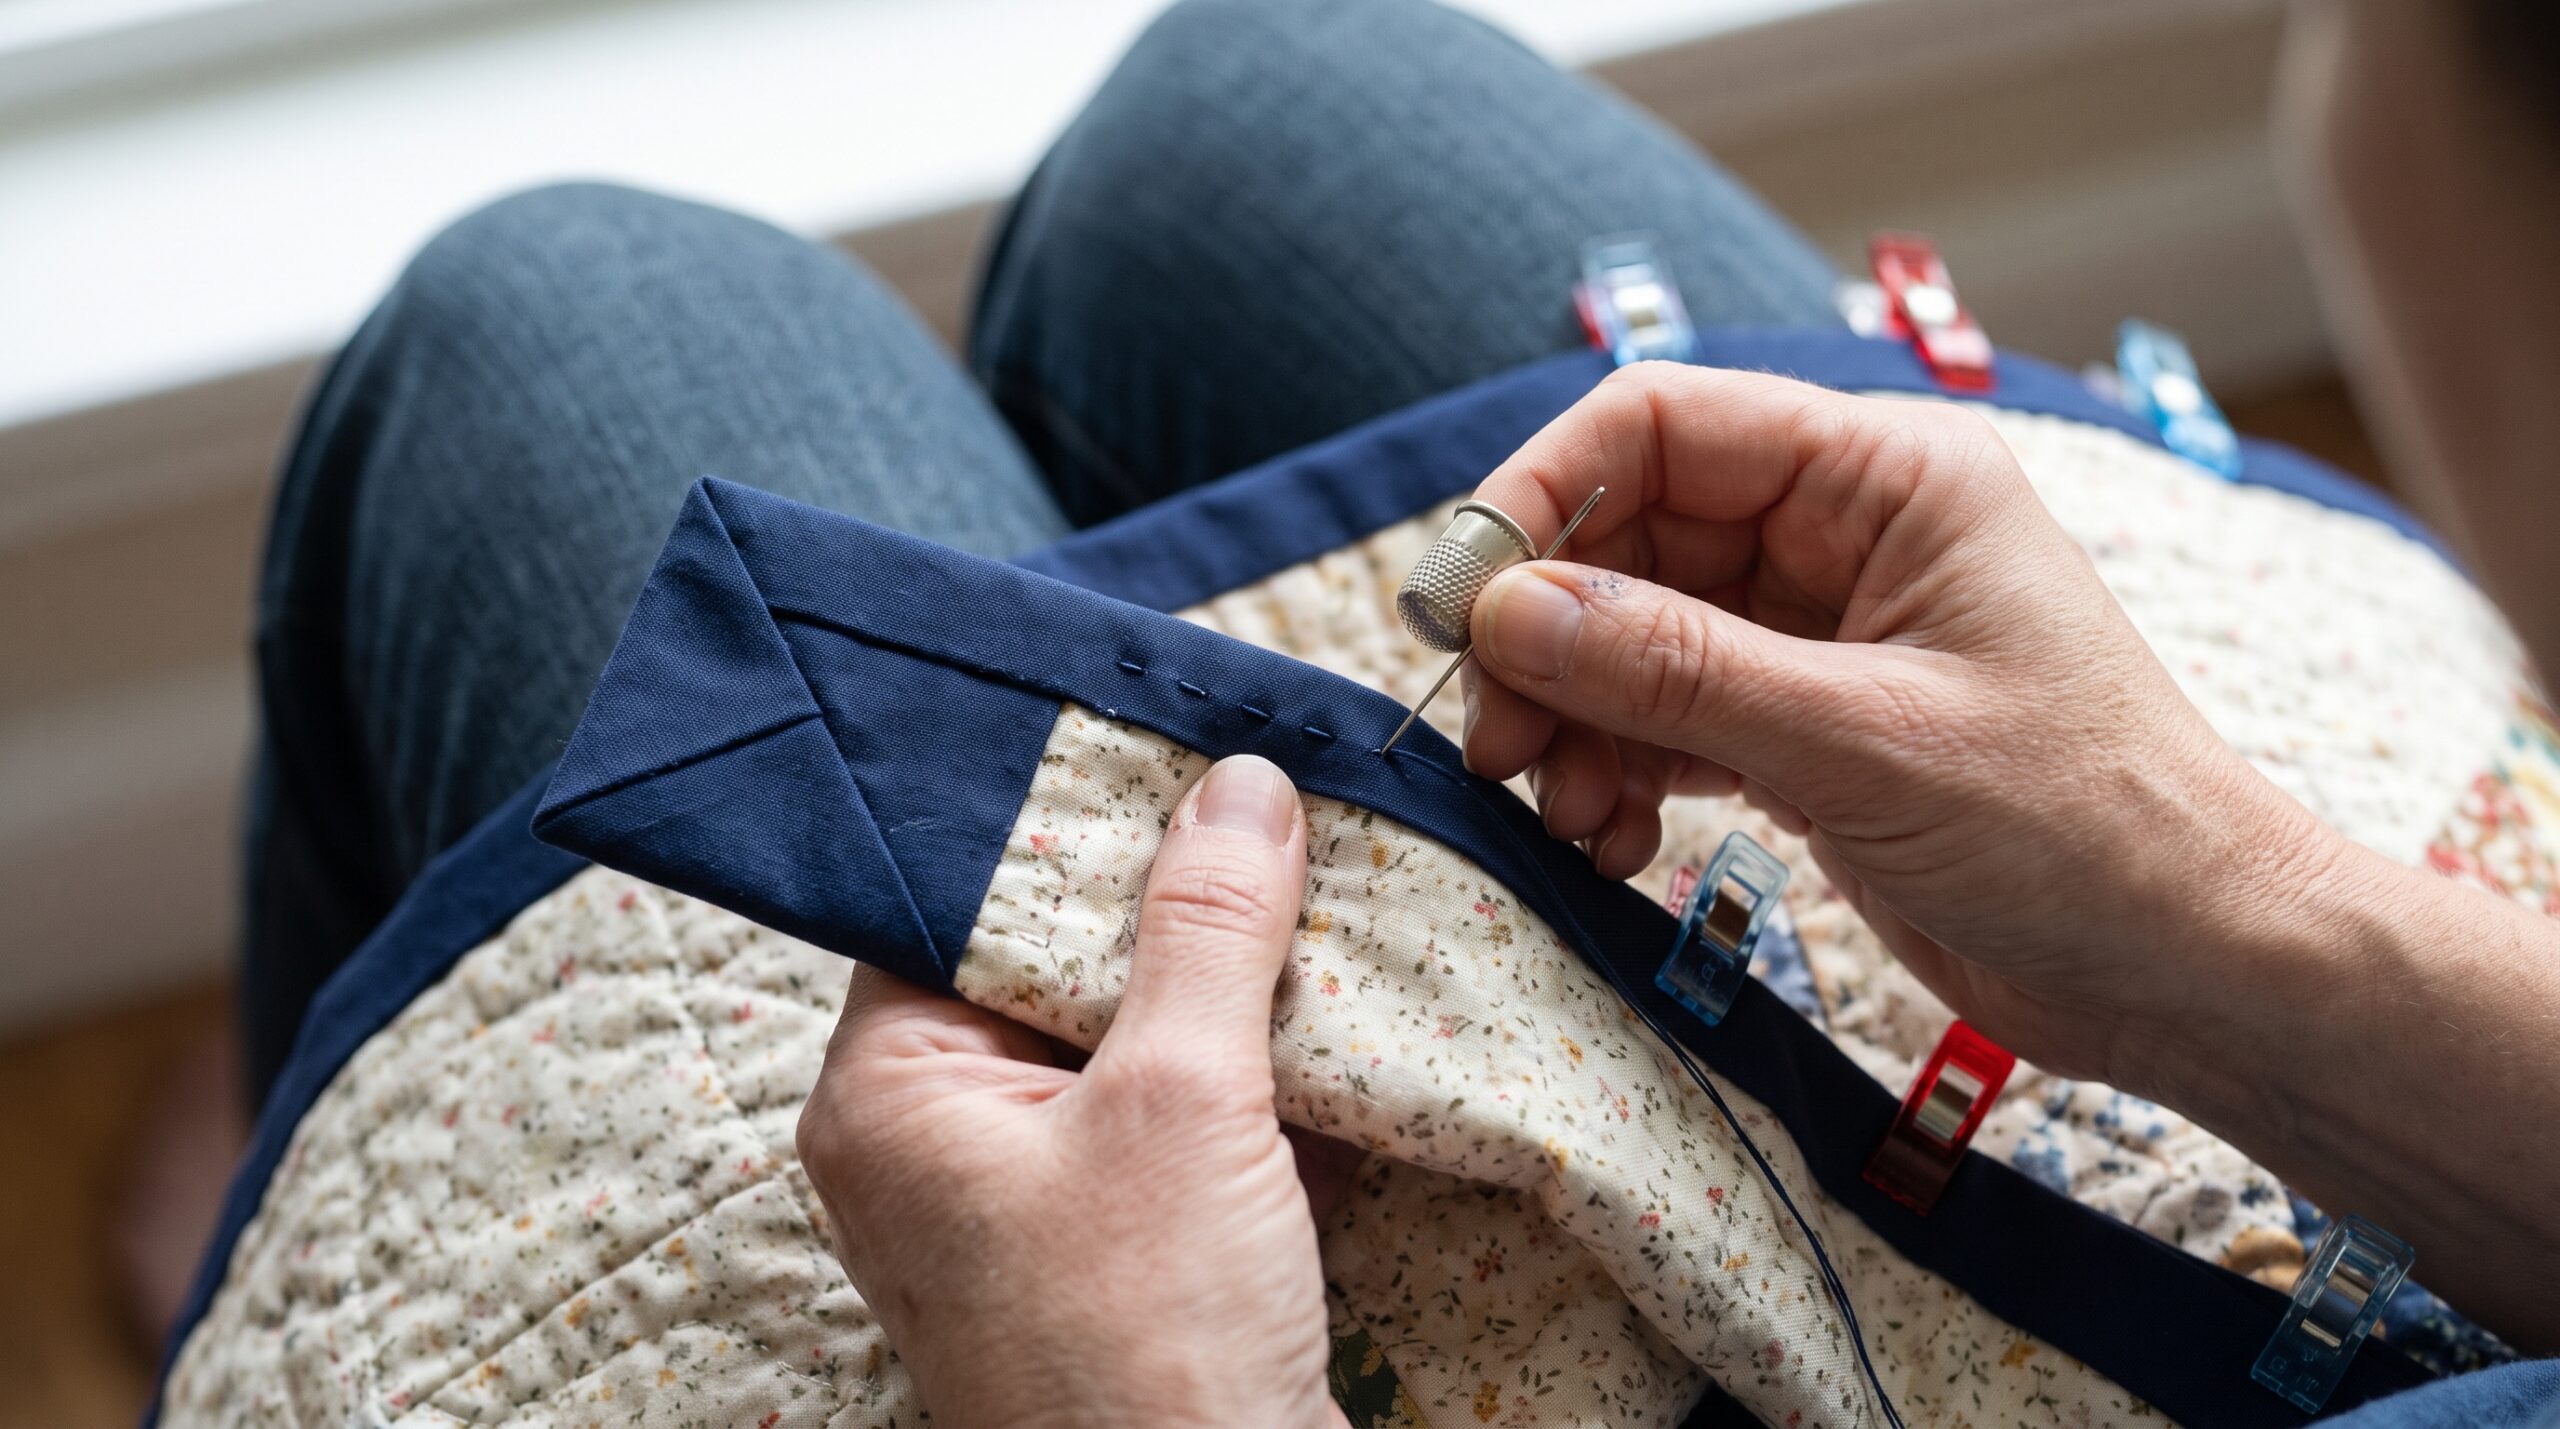
Binding wraps the raw edges of the quilt and gives it a neat, durable finish. Double-fold binding is the most common choice.
- Trim the quilt so the batting and backing are even with the quilt top and the corners are square.
- Cut binding strips 2 1/4″ to 2 1/2″ wide across the fabric. You need enough to go around the quilt plus about 10″ to 12″ extra.
- Join the strips with diagonal seams, then press the binding in half lengthwise.
- Sew the binding to the front of the quilt with raw edges together, mitering each corner.
- Fold the binding to the back and hand stitch it down with a blind stitch, or machine stitch it for a faster finish.
Add a label to the back with your name and the date, wash the quilt if you want a soft, crinkled look, and your first quilt is finished.
Beginner quilting mistakes to avoid
- An inconsistent seam allowance. Small errors add up across a row and blocks will not match.
- Ironing instead of pressing. Sliding the iron stretches seams. Lift and press instead.
- Skipping the layout step. Sewing blocks together without checking the arrangement often leaves two similar fabrics side by side.
- Backing cut too small. Always leave extra on every side.
- Starting too big. A small quilt you finish teaches more than a king-size quilt you abandon.
Once you have finished your first quilt, explore log cabin quilt layouts for your next project, or plan your own design with our guide on how to design a quilt.
Frequently asked questions
How do you make a quilt for beginners?
Choose a simple pattern of squares, cut your fabric accurately, sew the pieces into blocks with a 1/4″ seam allowance and join them into a quilt top. Then layer the top with batting and backing, quilt the layers together and finish the edges with binding.
What do I need to make a quilt?
You need a sewing machine, a rotary cutter, cutting mat and ruler, quilting cotton, batting, backing fabric, thread, an iron and pins. A walking foot and a design wall make quilting and arranging blocks much easier.
How long does it take to make a quilt?
A simple baby or lap quilt can take a beginner one to three weekends. A bed-size quilt often takes several weeks, depending on the pattern, the quilting method and how much time you can sew.
What is the easiest quilt to make?
A patchwork quilt of plain squares is the easiest, followed by nine patch and rail fence quilts. They use only straight seams and teach the basic skills of cutting, piecing and matching seams.
Can you make a quilt without a sewing machine?
Yes. Quilts were pieced and quilted by hand long before sewing machines existed. Hand piecing and hand quilting take longer, but they need only a needle, thread, scissors and a few basic tools.