Quilt Border Ideas: Easy, Pieced and Modern Borders (and How to Add Them)
A border frames a quilt the way a mat frames a picture. It can calm a busy center, pick up an accent color, or add the final few inches you need to reach the right size. This guide covers quilt border ideas from simple to creative, how wide quilt borders should be, how to add a border so it lies flat, and how to audition your options before you cut.
Easy quilt border ideas for beginners
Plain border
A single strip of one fabric sewn to all four sides. It is the simplest border and often the best one, because it gives the eye a resting place after a busy quilt center. Choose a fabric that repeats a color from the blocks, or a darker shade to frame the quilt firmly.
Multiple borders
Two or three borders of different widths, usually a narrow inner border and a wider outer border. The narrow inner strip, often 1″ to 1 1/2″ finished, acts like a thin line of contrast, and the outer border carries the main fabric. Multiple quilt borders are an easy way to make a small quilt larger.
Borders with corner squares
Instead of running the side strips to the corners, a square of contrasting fabric, called a cornerstone, sits in each corner. Quilt borders with corner squares are easy to sew and are a neat way to repeat a color from the blocks, especially if you used cornerstones in the sashing too.
Scrappy border
Leftover strips or squares from the blocks are sewn into a border. A scrappy border ties the edge to the center and uses up fabric that would otherwise sit in your stash.
Pieced and creative quilt borders
Pieced borders take more time, but they turn a simple quilt into something special. Make sure the pieced units divide evenly into the length of each side before you start.
- Piano keys: rectangles of different fabrics sewn side by side, like keys on a keyboard. Great for using scraps.
- Flying geese: a row of triangle units all pointing the same way, or turning at the center of each side.
- Sawtooth or half square triangles: a row of light and dark triangles that gives a crisp, traditional edge.
- Checkerboard: two rows of small squares in alternating colors.
- Ribbon border: pieced strips that look like a ribbon weaving around the quilt.
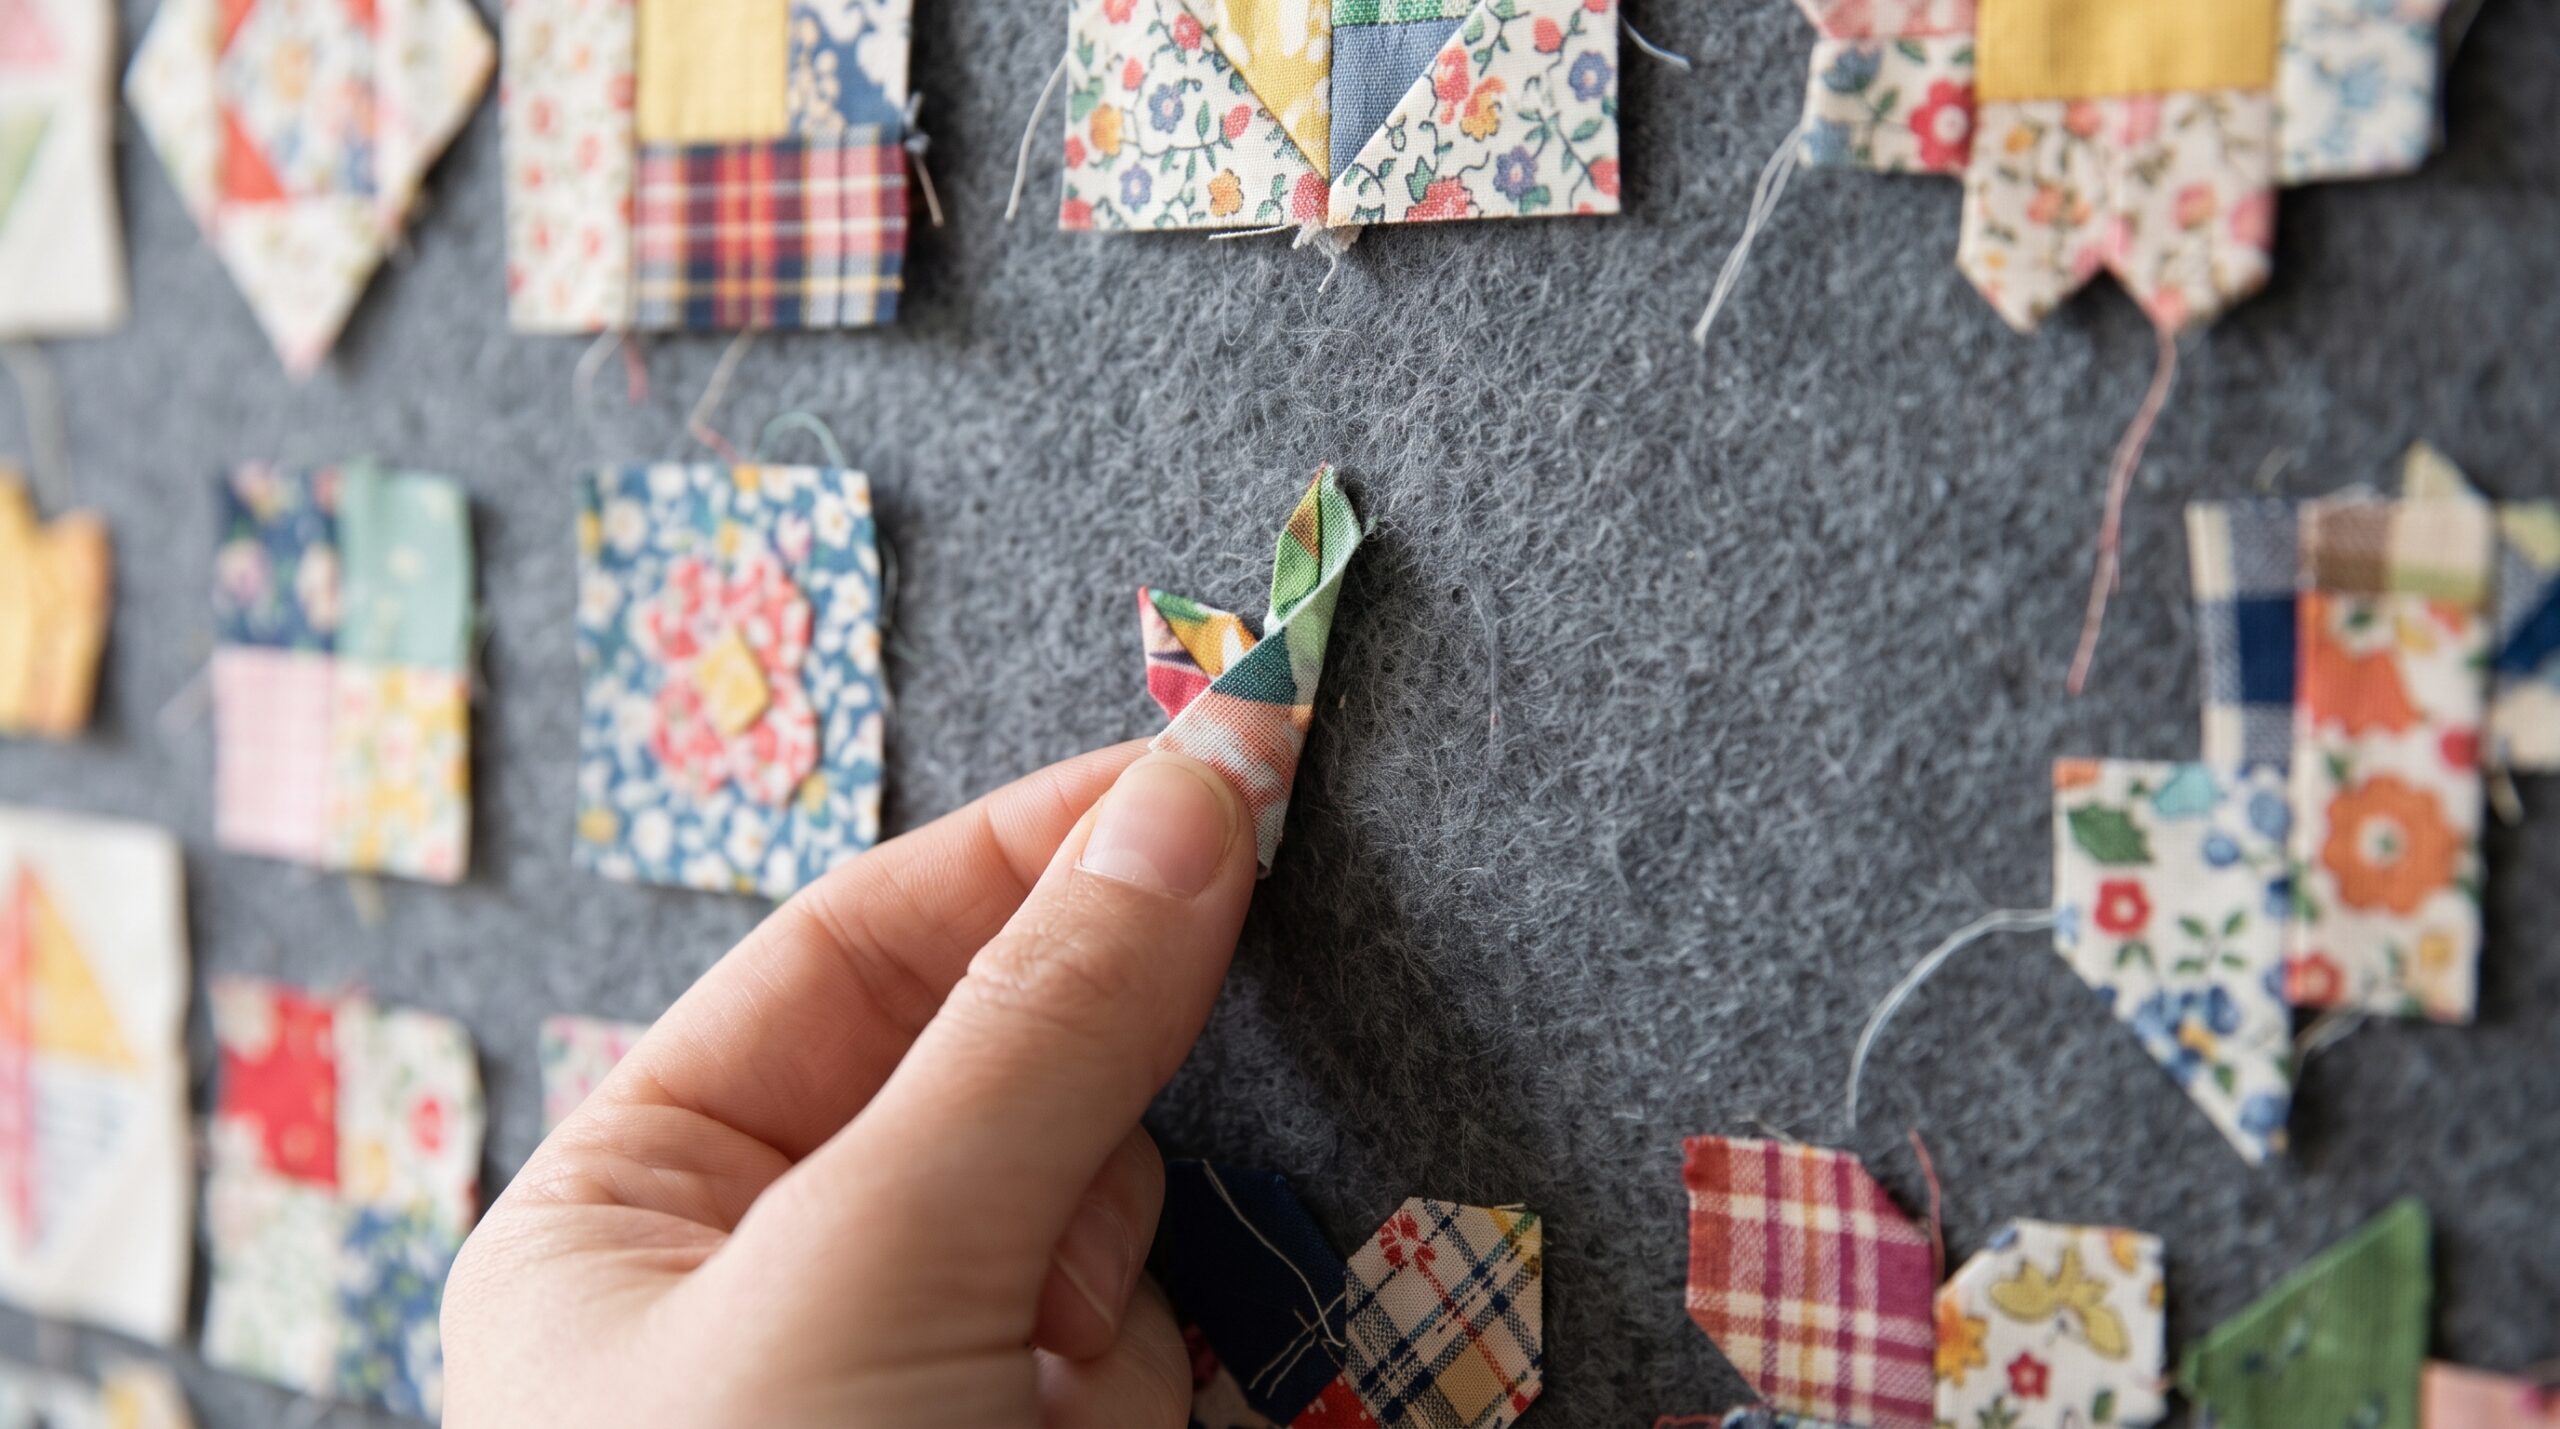
- Prairie points: folded fabric triangles stitched into the binding seam so they stand out from the edge.
- Appliqué vines: a vine with leaves or flowers stitched onto a plain border, for a classic look.
Modern quilt border ideas
Many modern quilts use no border at all, letting the blocks run to the binding. Other modern options are an asymmetric border that is wider on one side, a single bold accent strip set inside a wide background border, or a “floating” border in the same fabric as the background so the blocks appear to float.
Quilt panel border ideas
A printed panel often needs borders to reach a useful size. Frame the panel with a narrow inner border that matches a color in the print, then add a wider outer border or a simple pieced border such as piano keys. Because a panel is rarely perfectly square, measure it carefully and trim it straight before adding borders.
Quilt border types at a glance
| Border | Look | Skill level | Best for |
|---|---|---|---|
| Plain | Calm, framed | Beginner | Busy quilt centers |
| Multiple borders | Layered, classic | Beginner | Adding size |
| Corner squares | Accent at each corner | Beginner | Repeating a block color |
| Piano keys | Scrappy, colorful | Beginner | Using leftover strips |
| Flying geese or sawtooth | Crisp, traditional | Intermediate | Pieced and sampler quilts |
| Mitered | Diagonal corner seams | Intermediate | Striped or directional prints |
| Appliqué | Decorative, heirloom | Advanced | Traditional quilts |
How wide should quilt borders be?
There is no fixed rule, but a few guidelines keep a border in proportion:
- Relate it to the block size. A border about half to three quarters the width of one block usually looks balanced. With 12″ blocks, a 6″ to 8″ outer border is a good starting point.
- Keep inner borders narrow. 1″ to 2″ finished is typical for an inner accent border.
- Go wider on bigger quilts. A 4″ border looks generous on a baby quilt and skimpy on a king.
- Let the border finish the size. If the quilt center is a little short of the size you want, the border width is the easiest place to make up the difference.
How to add a border to a quilt
The most common border problem is wavy edges, which happen when strips are cut to the length of the quilt edge rather than the center. This method keeps borders flat:
- Measure through the center of the quilt top from top to bottom, and at both sides. Use the center measurement, or the average if they differ.
- Cut two side borders to that length, joining strips with a diagonal seam if needed.
- Pin at the ends and center, then ease in any fullness as you pin between. Sew with a 1/4″ seam and press toward the border.
- Measure across the center again, including the new side borders, and cut the top and bottom borders to that length.
- Pin, sew and press the same way. Repeat for each additional border.
Mitered quilt borders
For mitered corners, cut each strip longer than the side by twice the border width plus a few inches. Sew each strip on, starting and stopping 1/4″ from the corners. Then fold the quilt diagonally at each corner, line up the strip ends, draw a 45-degree line from the stopping point and sew along it. Trim the seam to 1/4″ and press it open. Mitered corners suit striped fabric and multiple borders, because the lines turn the corner neatly.
Audition your border on a design wall
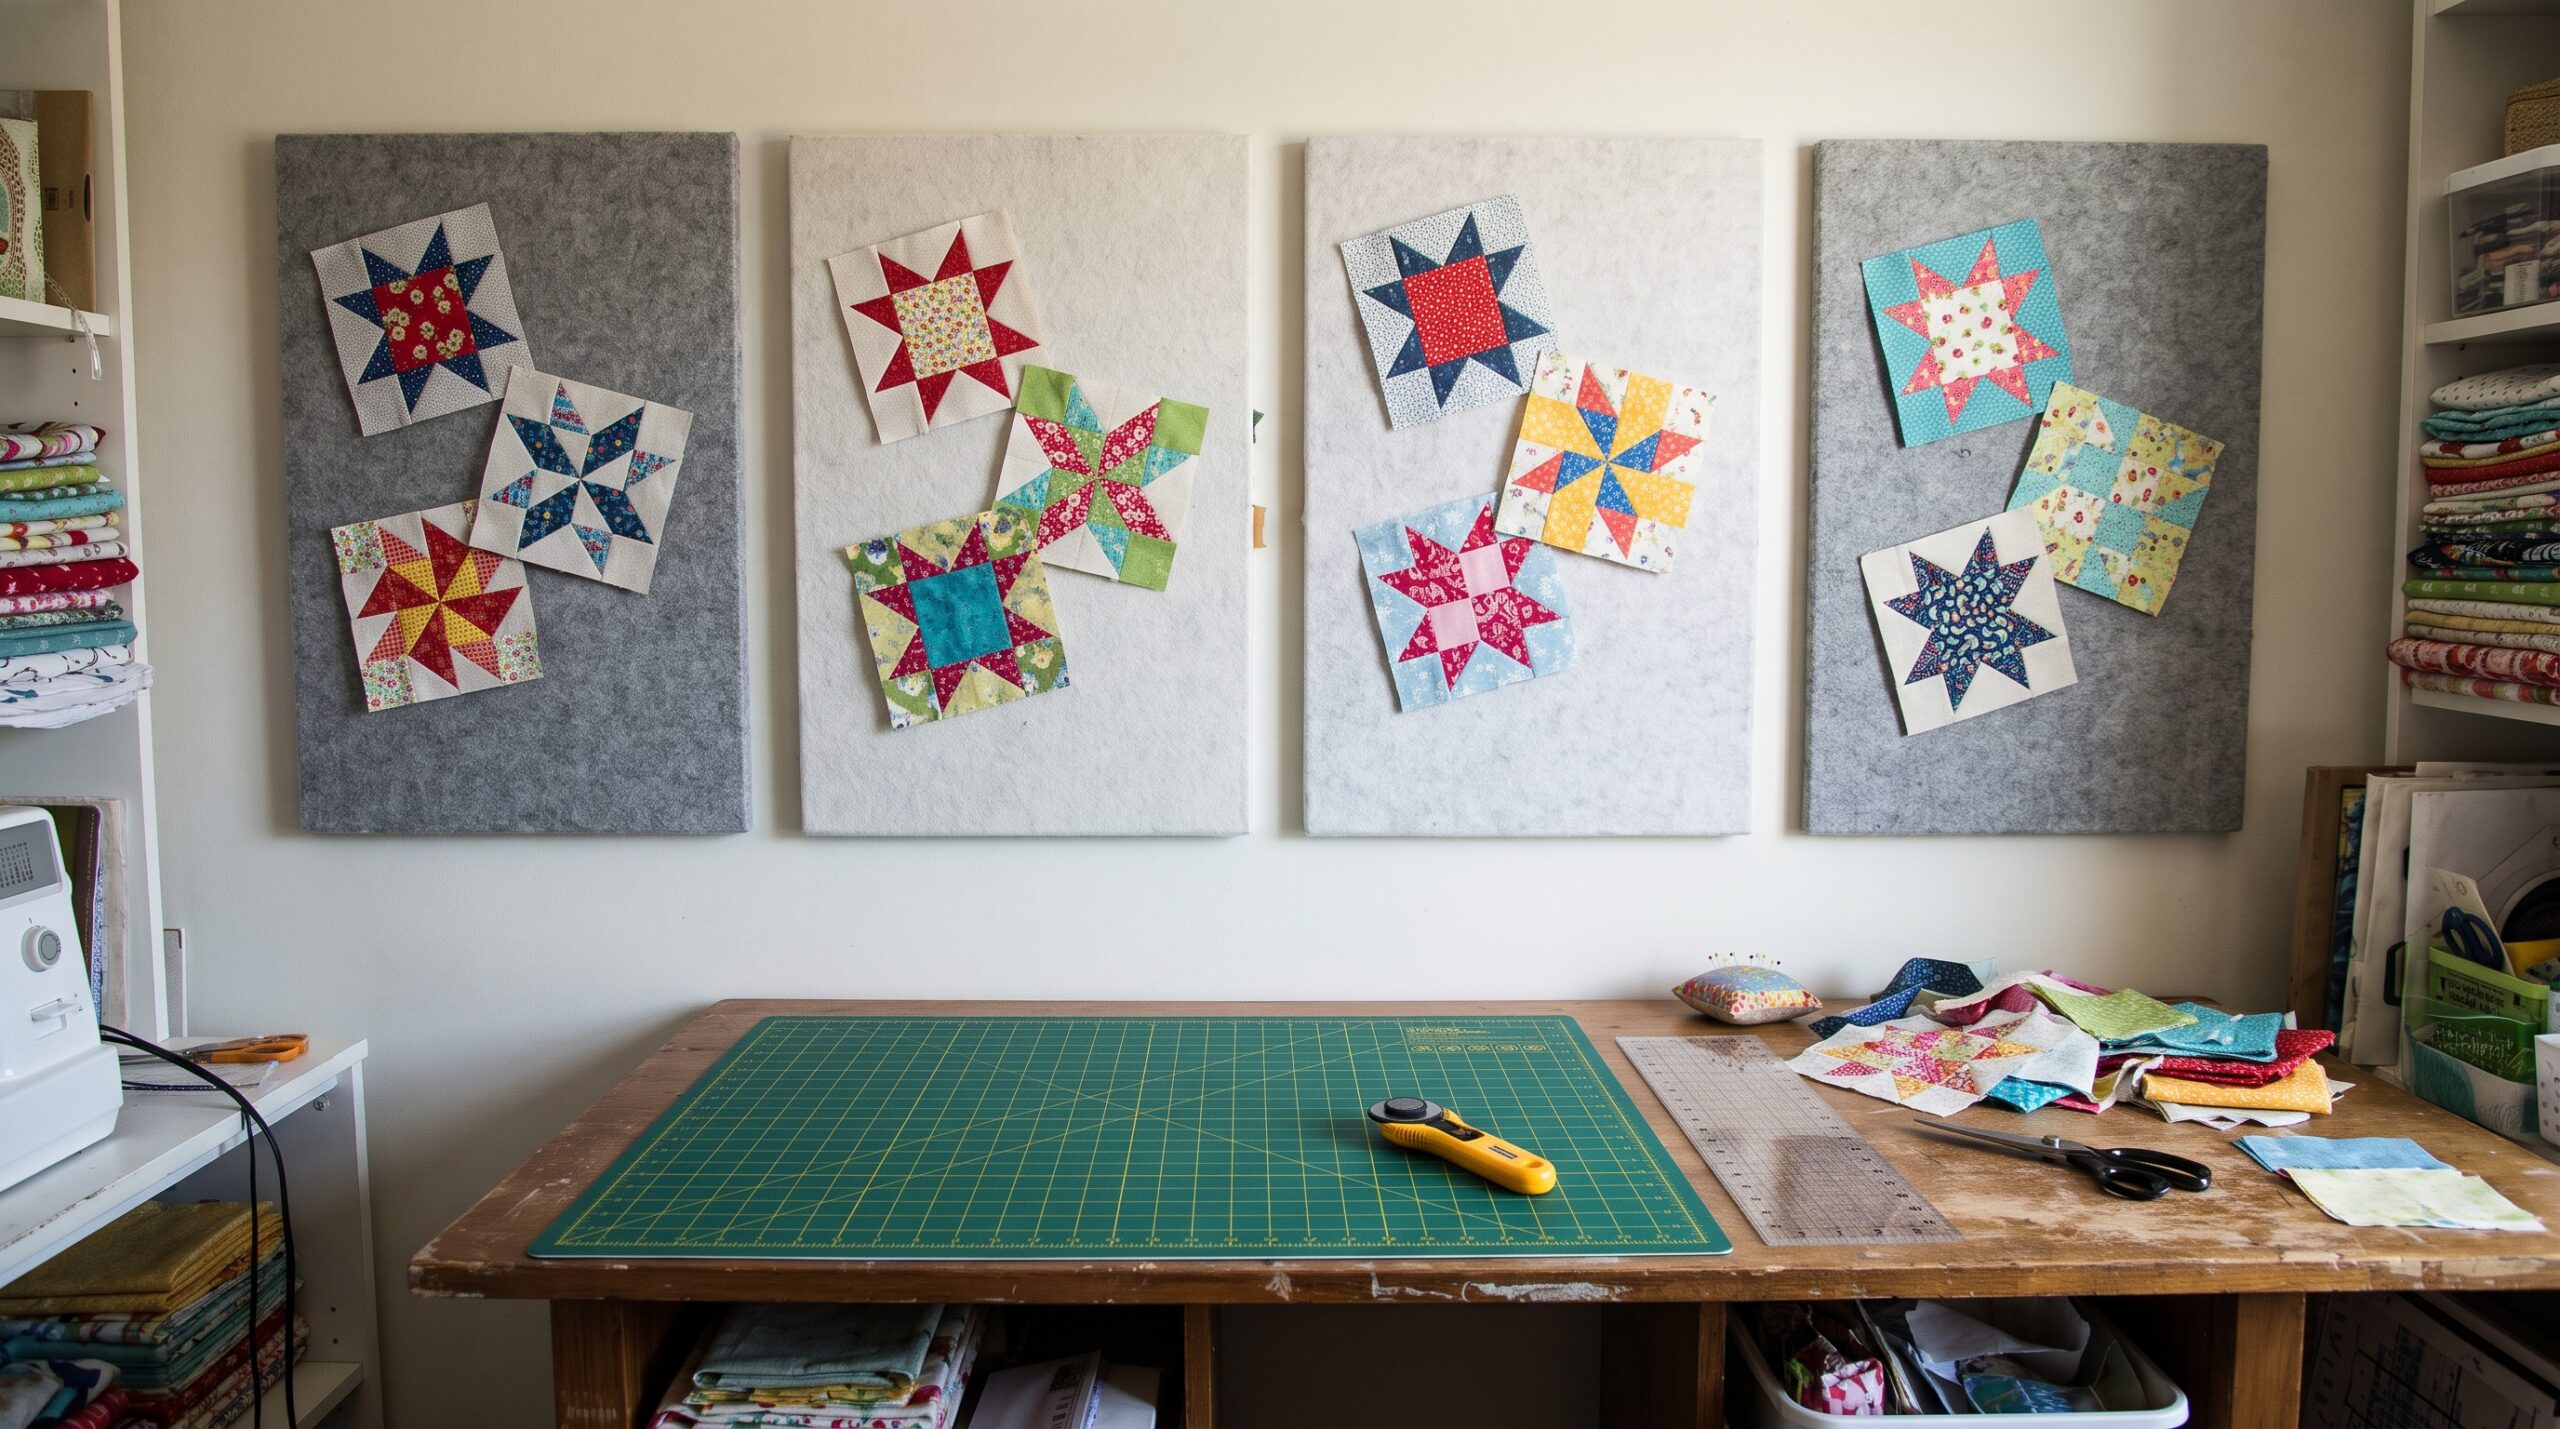
Choosing a border from a bolt in a shop is hard, because you cannot see it next to the whole quilt. A quilt design wall makes the choice easy:
- Put the finished quilt center on the wall.
- Lay strips of each border fabric along one side and one corner. Fabric clings to flannel, so there is no need to pin.
- Step back several feet and take a photo of each option. A photo shows balance and contrast more clearly than your eye does up close.
- Try widths, not just fabrics. Fold the strips to test a narrow and a wide version.
- Check the corners. Lay a corner square or a mitered fold in place to see which finish you prefer.
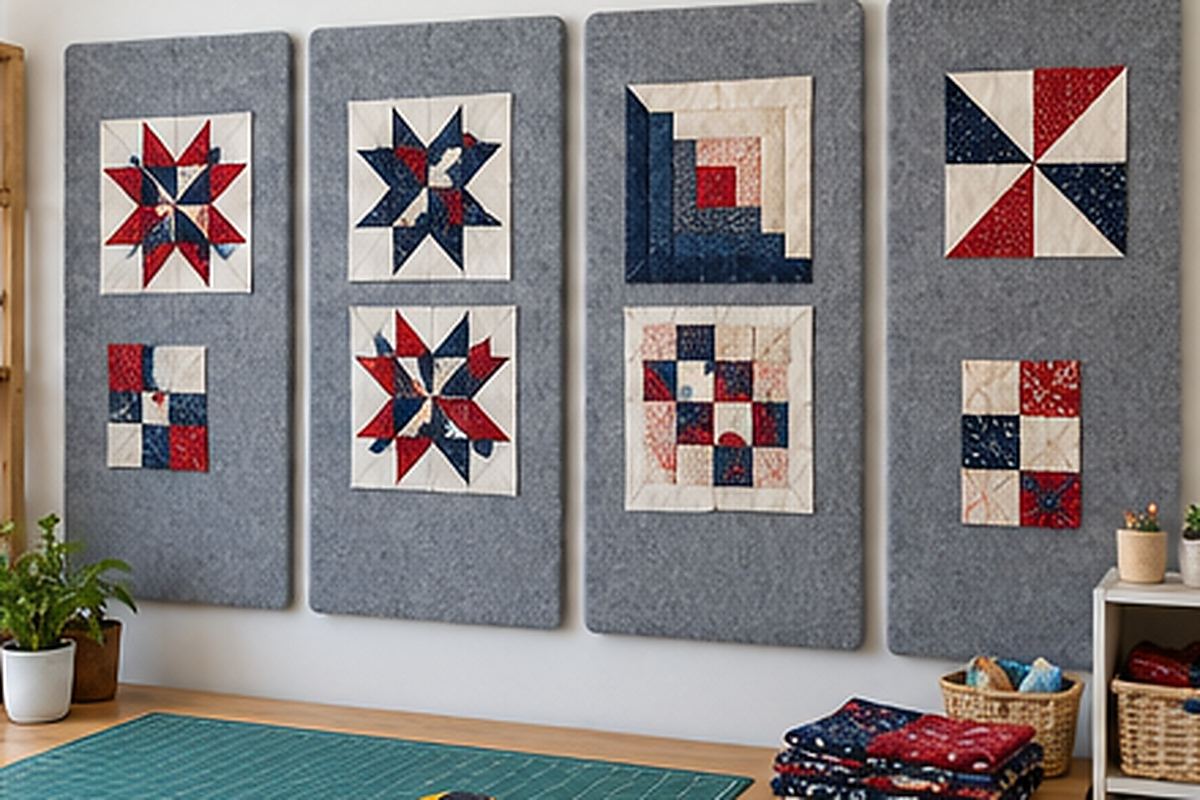
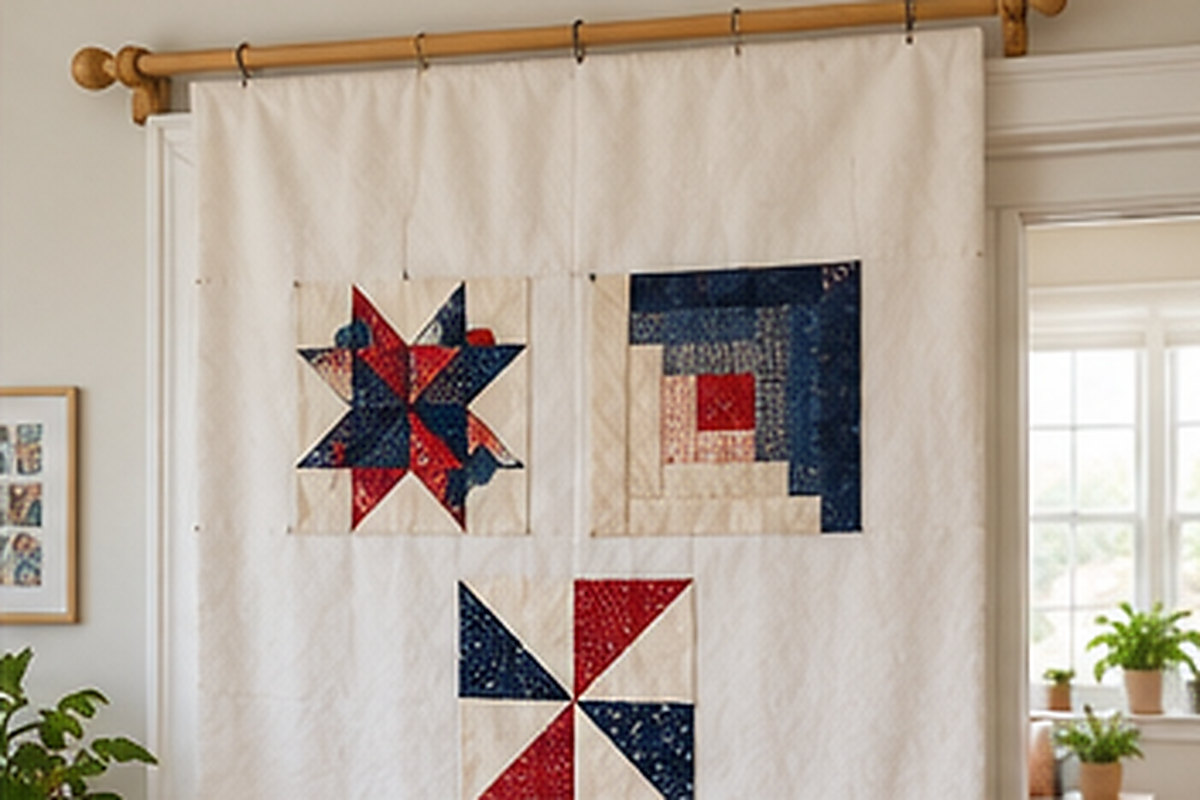
For a full queen or king quilt top, the large quilt design wall gives you room to see the center and borders together. In a smaller sewing room, quilt design wall tiles are handy for auditioning one side and corner at a time. If you have not chosen your setting yet, read our guide to quilt sashing, and for whole-quilt planning, see how to design a quilt.
Frequently asked questions
What is the easiest quilt border?
A plain border of one fabric is the easiest. Measure through the center of the quilt, cut the strips to that length, and sew the sides first, then the top and bottom.
How wide should a quilt border be?
A border about half to three quarters the width of one block usually looks balanced, so a quilt with 12-inch blocks often suits a 6- to 8-inch outer border. Inner accent borders are usually 1 to 2 inches finished.
Why are my quilt borders wavy?
Wavy borders usually come from cutting strips to the length of the quilt edge, which stretches as you handle it. Measure through the center of the quilt instead, cut the borders to that length and ease in any fullness when pinning.
Does every quilt need a border?
No. Many modern quilts have no border, with the blocks running straight to the binding. A border is useful when the quilt needs framing, extra size, or a calm edge around a busy design.
Should I add the border before or after quilting?
Add borders before quilting. The border is part of the quilt top, so it is layered with batting and backing and quilted along with the center.
Tags