Quilt Layouts: How to Arrange Quilt Blocks (9 Settings to Try)
The same set of quilt blocks can become completely different quilts depending on how you arrange them. The arrangement is called the quilt layout, or the setting, and it decides how the blocks relate to each other, how big the quilt becomes and where the eye travels. This guide covers the main quilt layouts, when to use each one, and how to plan your arrangement before you sew.
What is a quilt layout?
A quilt layout is the plan for placing blocks across the quilt top: which way they face, whether they touch or are separated, and whether they sit square or on the diagonal. Choosing the layout early tells you how many blocks to make, whether you need extra fabric for sashing or setting triangles, and how large the finished quilt will be.
9 quilt layouts to try
1. Straight set (side by side)
Blocks are sewn edge to edge in rows and columns. It is the simplest quilt layout and works for almost any block. When blocks touch, their edges can join to form secondary patterns, which is what makes layouts like log cabin and half square triangles so versatile.
2. Alternate blocks
Pieced blocks alternate with plain squares in a checkerboard. The plain squares give the eye a rest, show off quilting, and halve the number of pieced blocks you need. Nine patch and star blocks look classic set this way.
3. Sashed layout
Strips of fabric, called sashing, separate the blocks into a grid. Sashing frames each block, adds size and hides small differences in block size. Read our guide to quilt sashing for types and widths.
4. On point layout
Blocks are turned 45 degrees so they stand like diamonds, with setting triangles filling the edges and corners. An on point quilt pattern looks more dynamic than a straight set and makes simple blocks look elaborate. A block set on point measures its diagonal across, about 1.41 times its side, so 12″ blocks take up about 17″ each.
5. Rotated layouts
Every block is the same, but rotating them creates new designs. Log cabin, half square triangle, rail fence and drunkard’s path quilt layouts all rely on rotation. Our guide to log cabin quilt layouts shows how far one block can go.
6. Row or strippy layout
Blocks are sewn into long vertical or horizontal rows, separated by wide strips of fabric. Row quilts can mix different blocks in each row, which suits samplers and quick quilts.
7. Medallion layout
A large center block or panel is surrounded by a series of borders, each one framing the last. Medallion quilts are a great way to use a special block or printed panel. See our quilt border ideas for border options.
8. Sampler layout
Different blocks of the same size are combined in one quilt, usually with sashing or a consistent background fabric to tie them together. It is a favorite for learning, and our list of easy quilt blocks is a good place to start.
9. Random or scrappy layout
Blocks are placed with no repeating pattern, balancing colors by eye. It looks relaxed, but it takes the most planning to avoid clusters of the same color.
Quilt layouts at a glance
| Layout | Look | Extra fabric needed | Best for |
|---|---|---|---|
| Straight set | Blocks join into patterns | None | Any block, secondary patterns |
| Alternate blocks | Checkerboard | Plain squares | Fewer pieced blocks |
| Sashed | Framed grid | Sashing strips | Samplers, T-shirt quilts |
| On point | Diamonds | Setting triangles | Making simple blocks look special |
| Rotated | Zigzags, diamonds, pinwheels | None | Log cabin, HST, rail fence |
| Row or strippy | Long bands | Wide strips | Quick and sampler quilts |
| Medallion | Framed center | Several borders | Feature blocks and panels |
| Random | Relaxed, scrappy | None | Stash-busting quilts |
How to plan a quilt layout
- Choose the finished size first. The quilt sizes chart shows typical sizes and how many blocks each one needs.
- Sketch two or three layouts. Use graph paper or a quilt layout planner app to compare a straight set, a sashed set and an on point set. Our guide to quilt design software covers the options.
- Make a few test blocks and see how they look side by side before making them all.
- Lay out every block on a design wall once they are made, and fine-tune the arrangement.
- Label the rows as you take them down, so they are sewn in the right order.
Use a design wall as your quilt layout planner
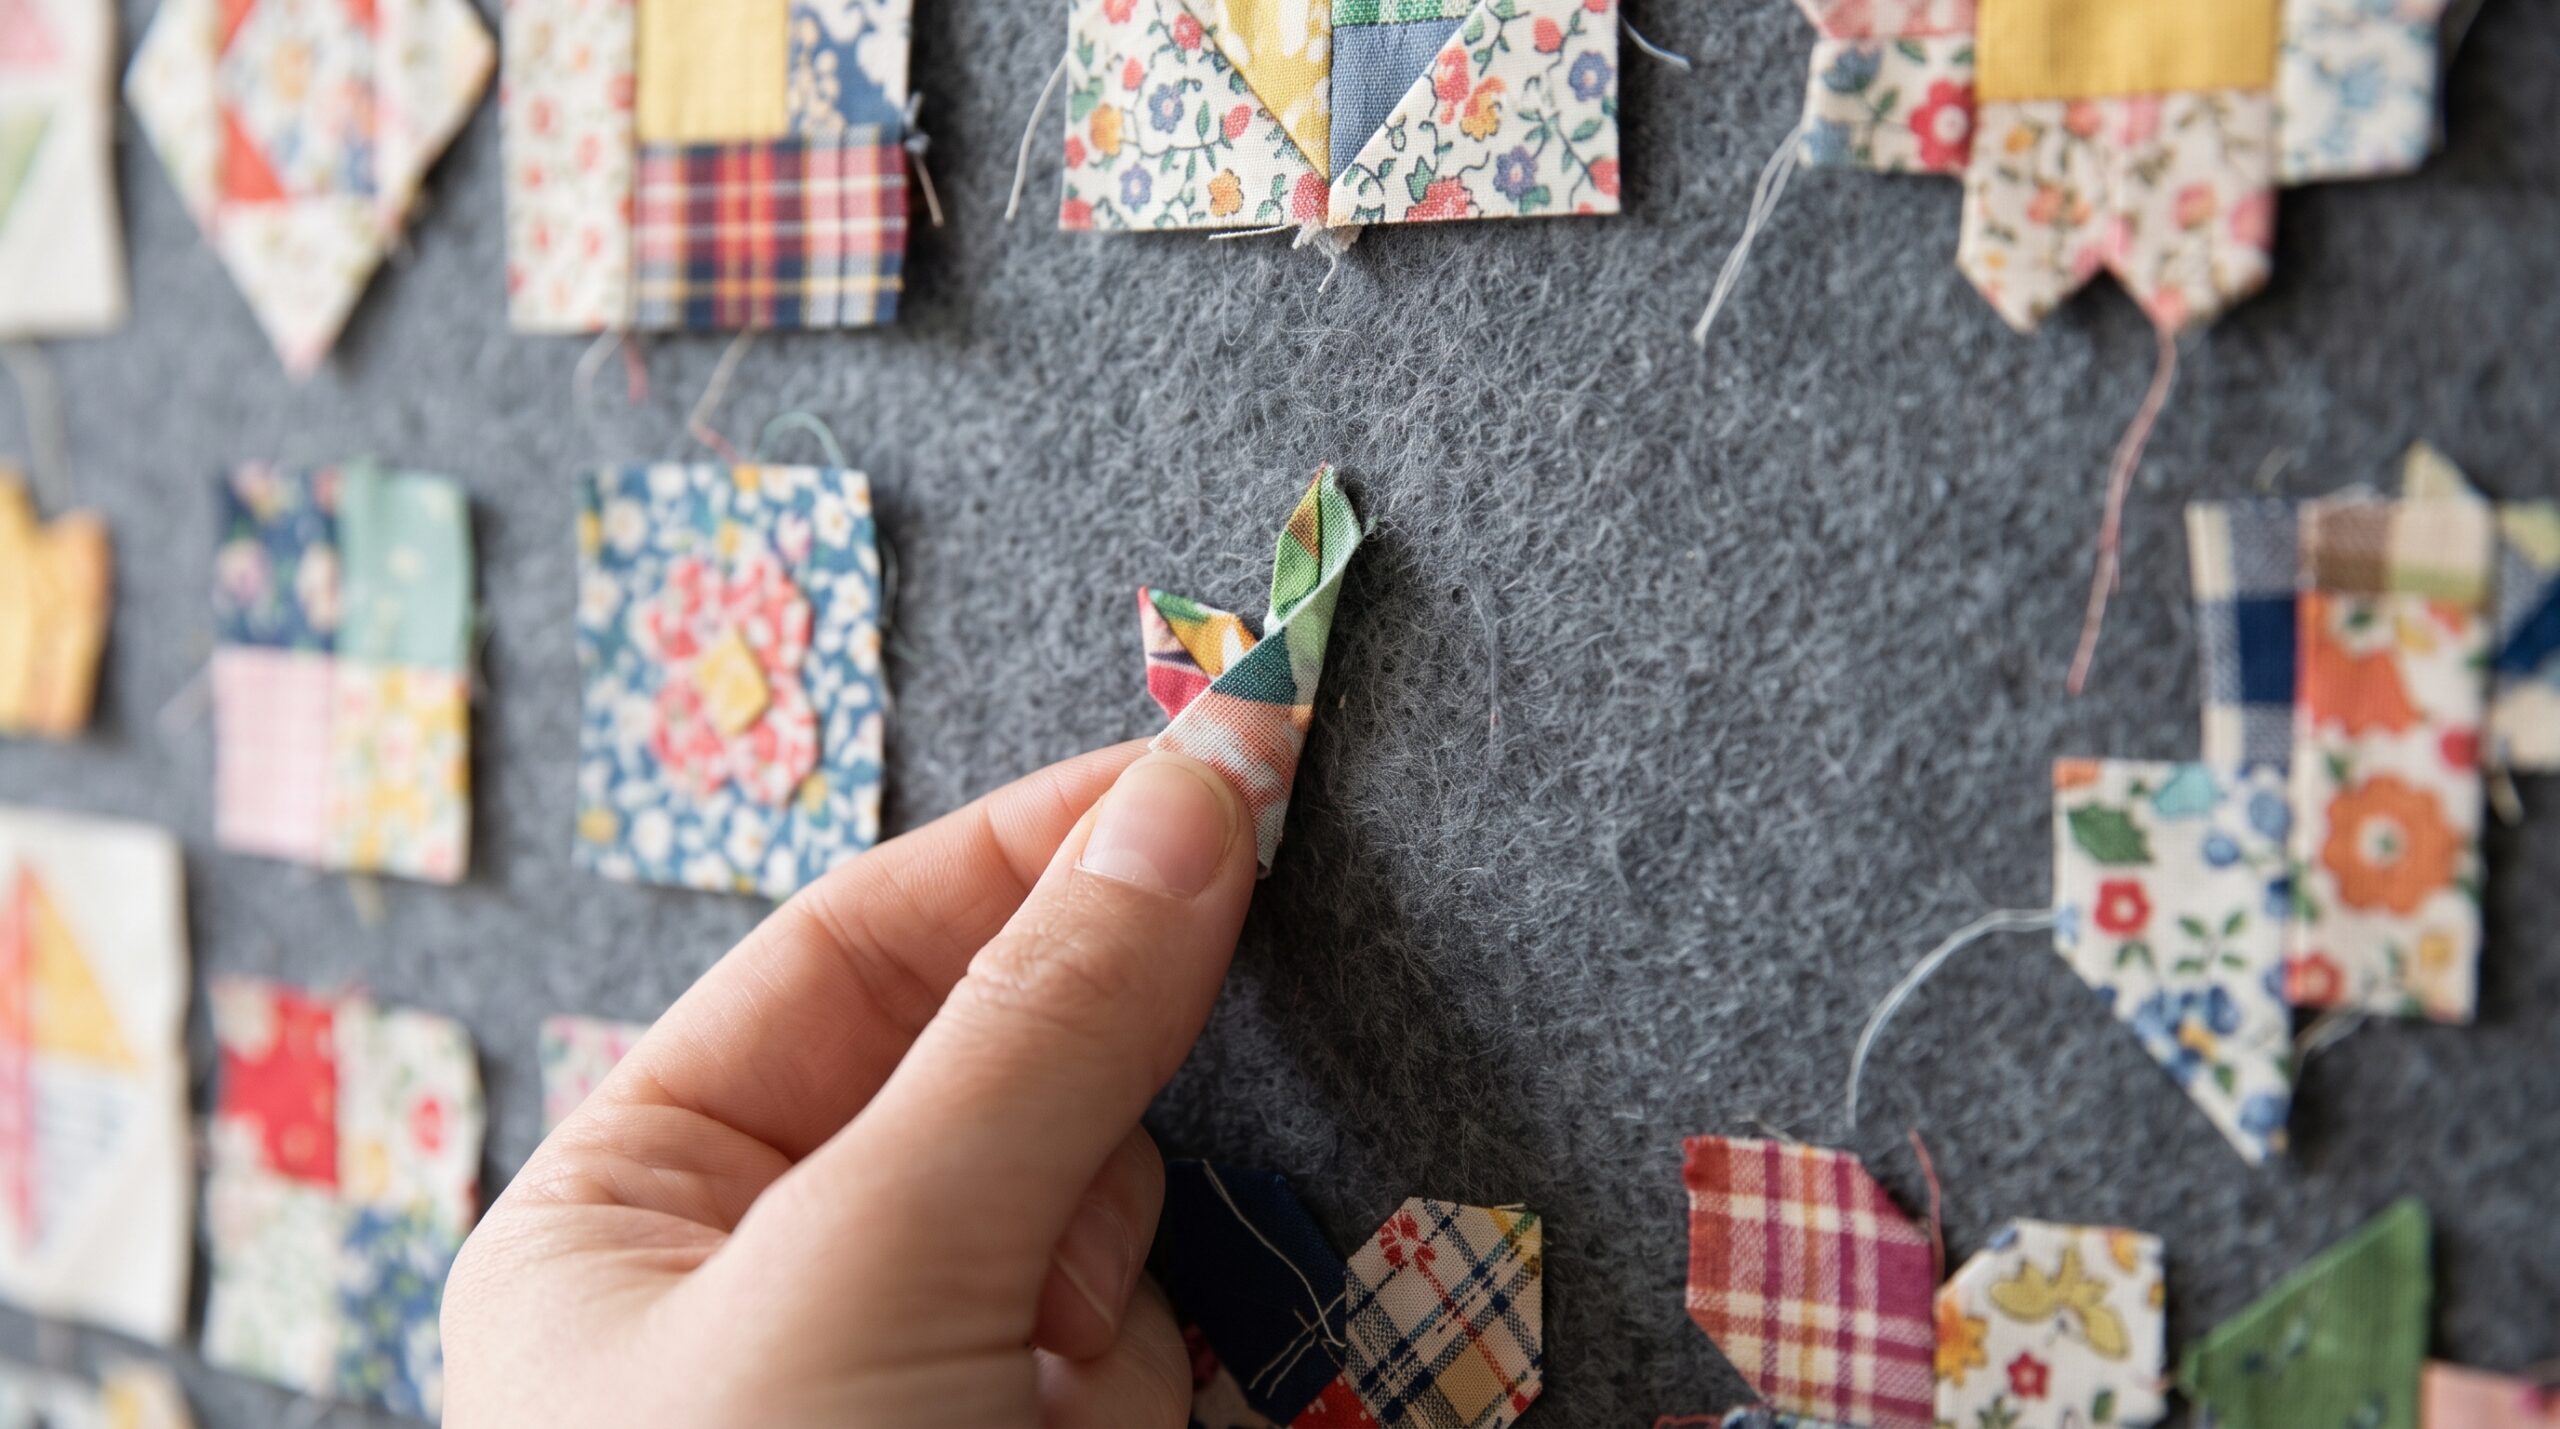
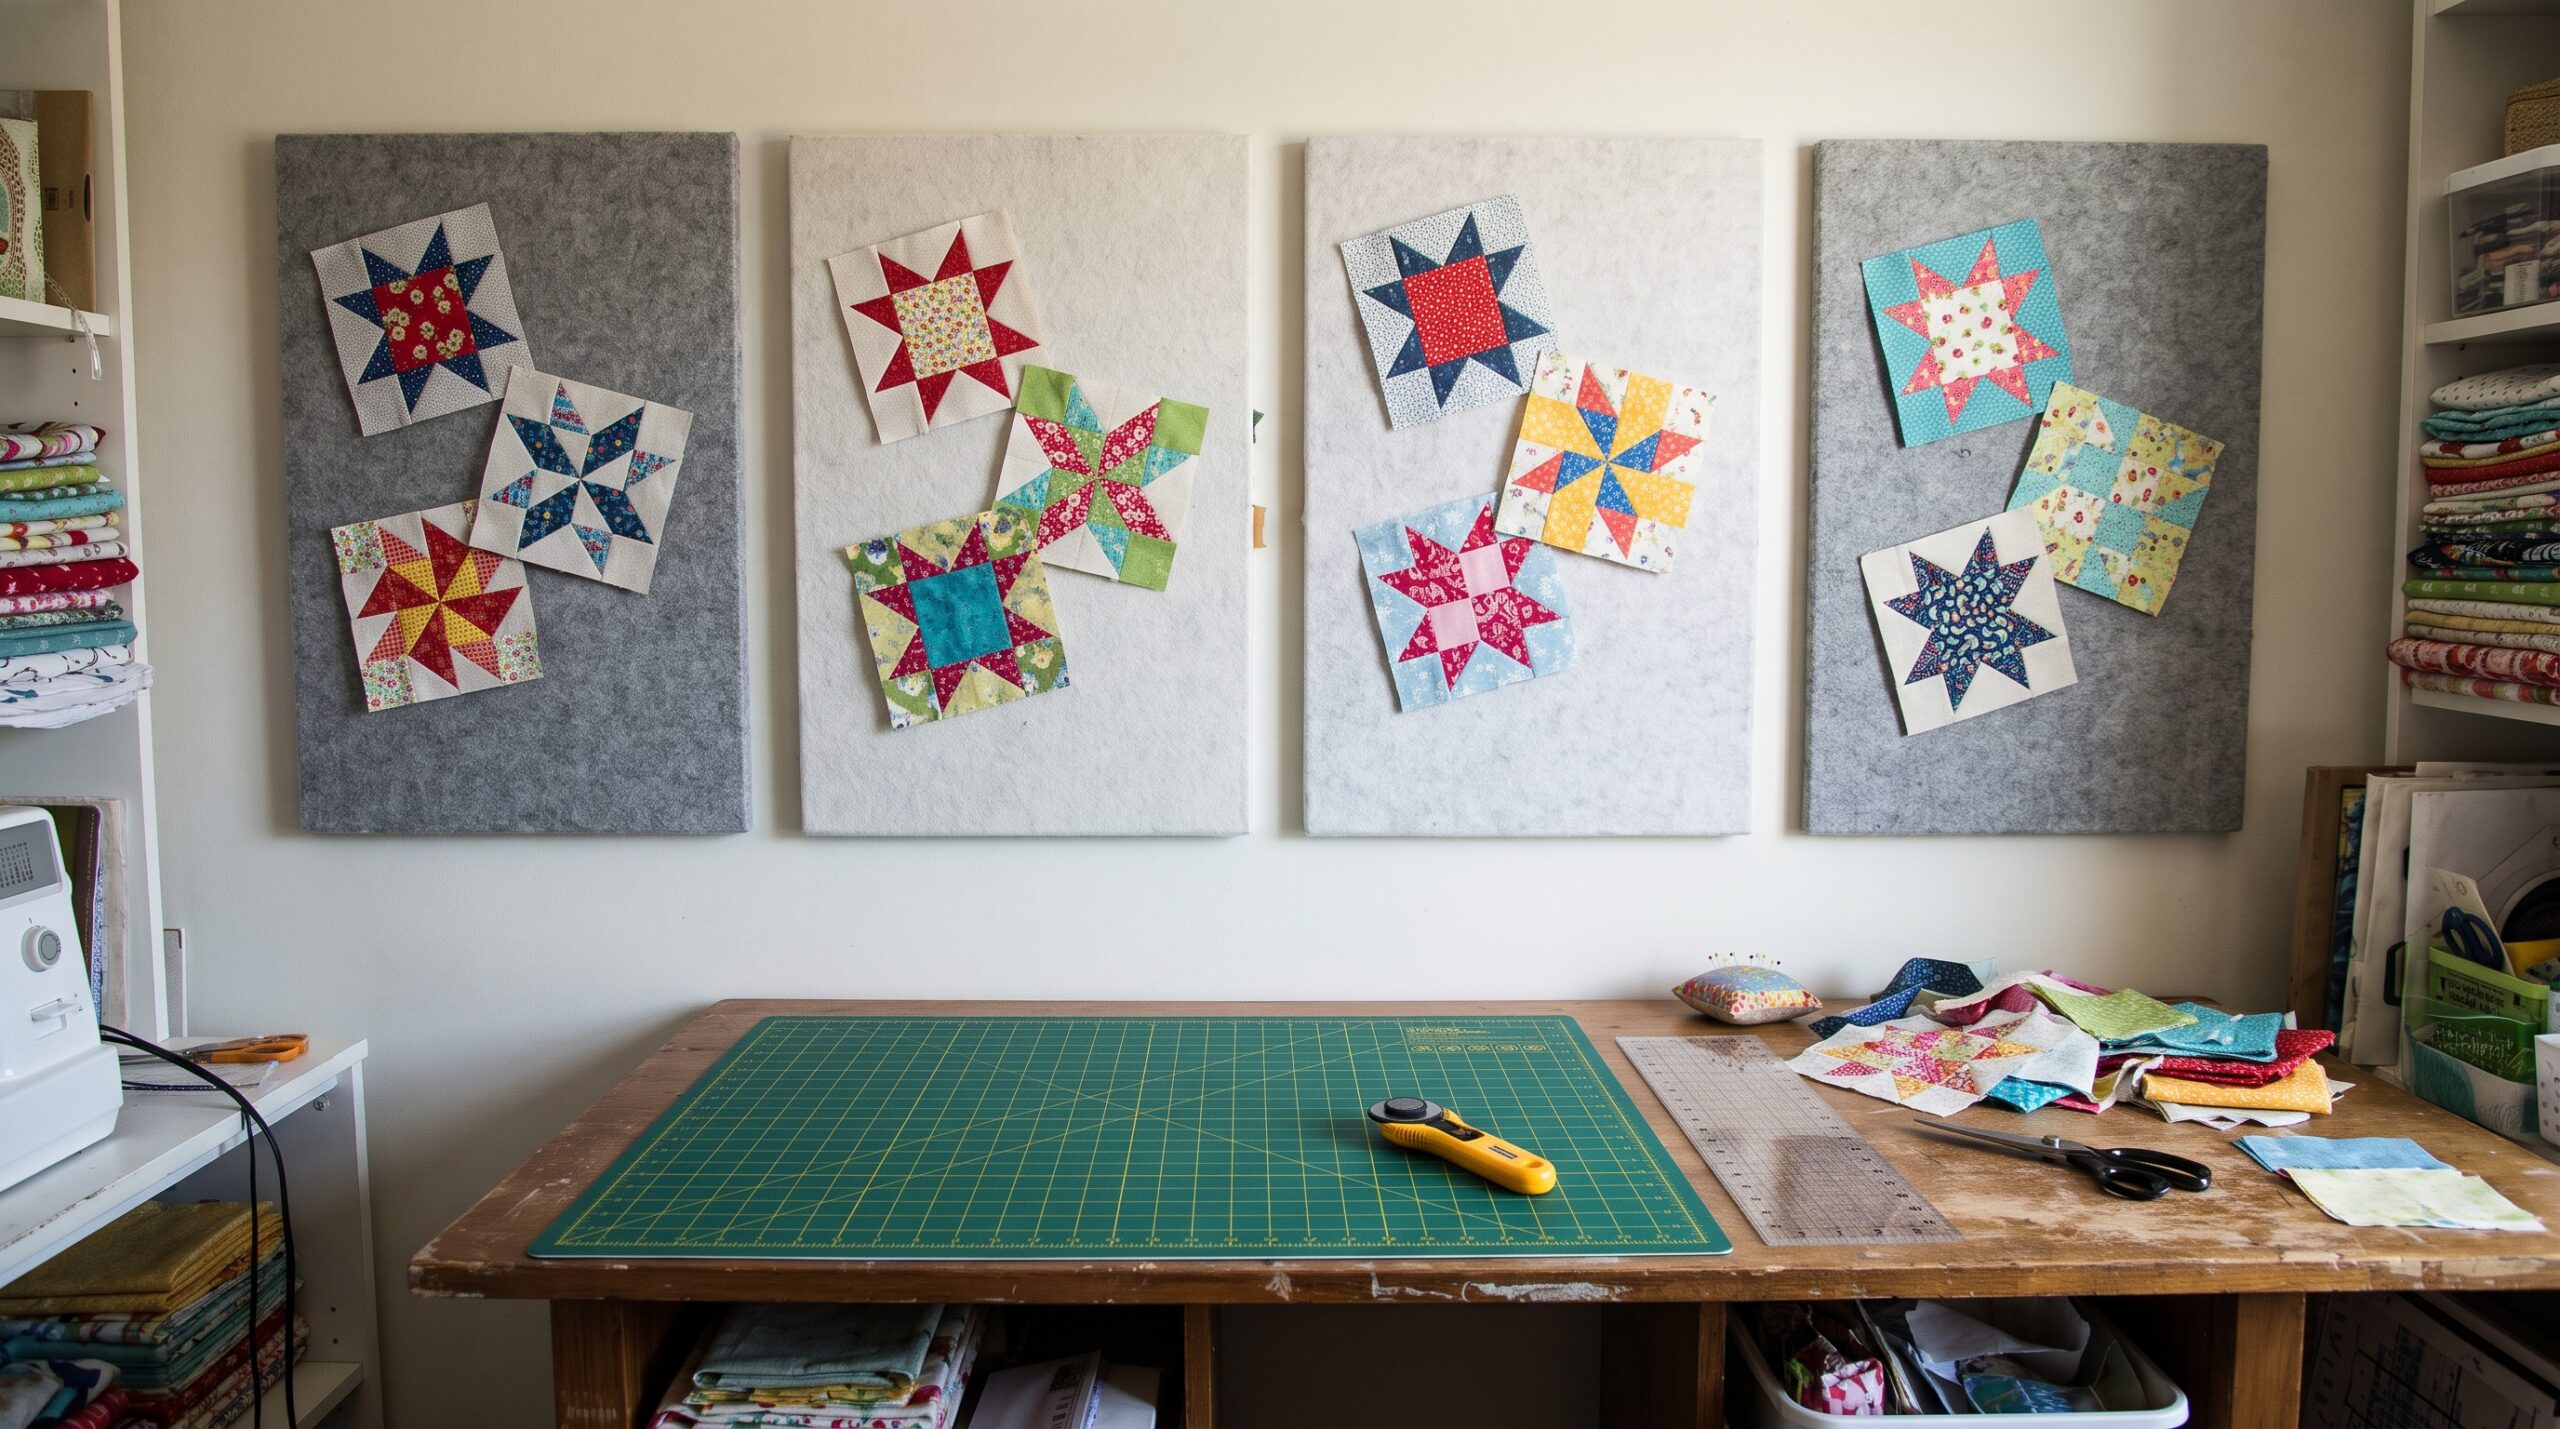
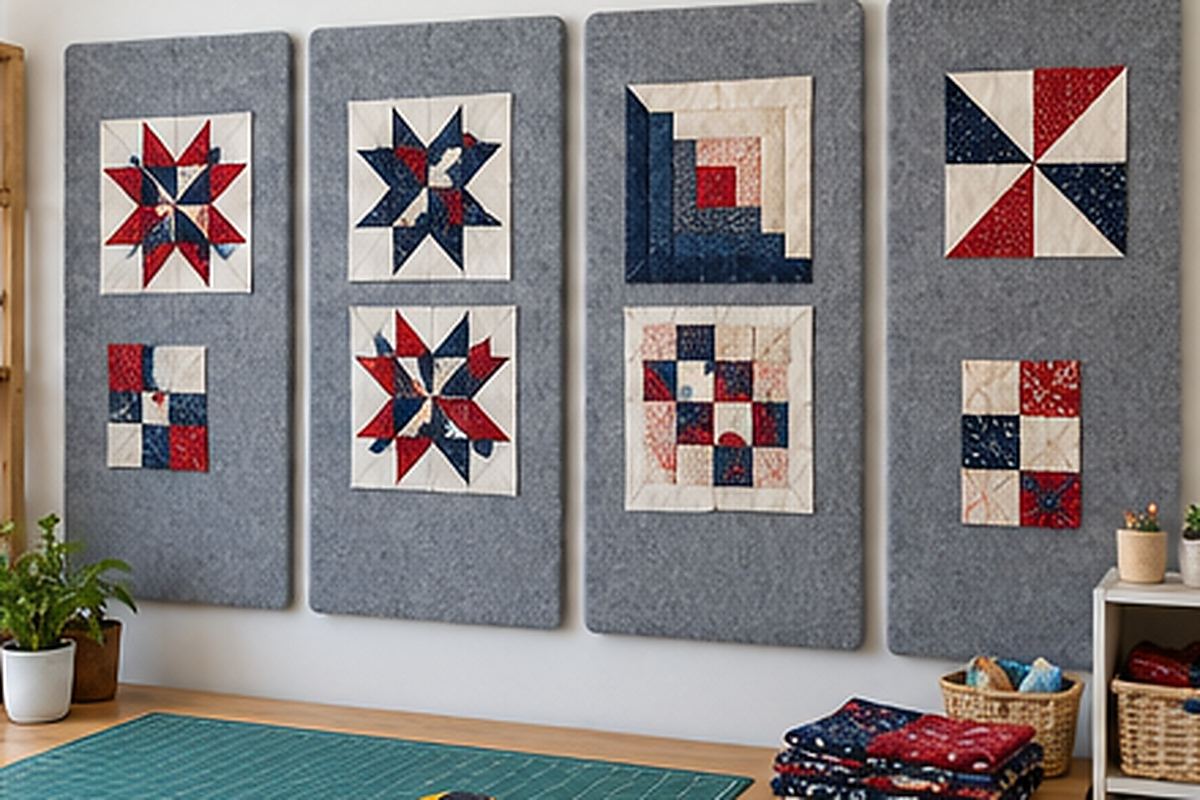
Software shows the plan, but the final arrangement is made with real fabric. A quilt design wall holds every block upright so you can see the whole quilt at once, step back, and swap blocks in seconds without pins.
- Grid lines keep rows straight and help you place blocks on point accurately.
- Stepping back 6 feet or more shows whether colors are balanced across the quilt.
- A quick photo in black and white shows whether the light and dark values form the pattern you want.
- Sashing and borders can be auditioned by laying strips between and around the blocks.
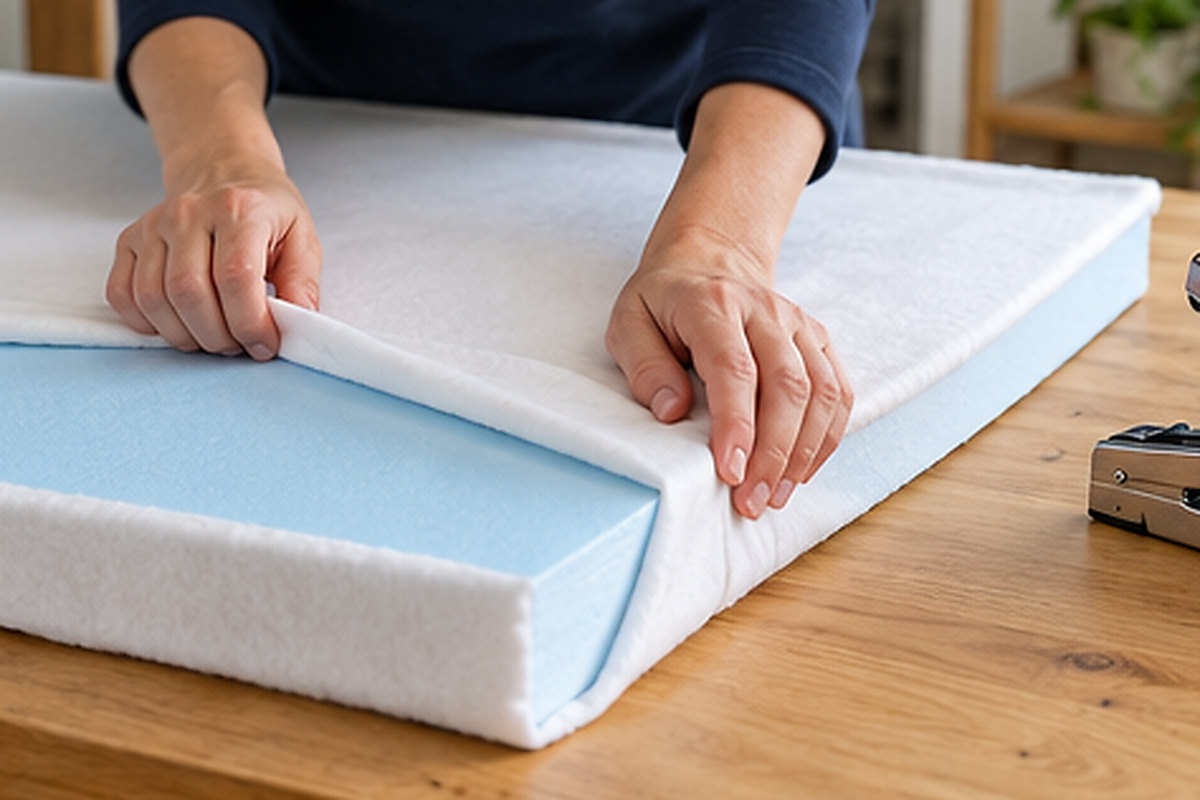
The large quilt design wall gives room for a bed-size layout, and quilt design wall tiles work well for small rooms or a few test blocks. Not sure which suits you? Compare them in our guide to the best quilt design wall.
Frequently asked questions
What is the most common quilt layout?
The straight set, with blocks sewn side by side in rows, is the most common quilt layout. It is easy to sew and lets blocks join to form larger patterns.
What does on point mean in quilting?
On point means the blocks are turned 45 degrees so they sit like diamonds. Setting triangles fill the gaps along the edges and corners of the quilt.
How do I decide on a quilt layout?
Start with the finished size and the block you want to use, sketch two or three layouts, then make a few test blocks and arrange them on a design wall to see which you prefer.
Do I need sashing in my quilt layout?
No. Sashing is optional. It suits sampler quilts and blocks that should be seen individually, while blocks meant to join into larger patterns are usually sewn side by side.
What is the best quilt layout planner?
Quilt design software and apps are useful for sketching layouts, while a design wall is the best way to plan the final layout with real fabric. Most quilters use both.
Tags