The right quilting tools make every step easier, from the first cut to the final binding stitch. You do not need everything at once, though. This guide covers the essential quilting tools and notions every quilter uses, what each one is for, which ones beginners really need, and which upgrades are worth adding later.
Quilting tools checklist
Use this checklist to see what to buy first and what can wait.
| Tool or notion | Used for | Beginner essential? |
|---|---|---|
| Rotary cutter | Cutting strips and shapes | Yes |
| Self-healing cutting mat | Protecting the table and the blade | Yes |
| 6″ x 24″ quilt ruler | Straight, accurate cuts | Yes |
| Square ruler | Squaring up blocks | Helpful |
| Fabric scissors and snips | Trimming and cutting threads | Yes |
| Quarter-inch foot | Consistent seam allowances | Yes |
| Pins and seam ripper | Matching seams and fixing mistakes | Yes |
| Iron | Pressing seams and fabric | Yes |
| Design wall | Planning layouts and colors | Strongly recommended |
| Curved safety pins or basting spray | Basting the quilt sandwich | Yes |
| Walking foot | Straight-line quilting and binding | Yes |
| Marking tools | Drawing quilting lines | Helpful |
| Quilt clips | Holding binding and thick layers | Helpful |
| Quilt hoop or frame | Hand quilting | Only for hand quilting |
Cutting tools
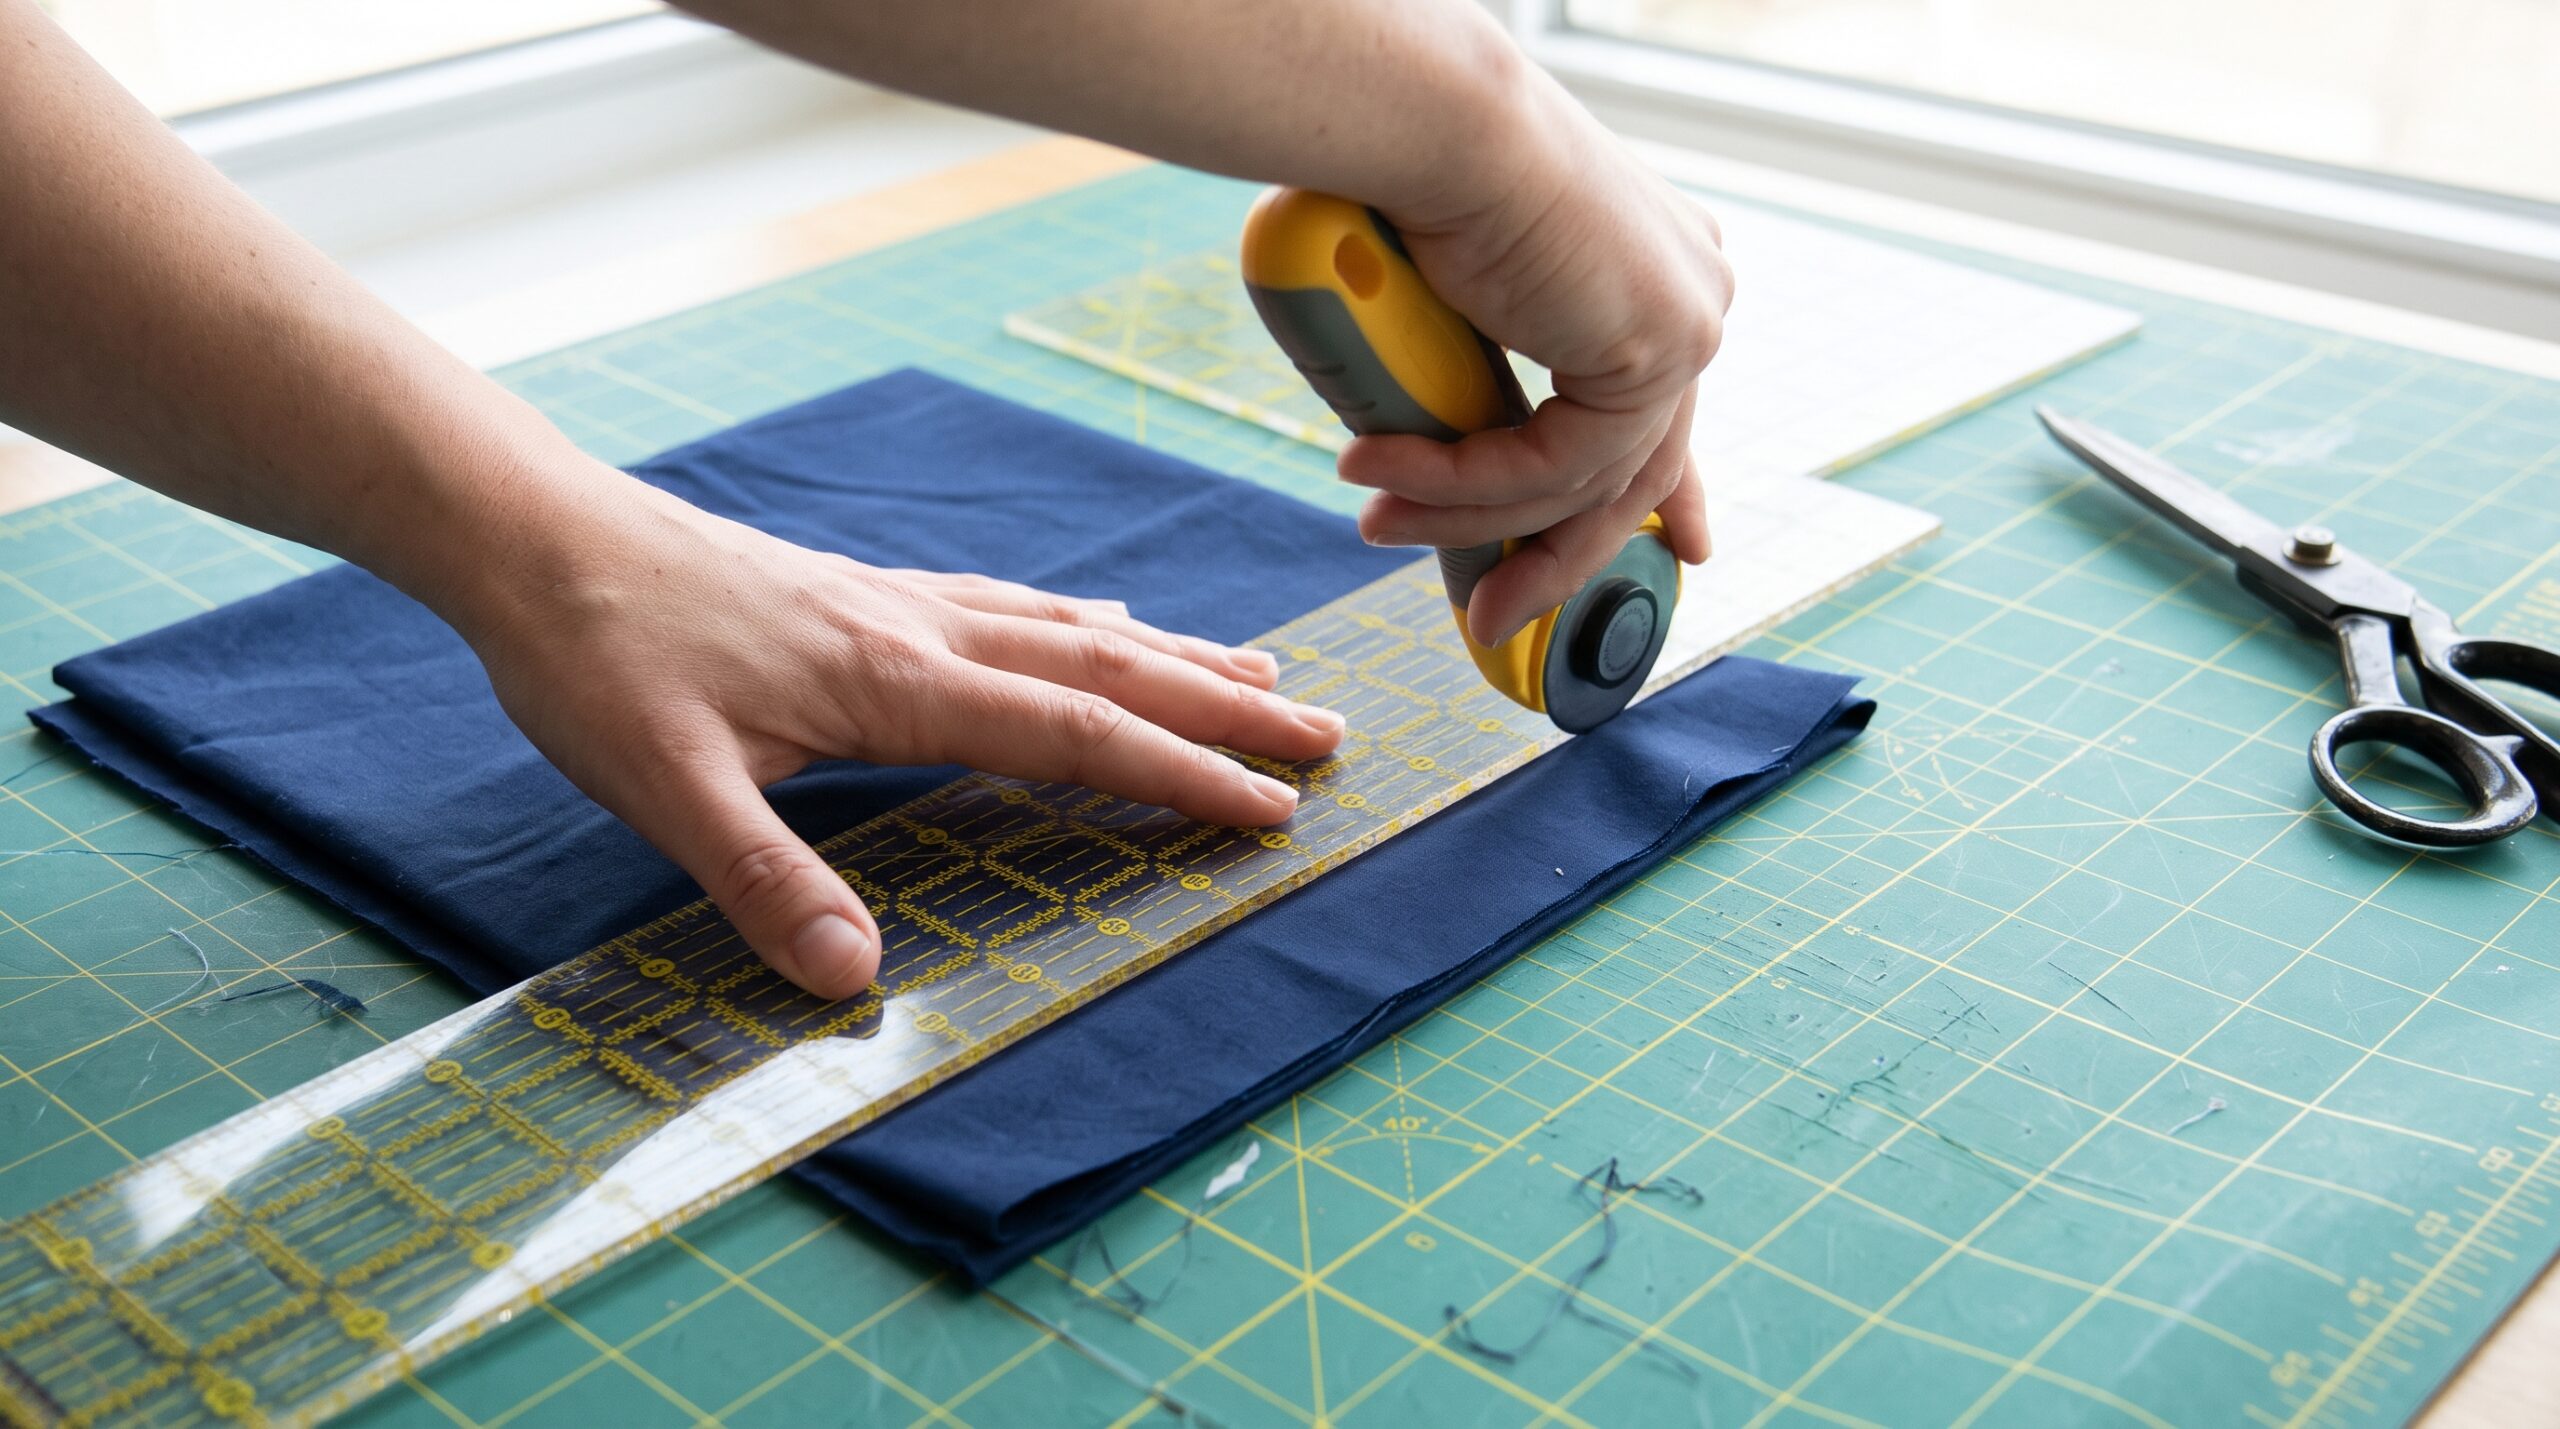
Accurate cutting is where good quilts begin, so these are the quilting tools to invest in first.
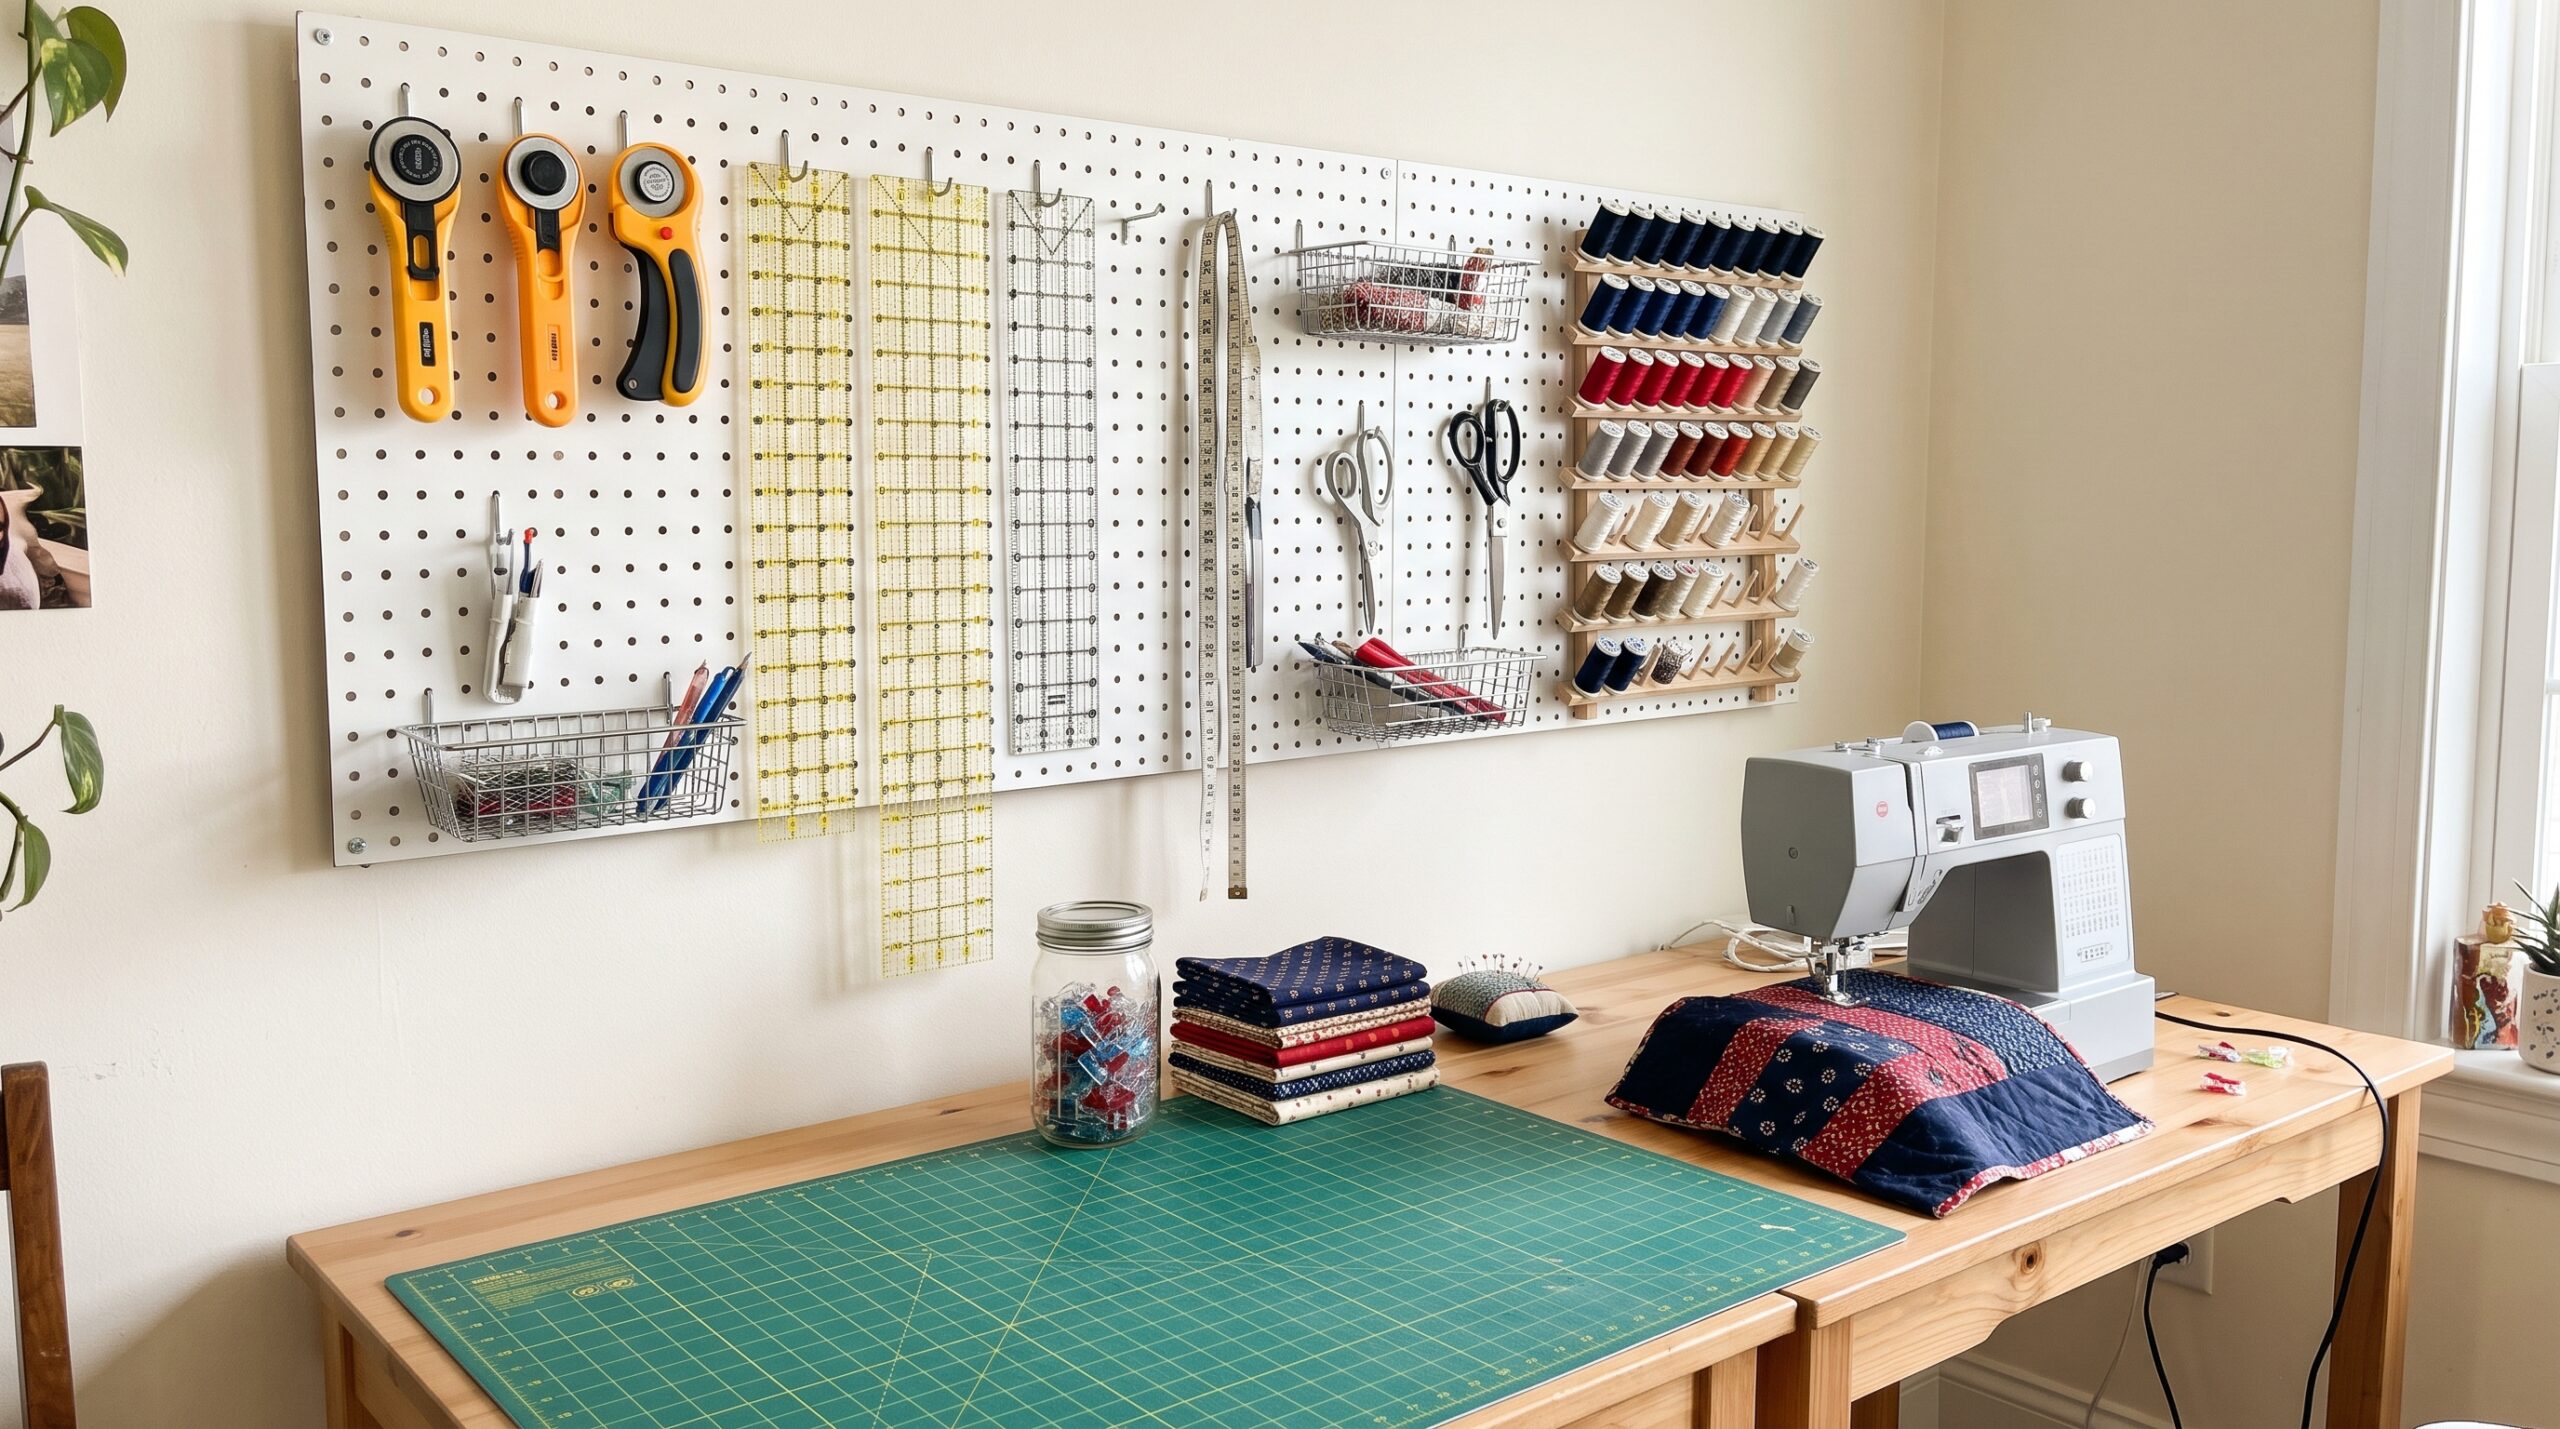
- Rotary cutter. A 45 mm rotary cutter handles most quilting cuts. Choose one with a blade guard that is easy to close, and change the blade as soon as it skips threads.
- Quilt cutting mat. A self-healing mat protects your table and keeps the blade sharp. An 18″ x 24″ mat fits a folded width of fabric, and a larger mat saves moving the fabric around.
- Quilt rulers. A 6″ x 24″ ruler cuts strips across folded fabric. Add a square ruler, such as 6 1/2″ or 12 1/2″, for squaring up blocks. Specialty rulers and templates for triangles, hexagons and curves can wait until a pattern needs them.
- Fabric scissors and thread snips. Keep fabric scissors for fabric only, since paper dulls them. Small snips sit by the machine for trimming threads.
For accurate cuts, line up the ruler markings with the fabric edge rather than the lines on the mat, and always cut away from your body.
Piecing and pressing tools
- Sewing machine with a quarter-inch foot. Any machine with a reliable straight stitch will piece a quilt. A quarter-inch foot keeps every seam allowance the same.
- Quilting pins. Long, fine pins with glass heads slide through layers easily and will not melt under the iron.
- Seam ripper. Every quilter uses one. A sharp seam ripper removes stitches without stretching the fabric.
- Thread. A medium-weight cotton or polyester thread in a neutral color such as gray or beige blends with most fabrics.
- Iron and pressing surface. A steam iron and a firm pressing surface keep seams flat. Many quilters add a small travel iron or a wool pressing mat beside the machine.
- Spray starch. Starching fabric before cutting makes it crisper and easier to cut and sew accurately, especially for small pieces and bias edges.
Design and layout tools
Planning tools help you see the finished quilt before you sew the blocks together, which is when most color and layout decisions are made.
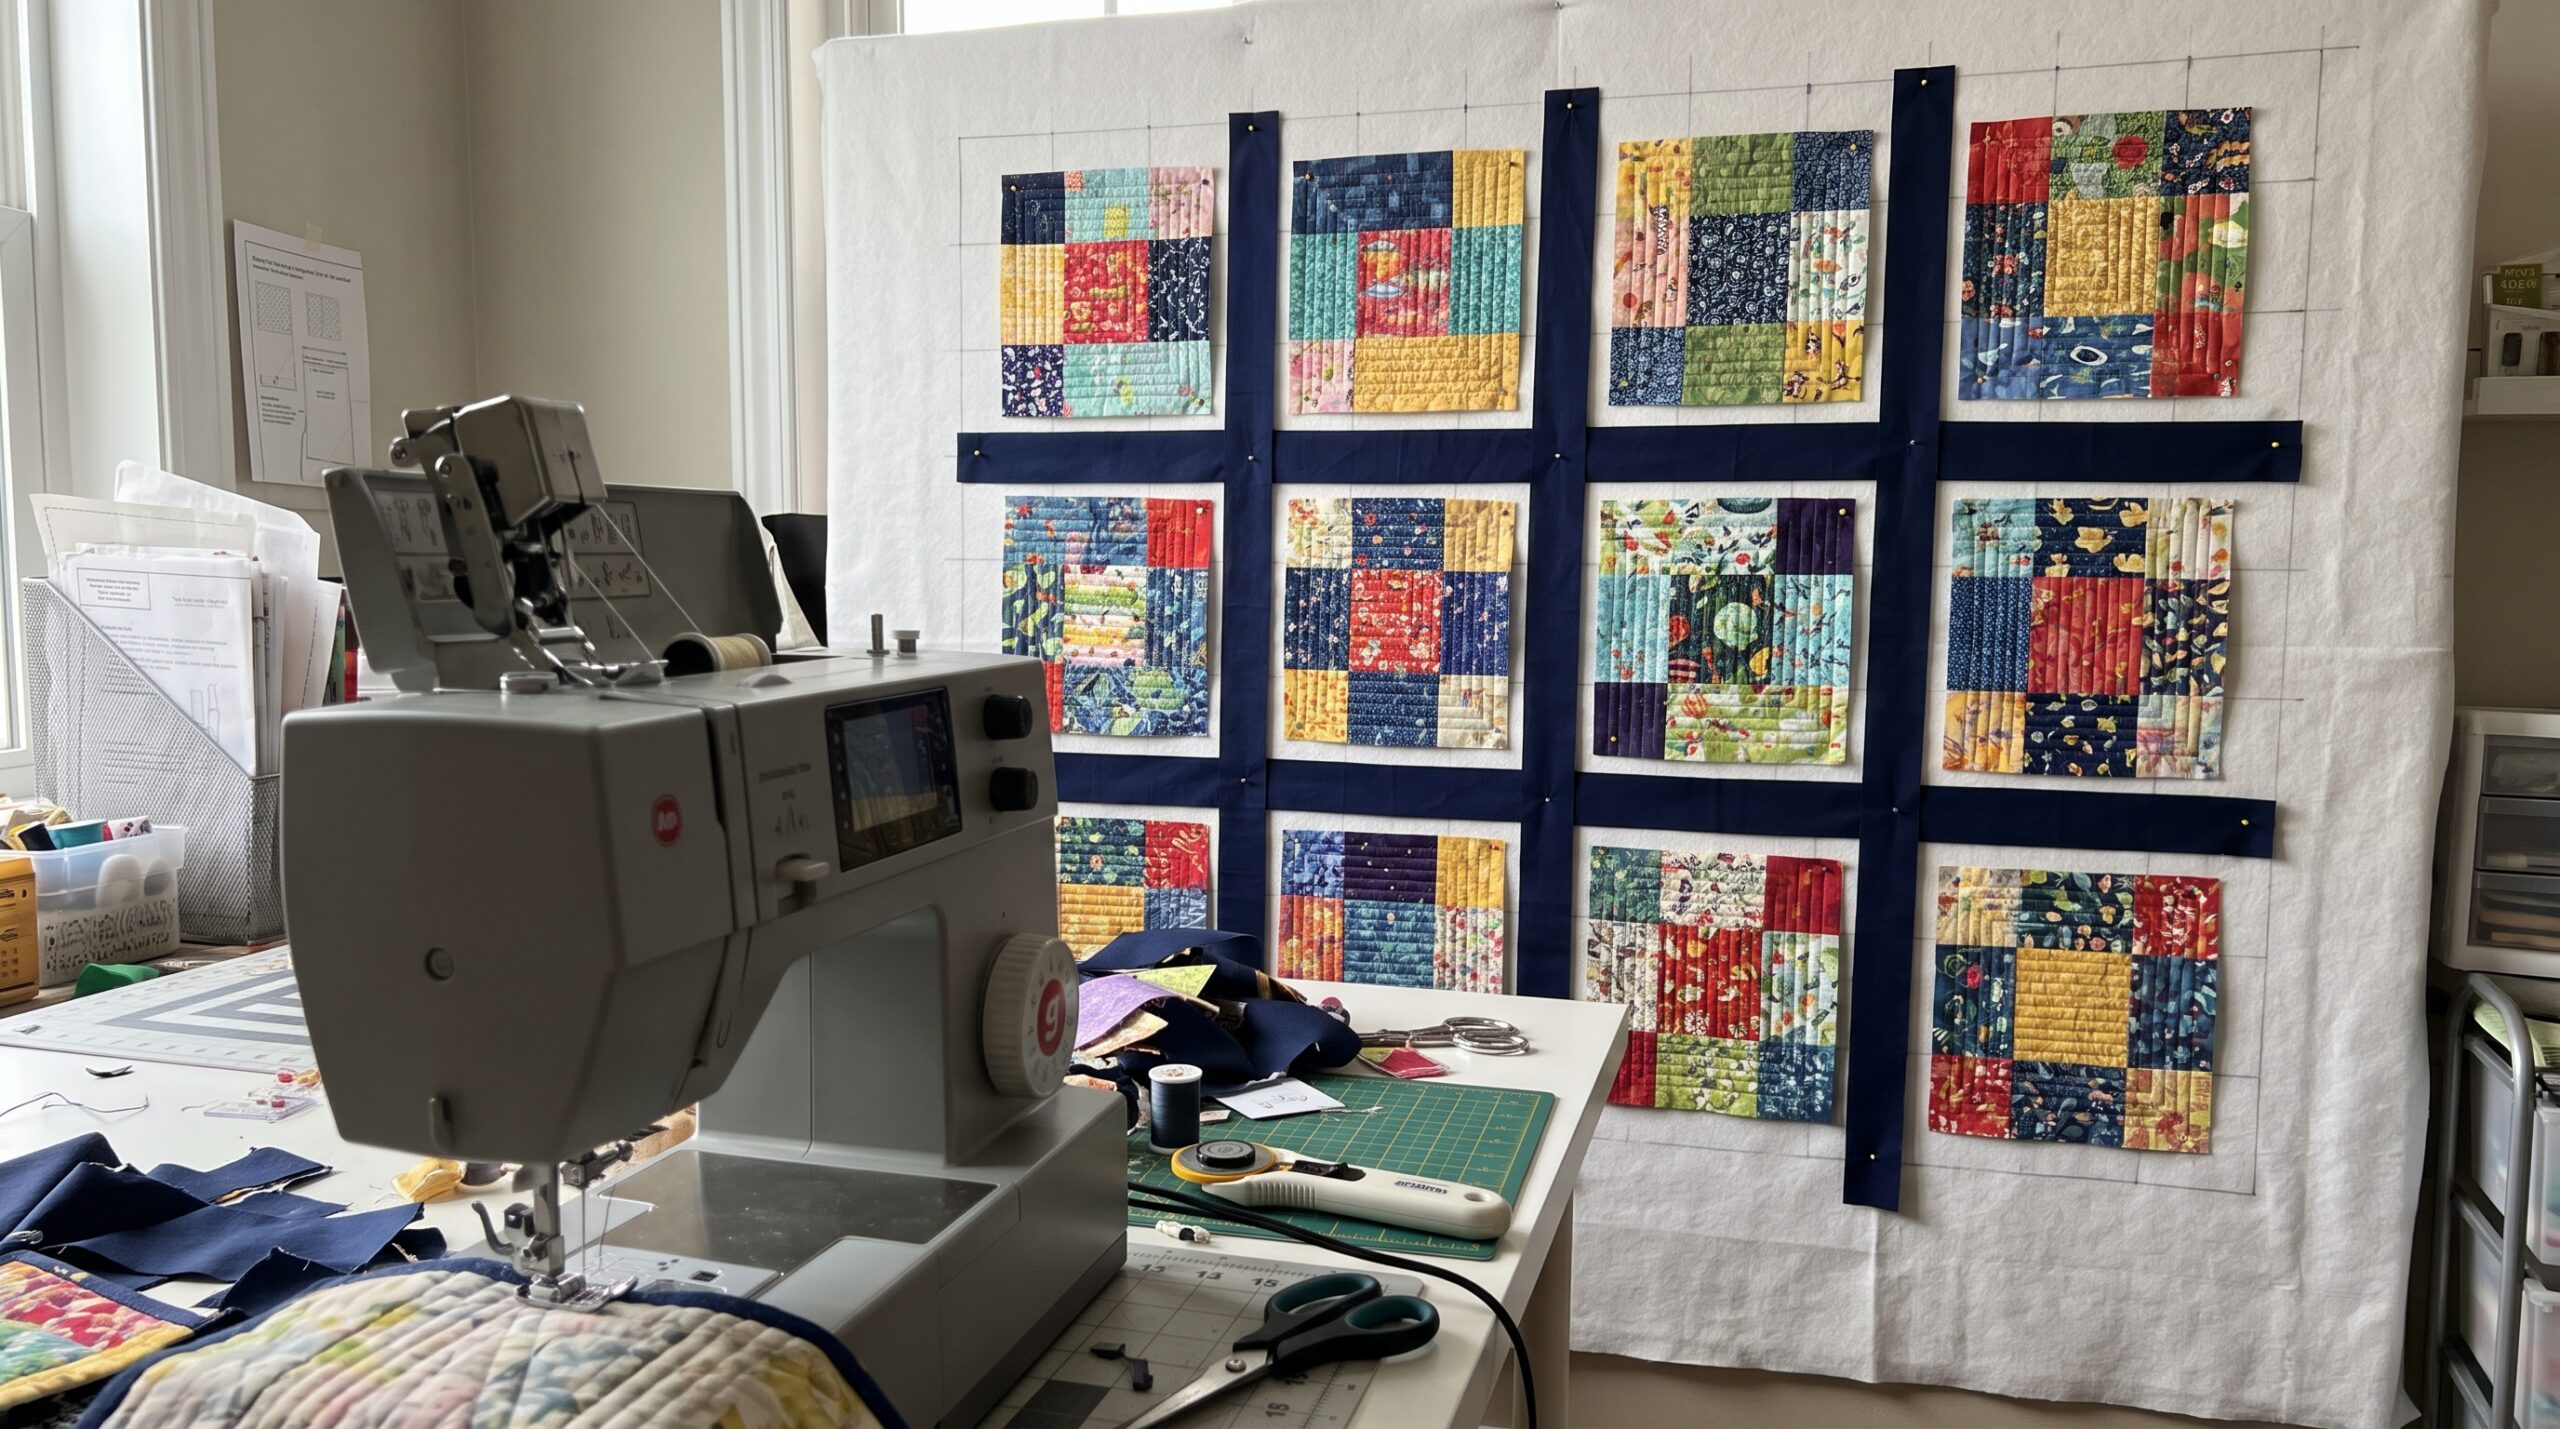
- Quilt design wall. A quilt design wall holds blocks and fabric upright so you can step back and judge the whole layout. Flannel and felt grip fabric without pins. The large quilt design wall fits a full bed-size quilt, and quilt design wall tiles work in small sewing rooms. You can compare the options in our guide to the best quilt design wall.
- A phone camera. Photos, including black and white ones, reveal value problems and fabrics that clump together.
- Graph paper or quilt design software. Sketch a layout or try colors digitally before you cut. See our guide on how to design a quilt.
Basting and quilting tools
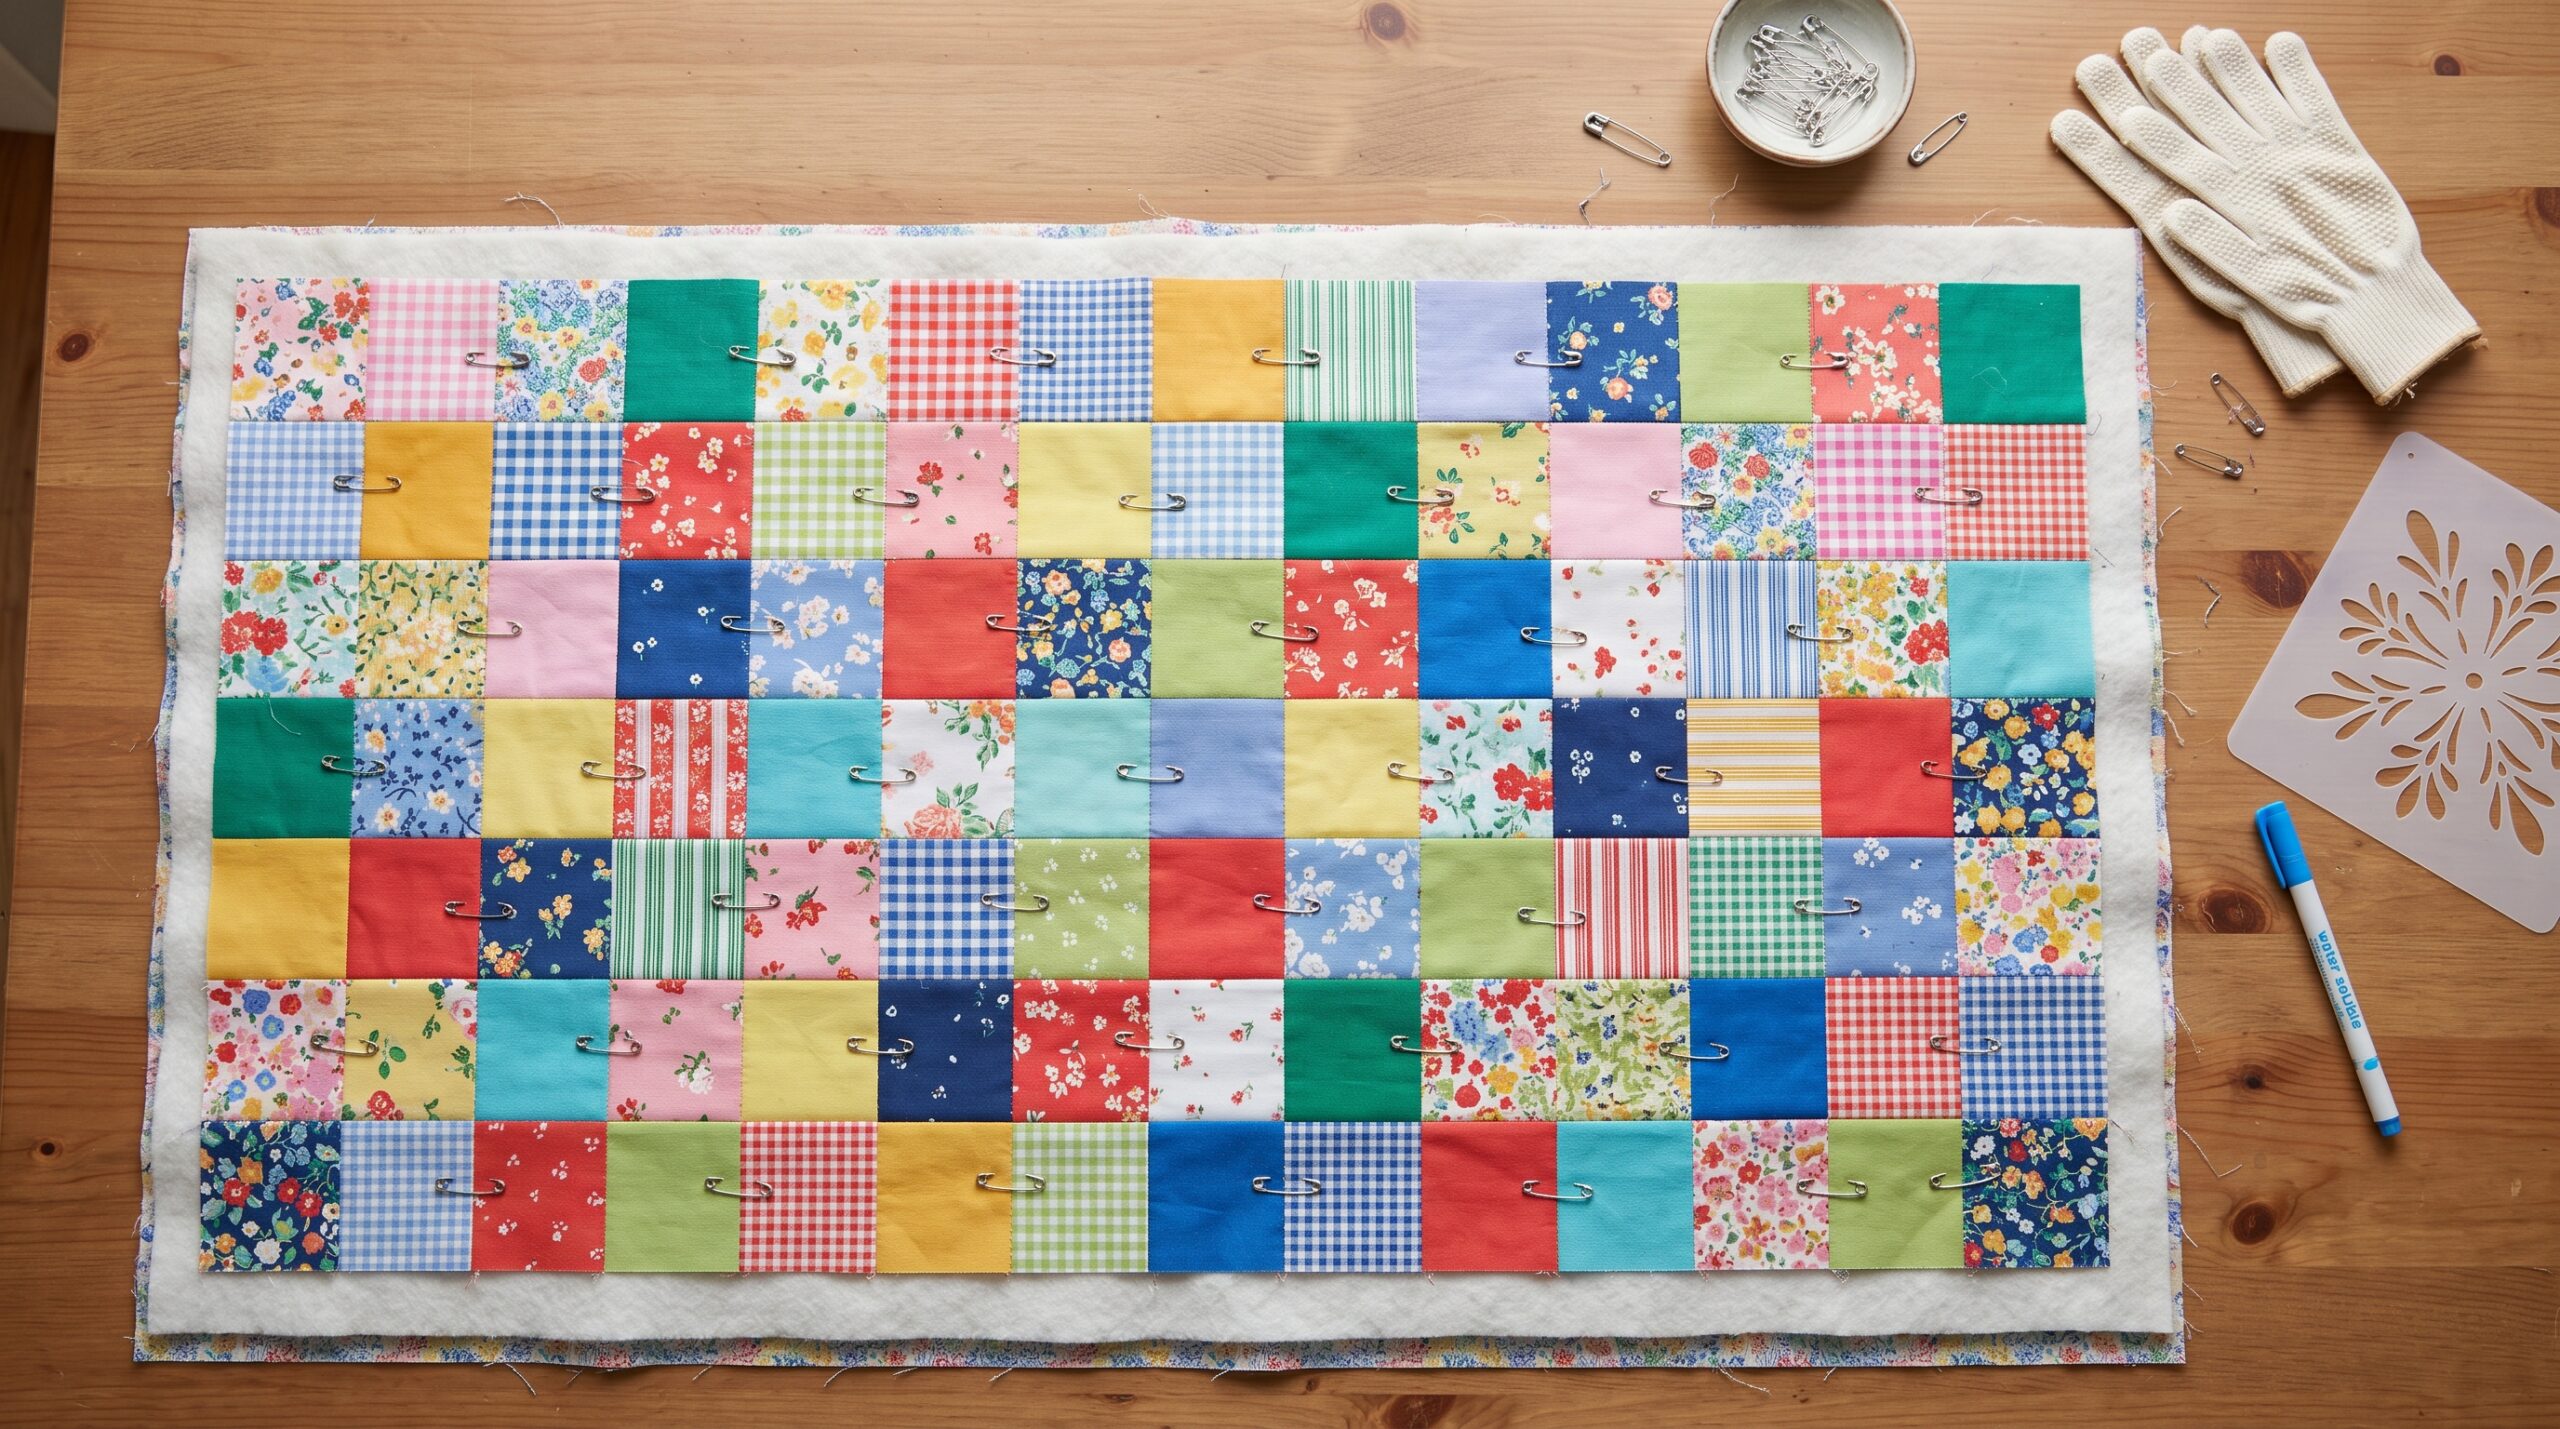
These quilting notions hold the quilt sandwich together and help you stitch the layers smoothly.
- Curved safety pins. The curve makes pinning through all three layers quicker. Pin every 4″ to 6″ across the quilt.
- Quilt basting spray. A temporary fabric adhesive that holds the layers together without pins. Use it in a well-ventilated room and protect the floor or wall.
- Walking foot. Feeds the top and bottom layers evenly, so straight-line quilting stays smooth and pucker-free.
- Free-motion foot. Also called a darning foot, it lets you move the quilt freely to stitch curves and meanders.
- Quilting gloves. Grippy gloves make it easier to guide the quilt under the needle.
- Quilt marking tools. Water-soluble pens, chalk, hera markers and painter’s tape mark quilting lines. Always test a marker on a scrap first.
- Quilting stencils. Plastic stencils transfer designs such as feathers, cables and borders onto the quilt top.
- Quilt hoop and quilt frame. For hand quilting, a hoop keeps a section of the quilt taut. A quilt frame holds a larger area and keeps the whole quilt evenly tensioned. Frames for machine quilting are a larger investment for quilters who quilt often.
If basting and quilting a large quilt sounds daunting, the quilt as you go method lets you work in small sections.
Binding tools and quilt clips
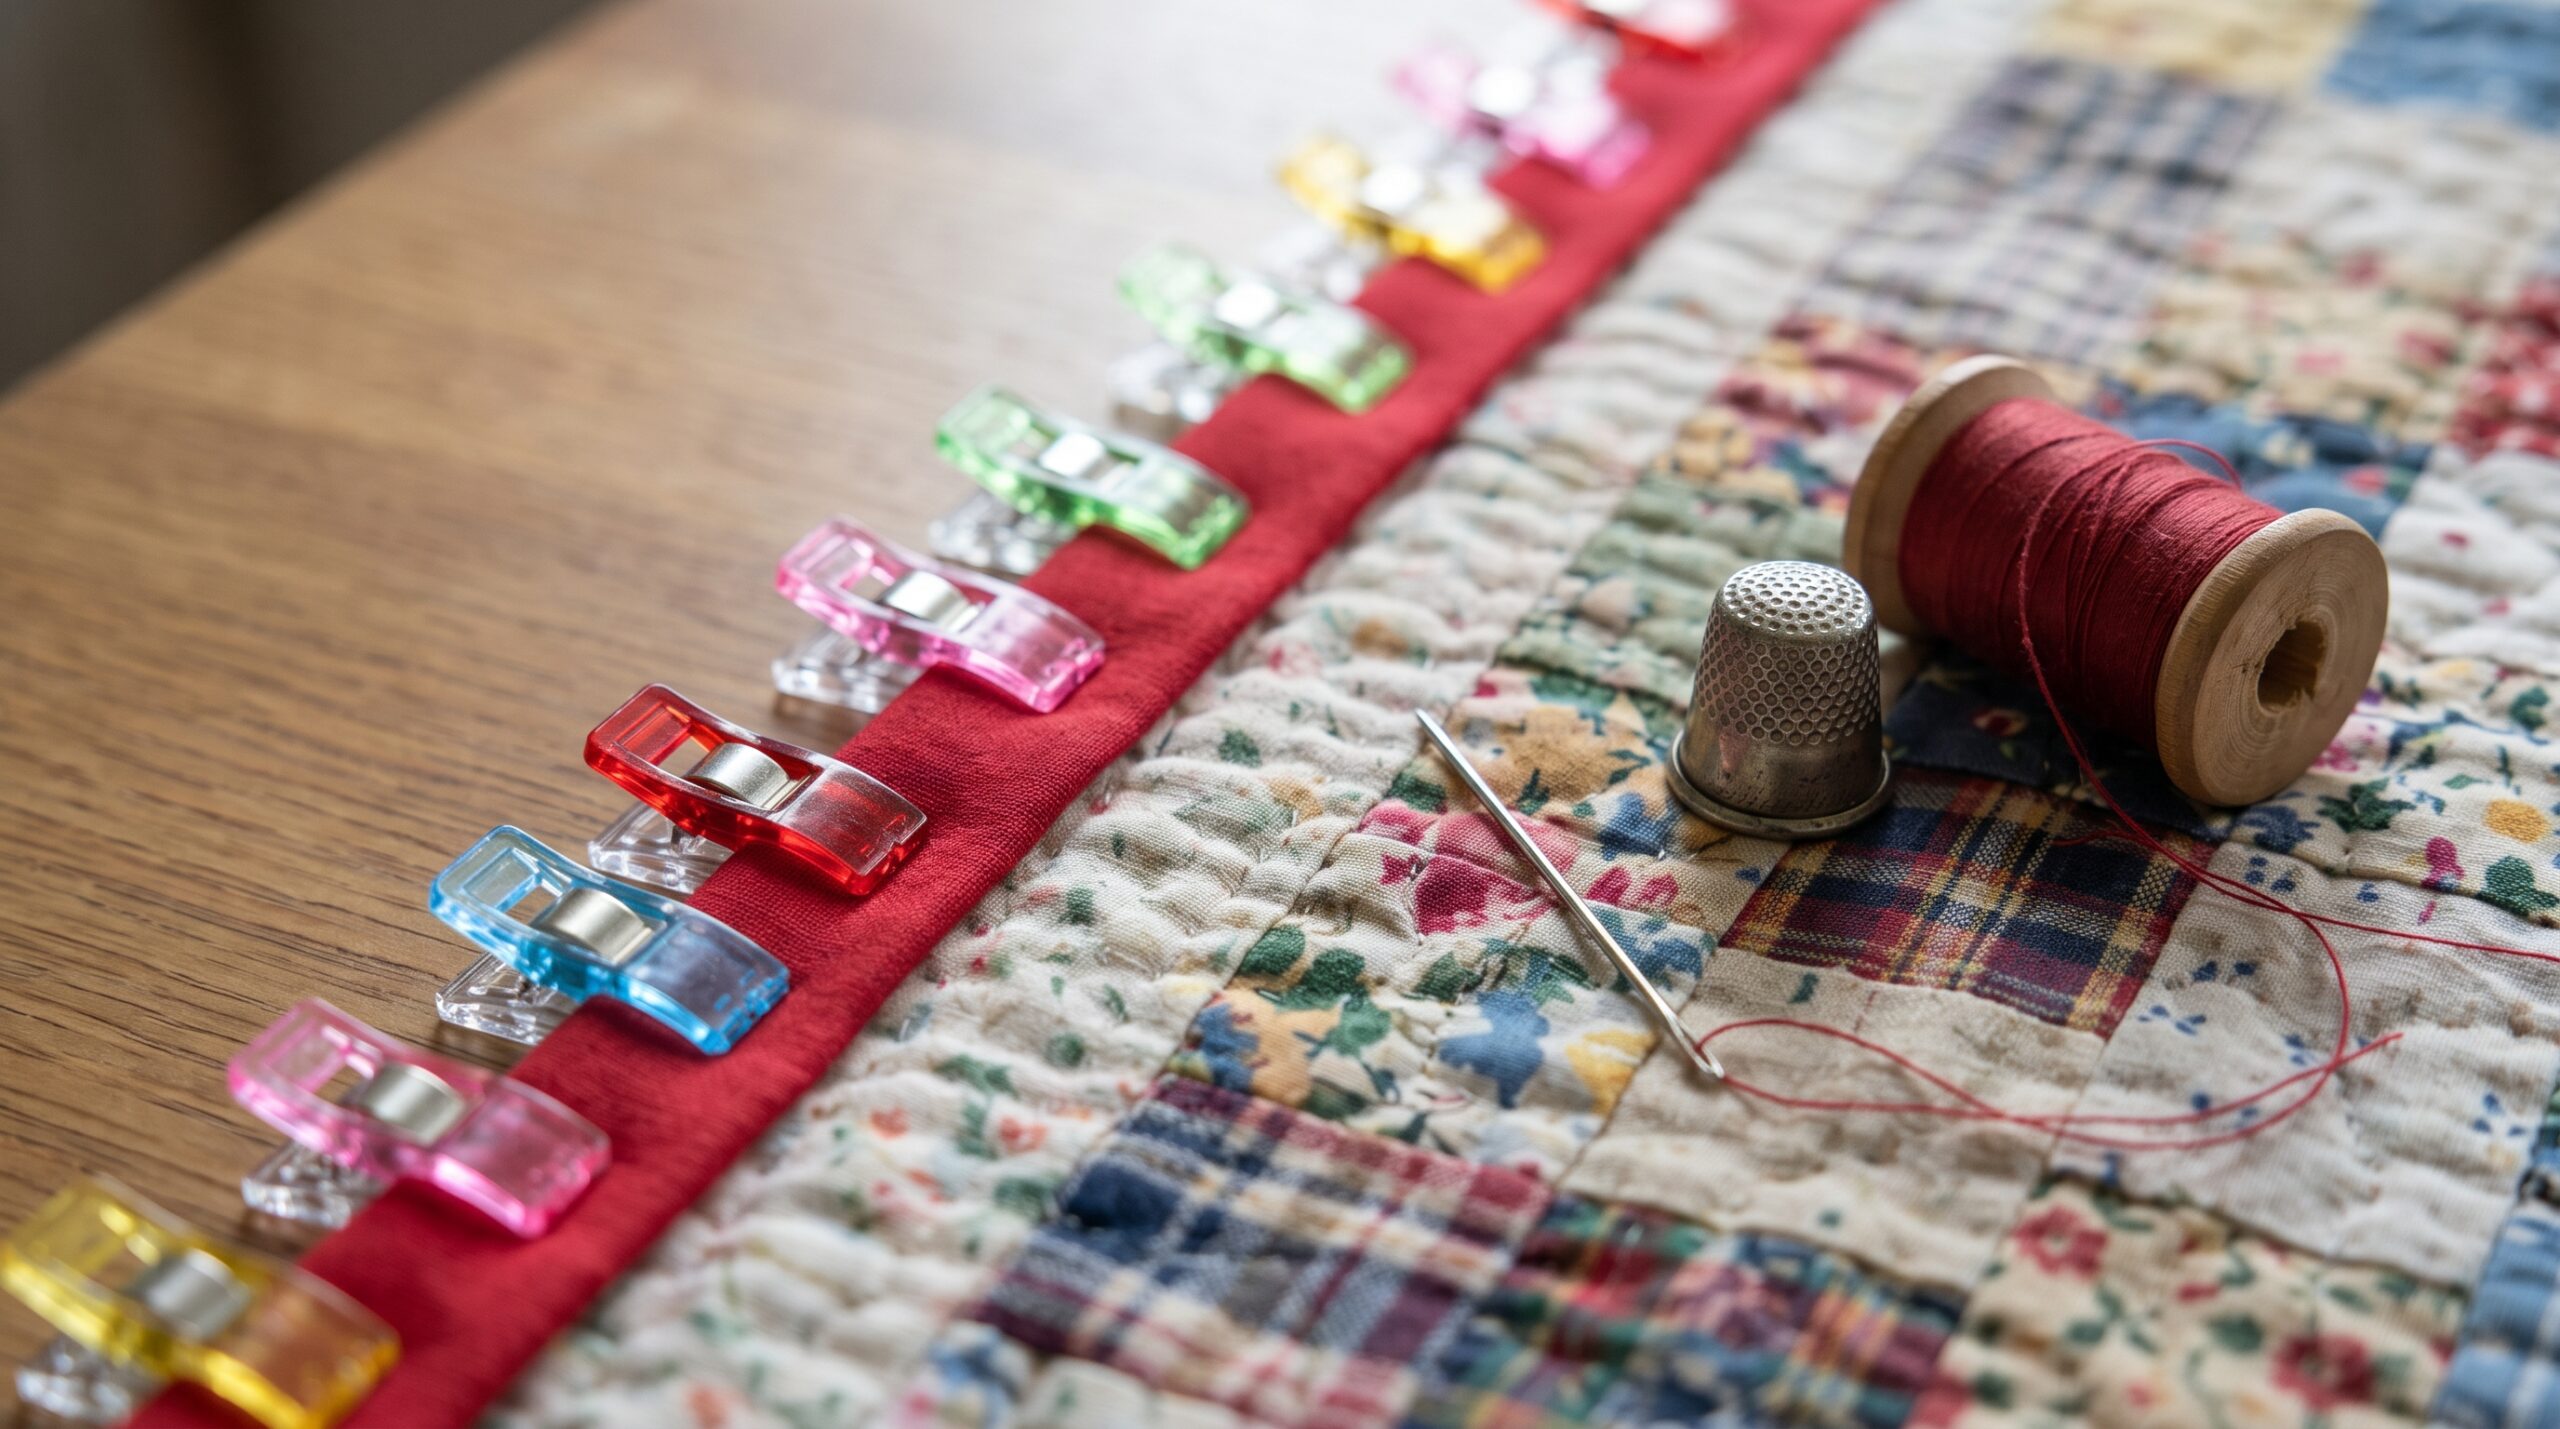
- Quilt clips. Also called binding clips or wonder clips, they hold binding in place without pins and grip thick layers. They are also handy for rolling up a quilt for machine quilting.
- Quilt binding tools. Binding rulers and tools help you join the binding ends neatly and cut binding strips at an accurate width.
- Hand sewing needles and thimble. For stitching the binding to the back of the quilt by hand.
Quilt storage
Good storage protects both your fabric and your finished quilts.
- Store quilts in breathable bags. Cotton or other breathable quilt storage bags let air circulate. Avoid long-term storage in sealed plastic, which can trap moisture.
- Refold quilts every few months along different lines so creases do not set permanently.
- Keep quilts out of direct sunlight, which fades fabric over time.
- Organize fabric by color or project in clear bins or on shelves, folded to the same size so you can see what you have.
How to build your quilting toolkit
Start with the essentials for cutting, piecing and pressing, then add tools as your projects grow. A beginner can make a full quilt with a rotary cutter, mat, one long ruler, scissors, pins, a seam ripper, an iron and a sewing machine. Add a walking foot and safety pins when you reach the quilting stage, and a design wall as soon as you start arranging blocks. For the full process, read our step-by-step guide on how to make a quilt.
Frequently asked questions
What tools do you need to start quilting?
To start quilting you need a sewing machine, a rotary cutter, a self-healing cutting mat, a 6 x 24 inch quilt ruler, fabric scissors, pins, a seam ripper and an iron. Add curved safety pins and a walking foot for the quilting stage.
What are quilt notions?
Quilt notions are the small tools and supplies used alongside fabric and thread, such as pins, quilt clips, marking pens, basting spray, seam rippers and binding tools.
What size cutting mat is best for quilting?
An 18 x 24 inch mat is a good first size because it fits a folded width of fabric. A 24 x 36 inch mat gives more room for cutting long strips and larger pieces.
What quilt rulers should a beginner buy?
Start with a 6 x 24 inch ruler for cutting strips and a square ruler, such as 6 1/2 or 12 1/2 inches, for squaring up blocks. Buy specialty rulers only when a pattern calls for them.
What are quilt clips used for?
Quilt clips hold binding in place while you sew it, grip thick layers that pins struggle with and keep a rolled quilt tidy during machine quilting.