Quilt Sashing: What It Is, Sashing Ideas and How to Add It
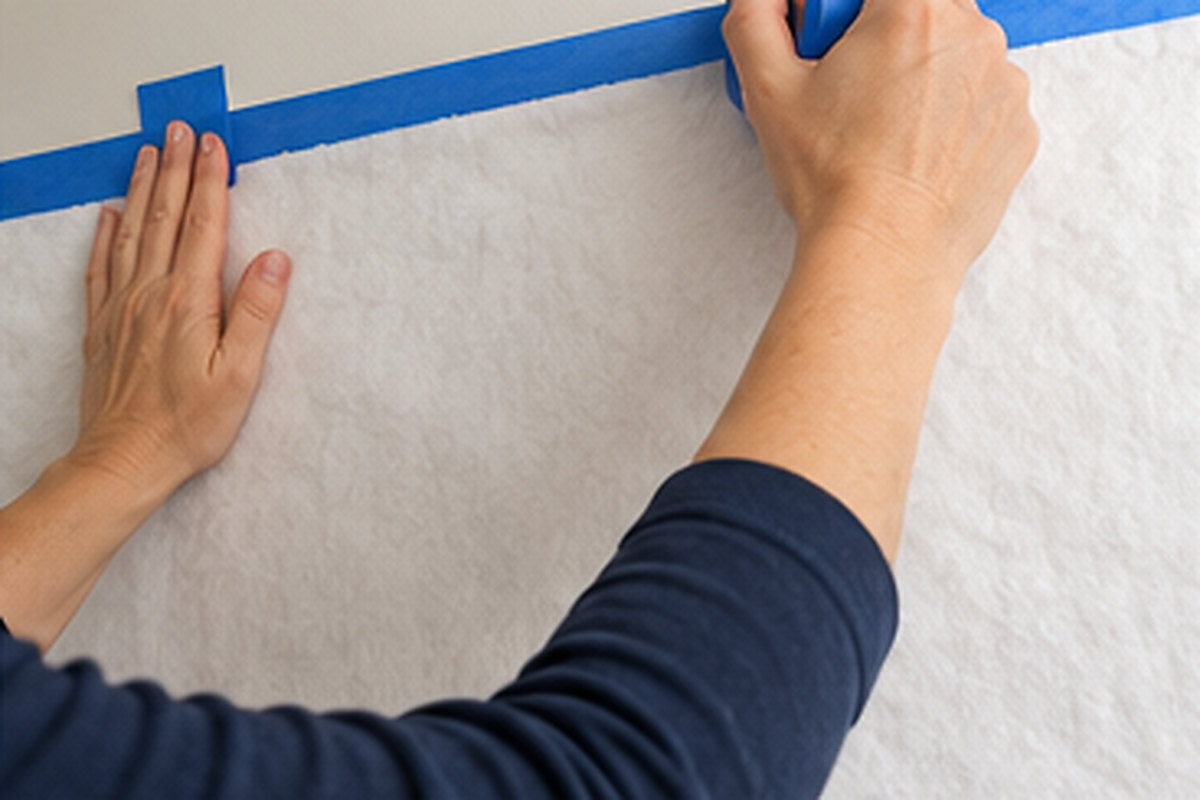
Sashing is one of the simplest ways to change the whole look of a quilt. The same blocks can look busy and crowded side by side, or calm and orderly once they are separated by sashing strips. This guide explains what sashing on a quilt is, the main types of quilt sashing, how wide to make it, how to add sashing to quilt blocks, and how to choose the right fabric.
What is sashing on a quilt?
Quilt sashing is the strips of fabric sewn between quilt blocks, separating them into a grid like the frames of a window. Sashing runs between the blocks in rows and columns, while a border runs around the outside edge of the whole quilt. Many quilts use both.
Sashing does three useful jobs:
- It separates blocks, so each one can be seen on its own. This is especially helpful for sampler quilts and T-shirt quilts.
- It adds size, making a quilt larger without making more blocks.
- It hides small differences in block size, because seams no longer need to match exactly from block to block.
Types of quilt sashing
Simple sashing
Short strips between the blocks in each row, and long strips between the rows. It is the easiest type to sew and gives a clean, grid-like look.
Sashing with cornerstones
Small squares, called cornerstones or sashing posts, sit where the strips meet. Cornerstones in a contrasting color create a secondary pattern of dots across the quilt and make it easier to line up rows, because every strip is the same short length.
Pieced sashing
The strips themselves are pieced, for example from three narrow strips sewn together, or from small squares. With cornerstones added, pieced sashing can form stars or chains between blocks.
Scrappy sashing
Each strip is cut from a different fabric. It suits relaxed, scrappy quilts and uses up leftover fabric.
Floating or background sashing
The sashing is cut from the same fabric as the block backgrounds, so the block designs appear to float on one continuous background. It is a popular modern look.
Quilt sashing ideas
- Dark sashing with light blocks for a stained-glass effect.
- White or cream sashing for a fresh, airy sampler quilt.
- Red cornerstones that repeat the red centers of log cabin blocks.
- Narrow sashing (1″ finished) for a subtle grid, or wide sashing (3″ or more) for a bold, modern layout.
- Sashing on T-shirt quilts to frame each shirt and make blocks of different sizes fit together.
- Sashing only in one direction, between columns but not rows, for a strippy, vertical look.
Sashing options at a glance
| Sashing type | Look | Skill level | Good for |
|---|---|---|---|
| Simple sashing | Clean grid | Beginner | First quilts, sampler quilts |
| With cornerstones | Grid with accent squares | Beginner | Keeping rows aligned |
| Pieced sashing | Stars or chains between blocks | Intermediate | Adding a secondary pattern |
| Scrappy sashing | Relaxed, colorful | Beginner | Using up scraps |
| Floating sashing | Blocks float on background | Beginner | Modern quilts |
How wide should quilt sashing be?
Sashing usually looks balanced at about one quarter of the block width. For 12″ finished blocks, 2″ to 3″ finished sashing is a good choice. Narrower sashing looks delicate; wider sashing makes the grid a strong part of the design. Remember to add 1/2″ for seam allowances when cutting, so 2″ finished sashing is cut 2 1/2″ wide.
How to add sashing to quilt blocks
- Square up every block to the same size before you start.
- Cut short sashing strips the same length as the unfinished block size, for example 12 1/2″ for 12″ finished blocks.
- Sew blocks and short strips into rows, alternating block, strip, block. Press seams toward the sashing.
- Make the long sashing strips. Either cut long strips to the measured length of a row, or, if using cornerstones, sew short strips and cornerstones into a sashing row.
- Join the rows with sashing rows in between, pinning where the vertical strips should line up so they run straight across the quilt.
- Measure and add borders if the quilt has them.
The most common sashing mistake is vertical strips that drift out of line from row to row. Cornerstones, or marking the strip positions on the long sashing with a pin, keep everything straight.
Choose sashing on a design wall
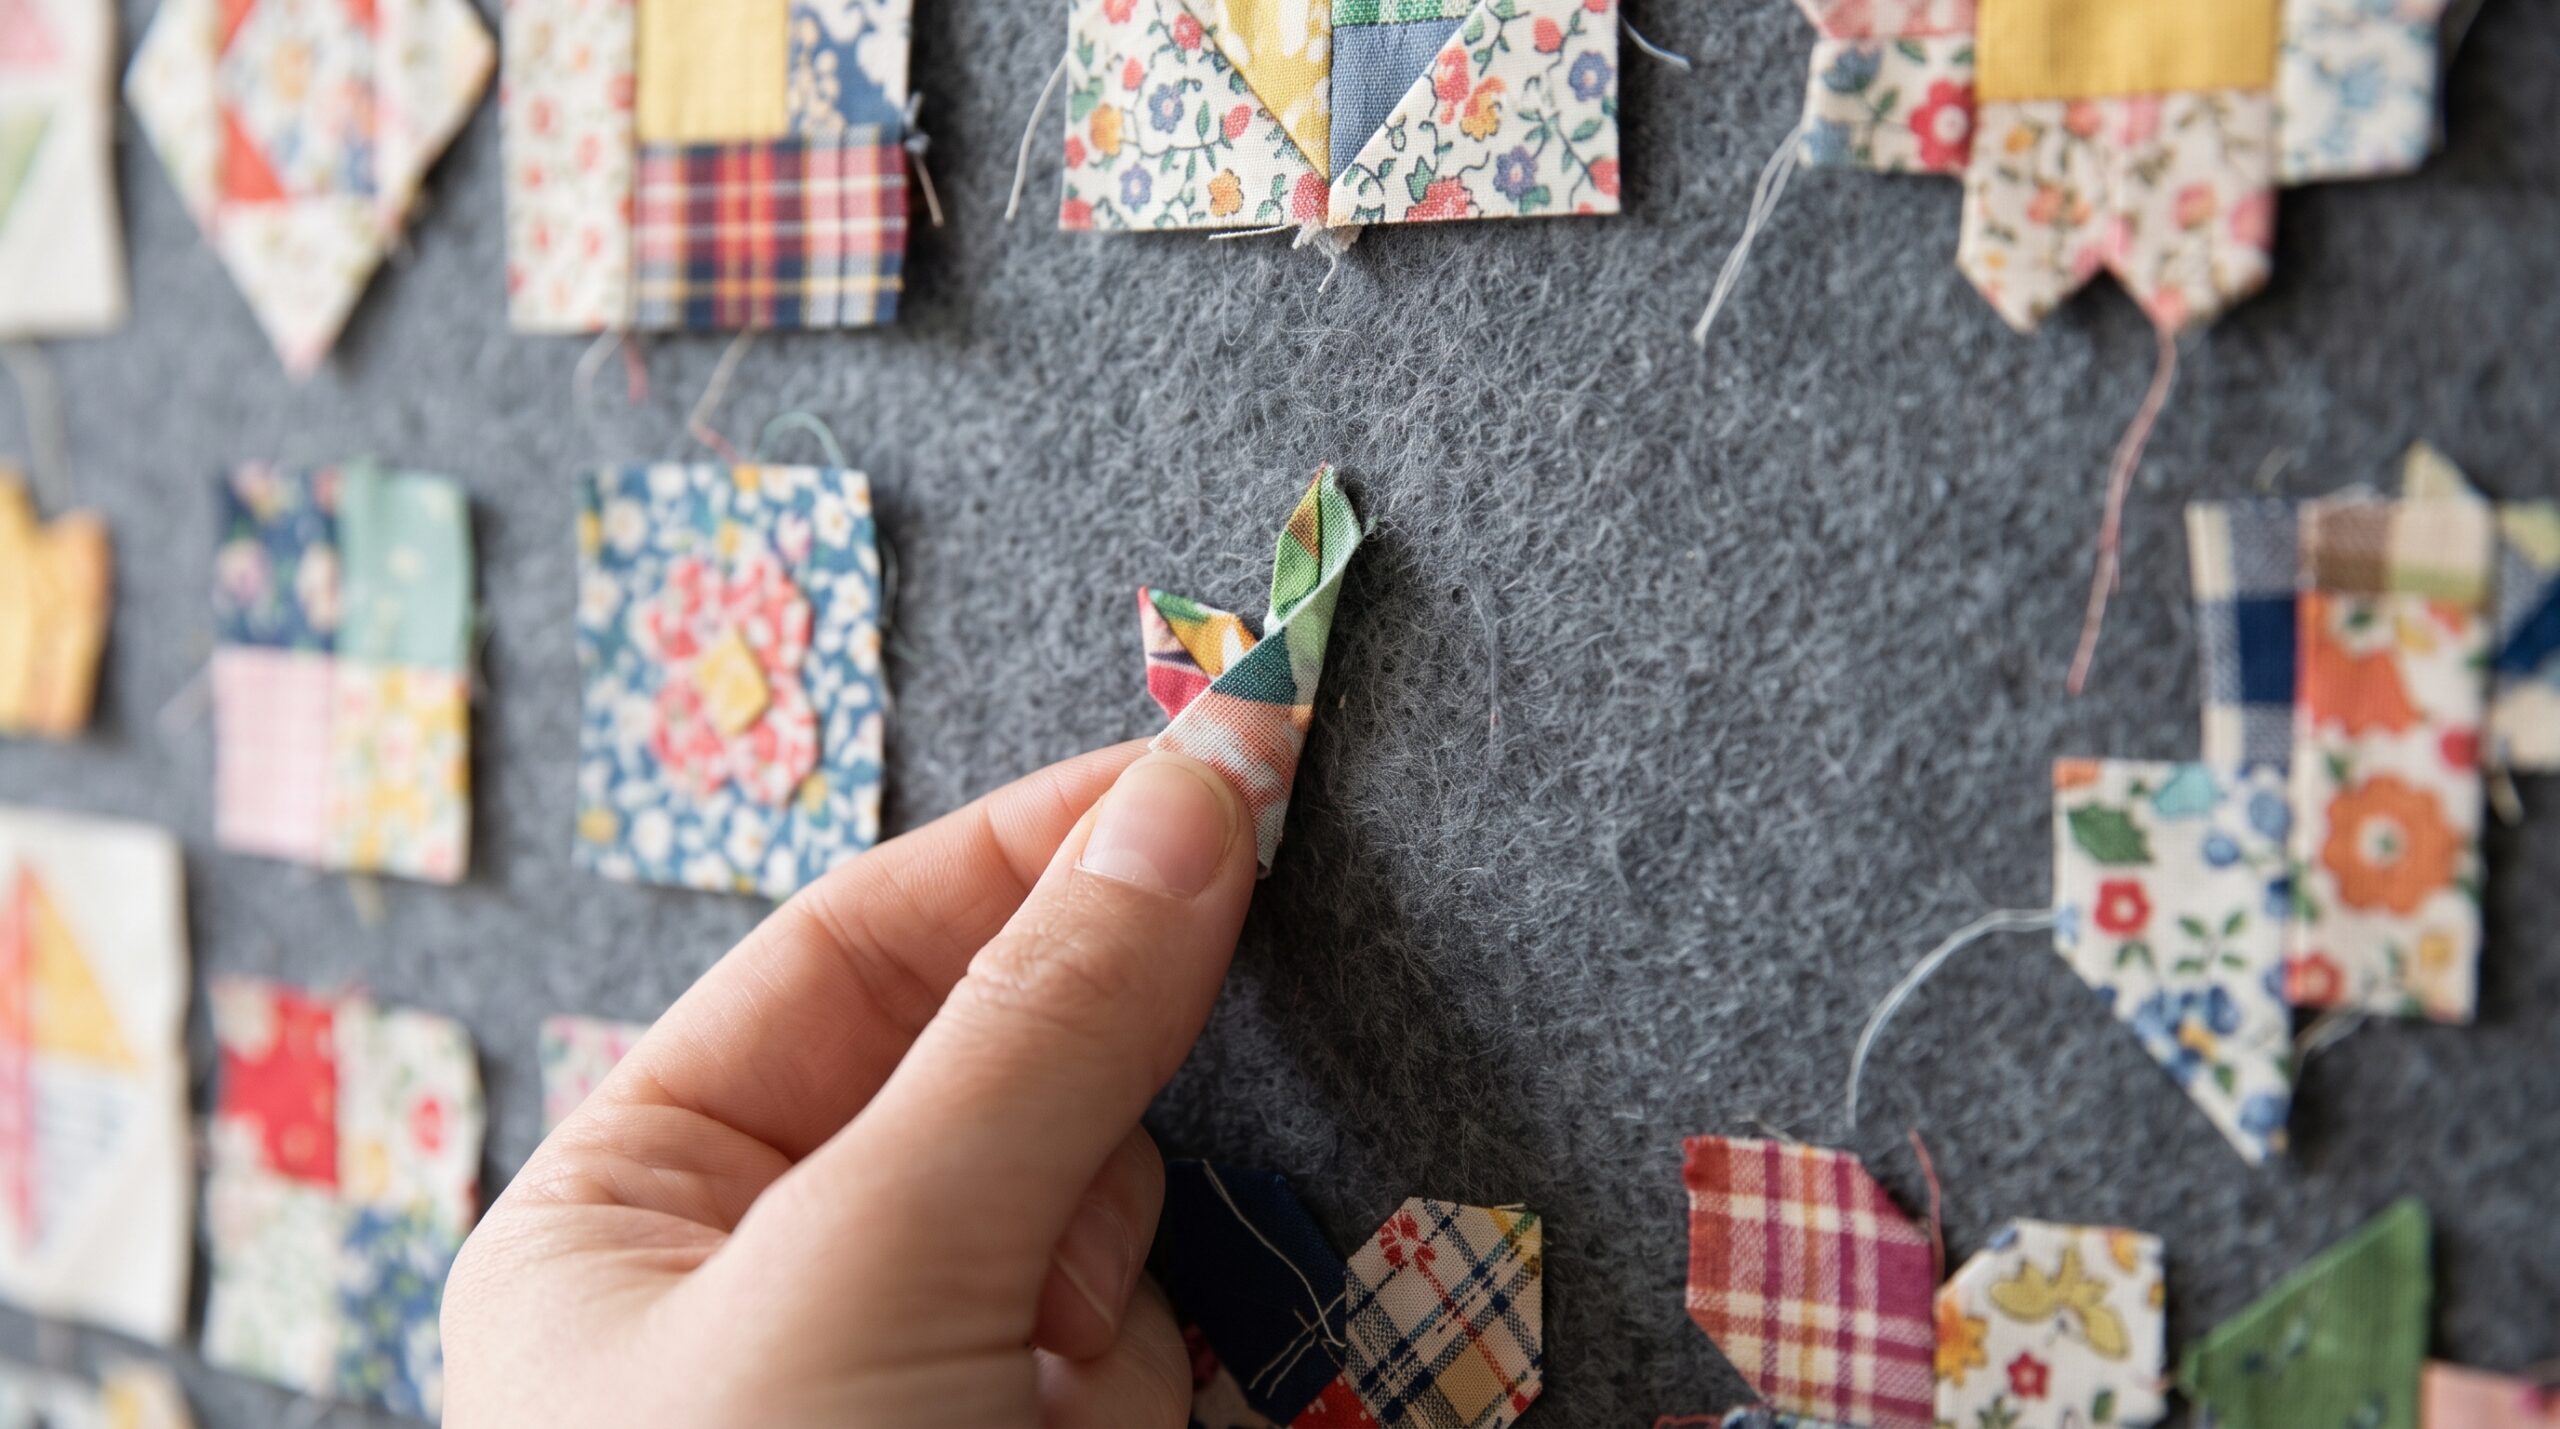
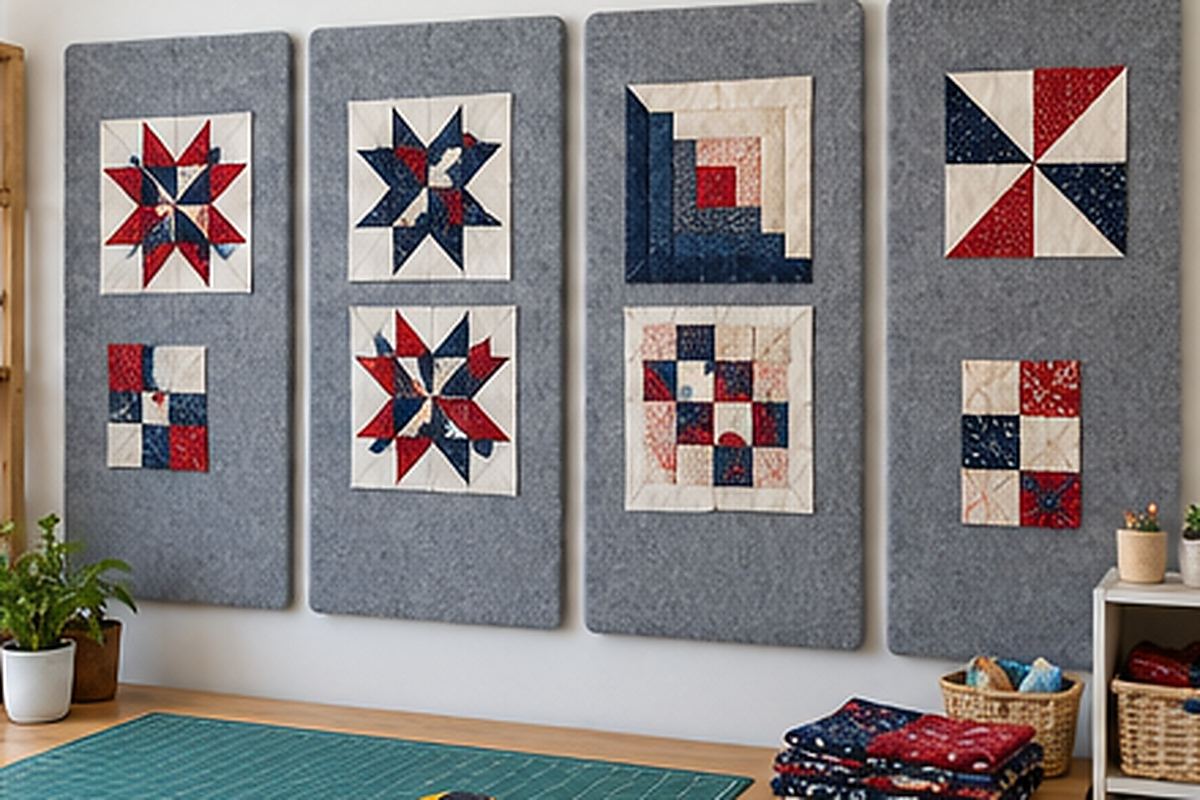
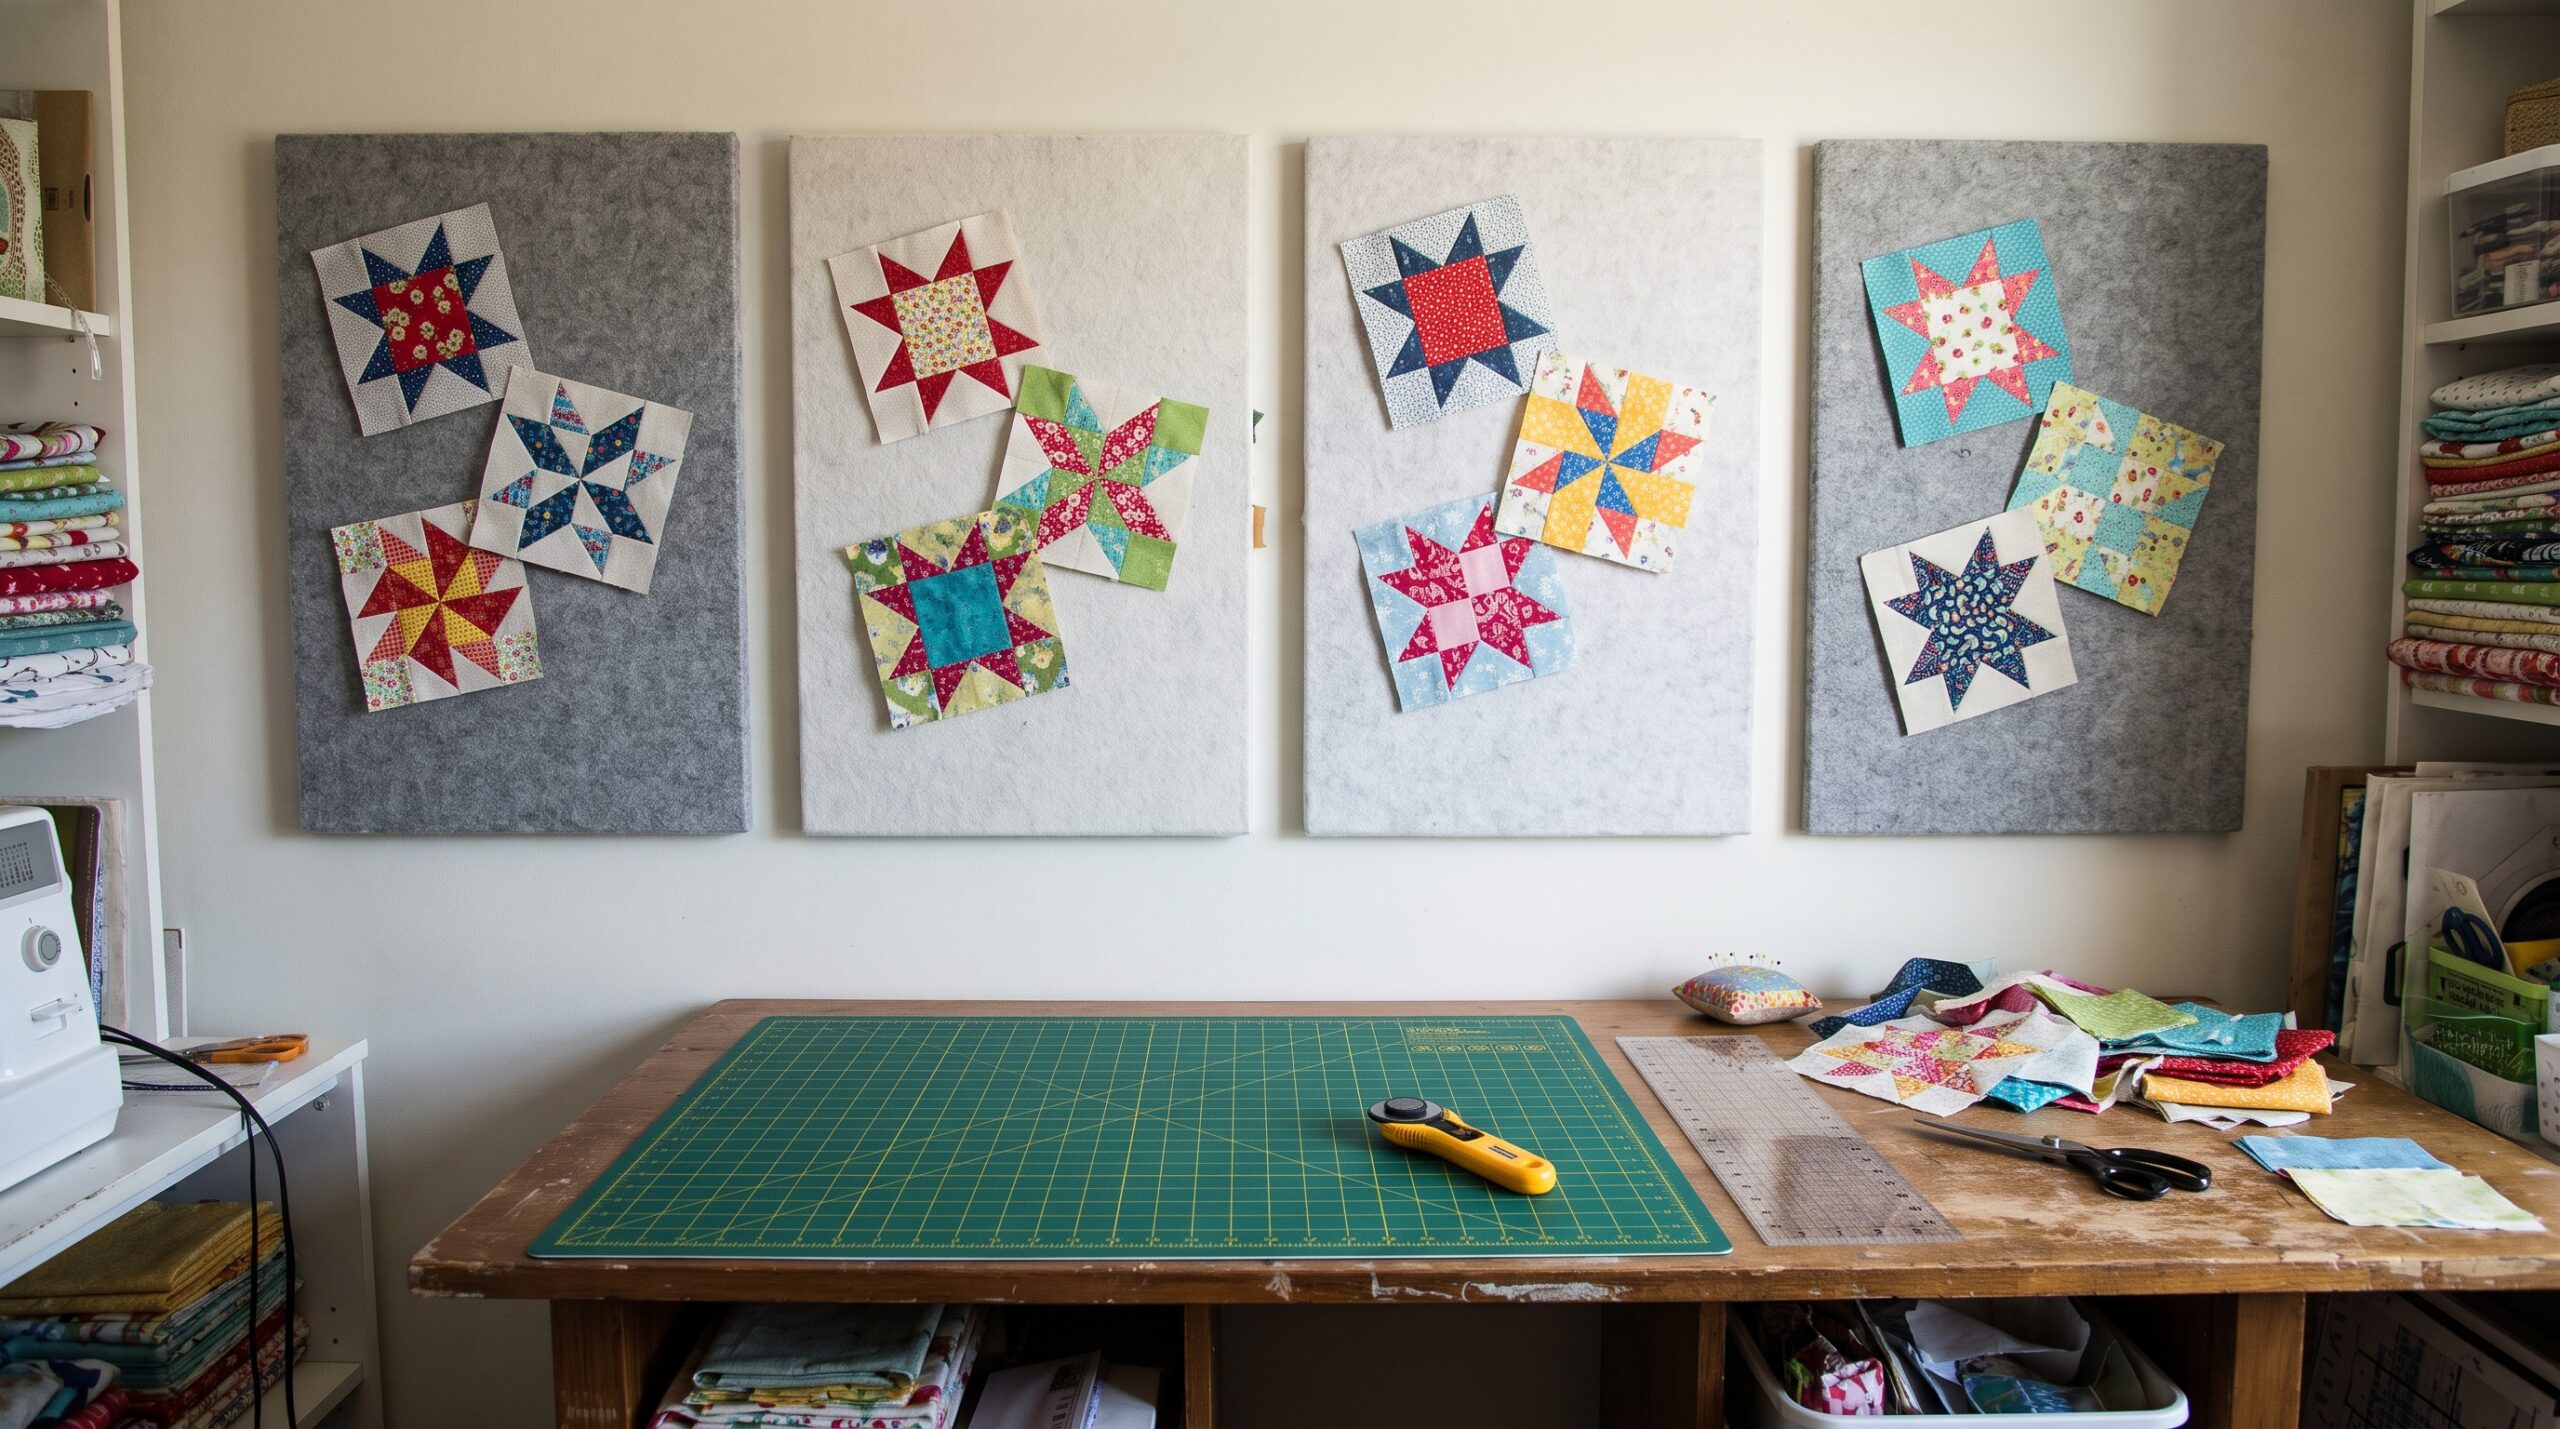
Sashing changes how every block reads, so it is worth testing before you cut. On a quilt design wall, you can space your blocks apart and slip strips of different fabrics between them:
- Arrange the blocks with a gap between them the width of the sashing you plan to use. Grid lines help keep the gaps even.
- Lay in strips of two or three fabrics and compare light, medium and dark options.
- Add a few cornerstones to see whether they help or distract.
- Step back and take photos of each version, then choose.
A full sashed quilt takes up more space than the blocks alone, so the large quilt design wall is useful for seeing the whole layout. For a few test blocks, quilt design wall tiles work well. Once the sashing is settled, see our quilt border ideas to finish the edge, or our guide to log cabin quilt layouts for block arrangements.
Frequently asked questions
What is the difference between sashing and borders?
Sashing is the strips sewn between quilt blocks. Borders are the strips sewn around the outside edge of the whole quilt. A quilt can have either, both, or neither.
How wide should sashing be on a quilt?
About one quarter of the block width is a good rule. For 12-inch blocks, 2- to 3-inch finished sashing looks balanced. Cut the strips 1/2 inch wider than the finished size for seam allowances.
What are cornerstones in quilt sashing?
Cornerstones are small squares placed where the sashing strips meet. They add a pop of color and make it easier to keep the strips lined up across the quilt.
Does a quilt need sashing?
No. Many quilts are sewn block to block, especially when blocks join to form a larger pattern, such as log cabin layouts. Sashing is most useful for sampler quilts, T-shirt quilts and blocks that should be seen individually.
What color should quilt sashing be?
Choose a color that contrasts with the block backgrounds so the grid is clear, or match the background for a floating look. Testing two or three fabrics between the blocks on a design wall is the quickest way to decide.
Tags