A T-shirt quilt turns a stack of favorite shirts from school, sports, travel or a loved one into something you can use every day. The layout is what makes it look polished instead of patched together. This guide covers the most popular T-shirt quilt layout ideas, how many shirts you need for each quilt size, and how to make a T-shirt quilt step by step, even if it is your first quilt.
T-shirt quilt layout ideas
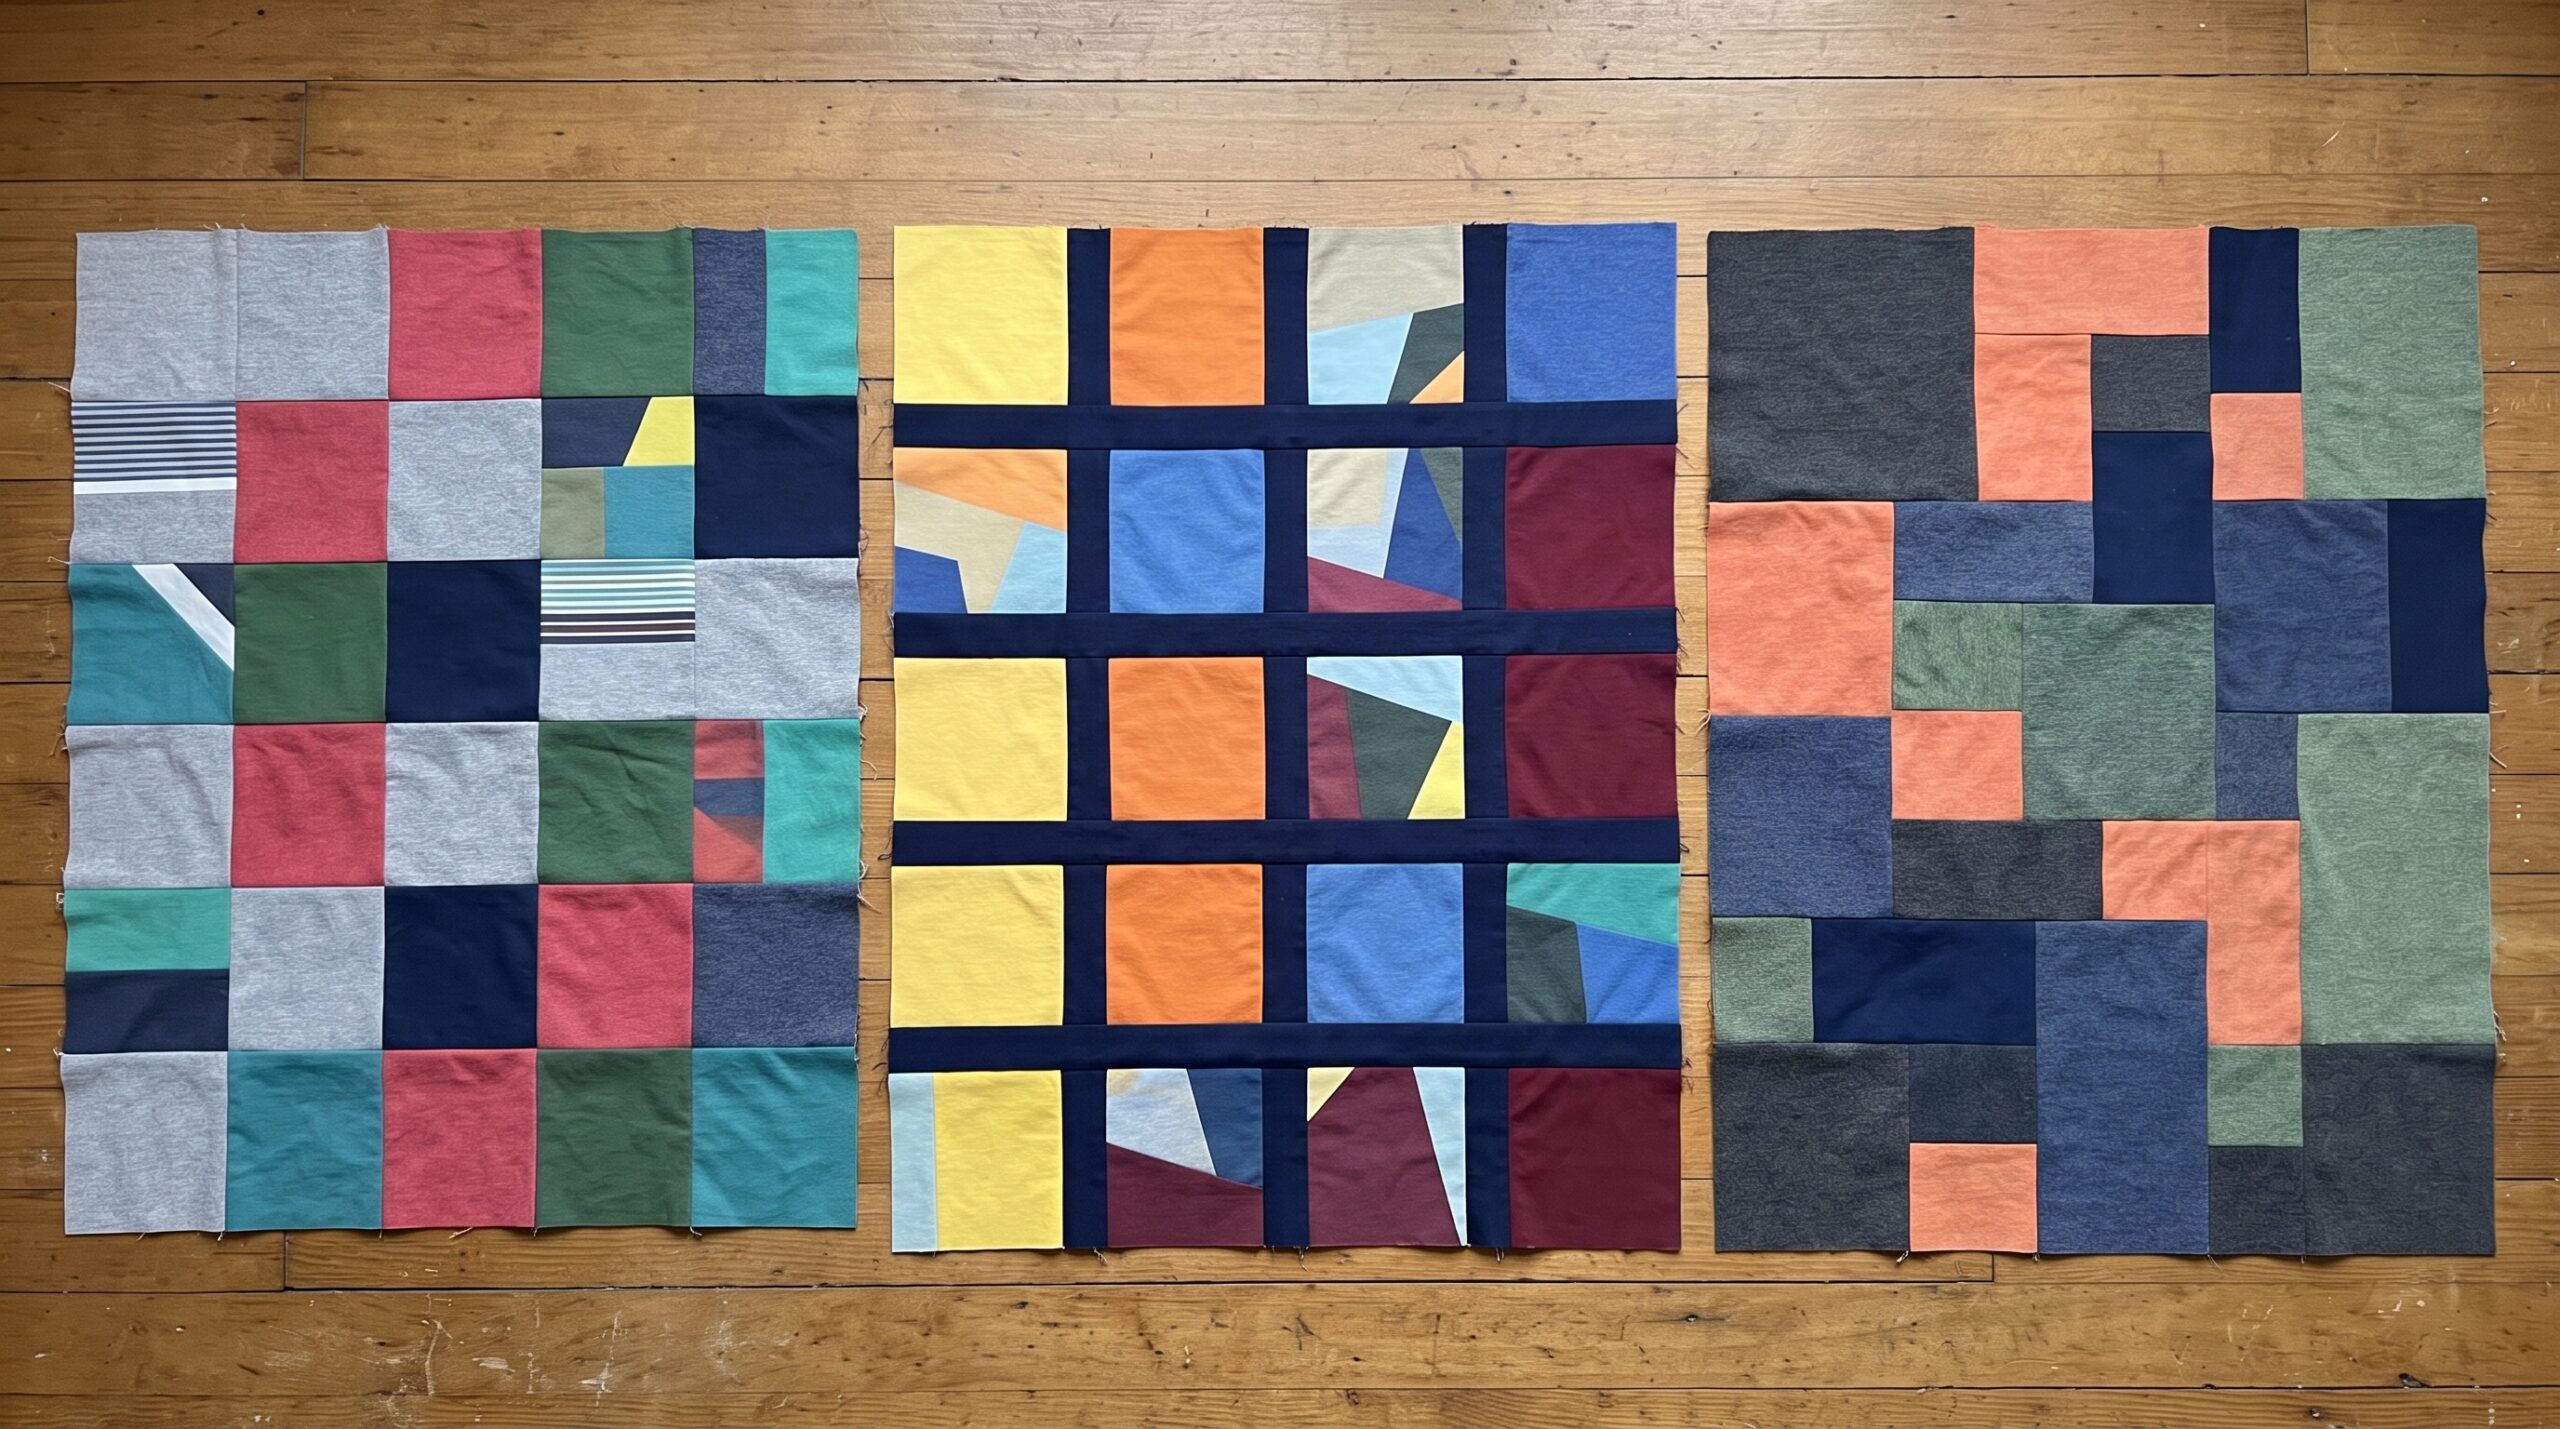
Most T-shirt quilts use one of these layouts. Choose based on how many shirts you have, how different their designs are in size, and how much piecing you want to do.
1. Simple grid
Every shirt is cut to the same size block and sewn in straight rows. It is the easiest T-shirt quilt layout for beginners and works best when the designs are similar in size.
2. Grid with sashing
Strips of fabric, called sashing, separate the blocks. A T-shirt quilt with sashing looks neat and framed, hides small differences in block size and adds extra width without more shirts. Read more about quilt sashing.
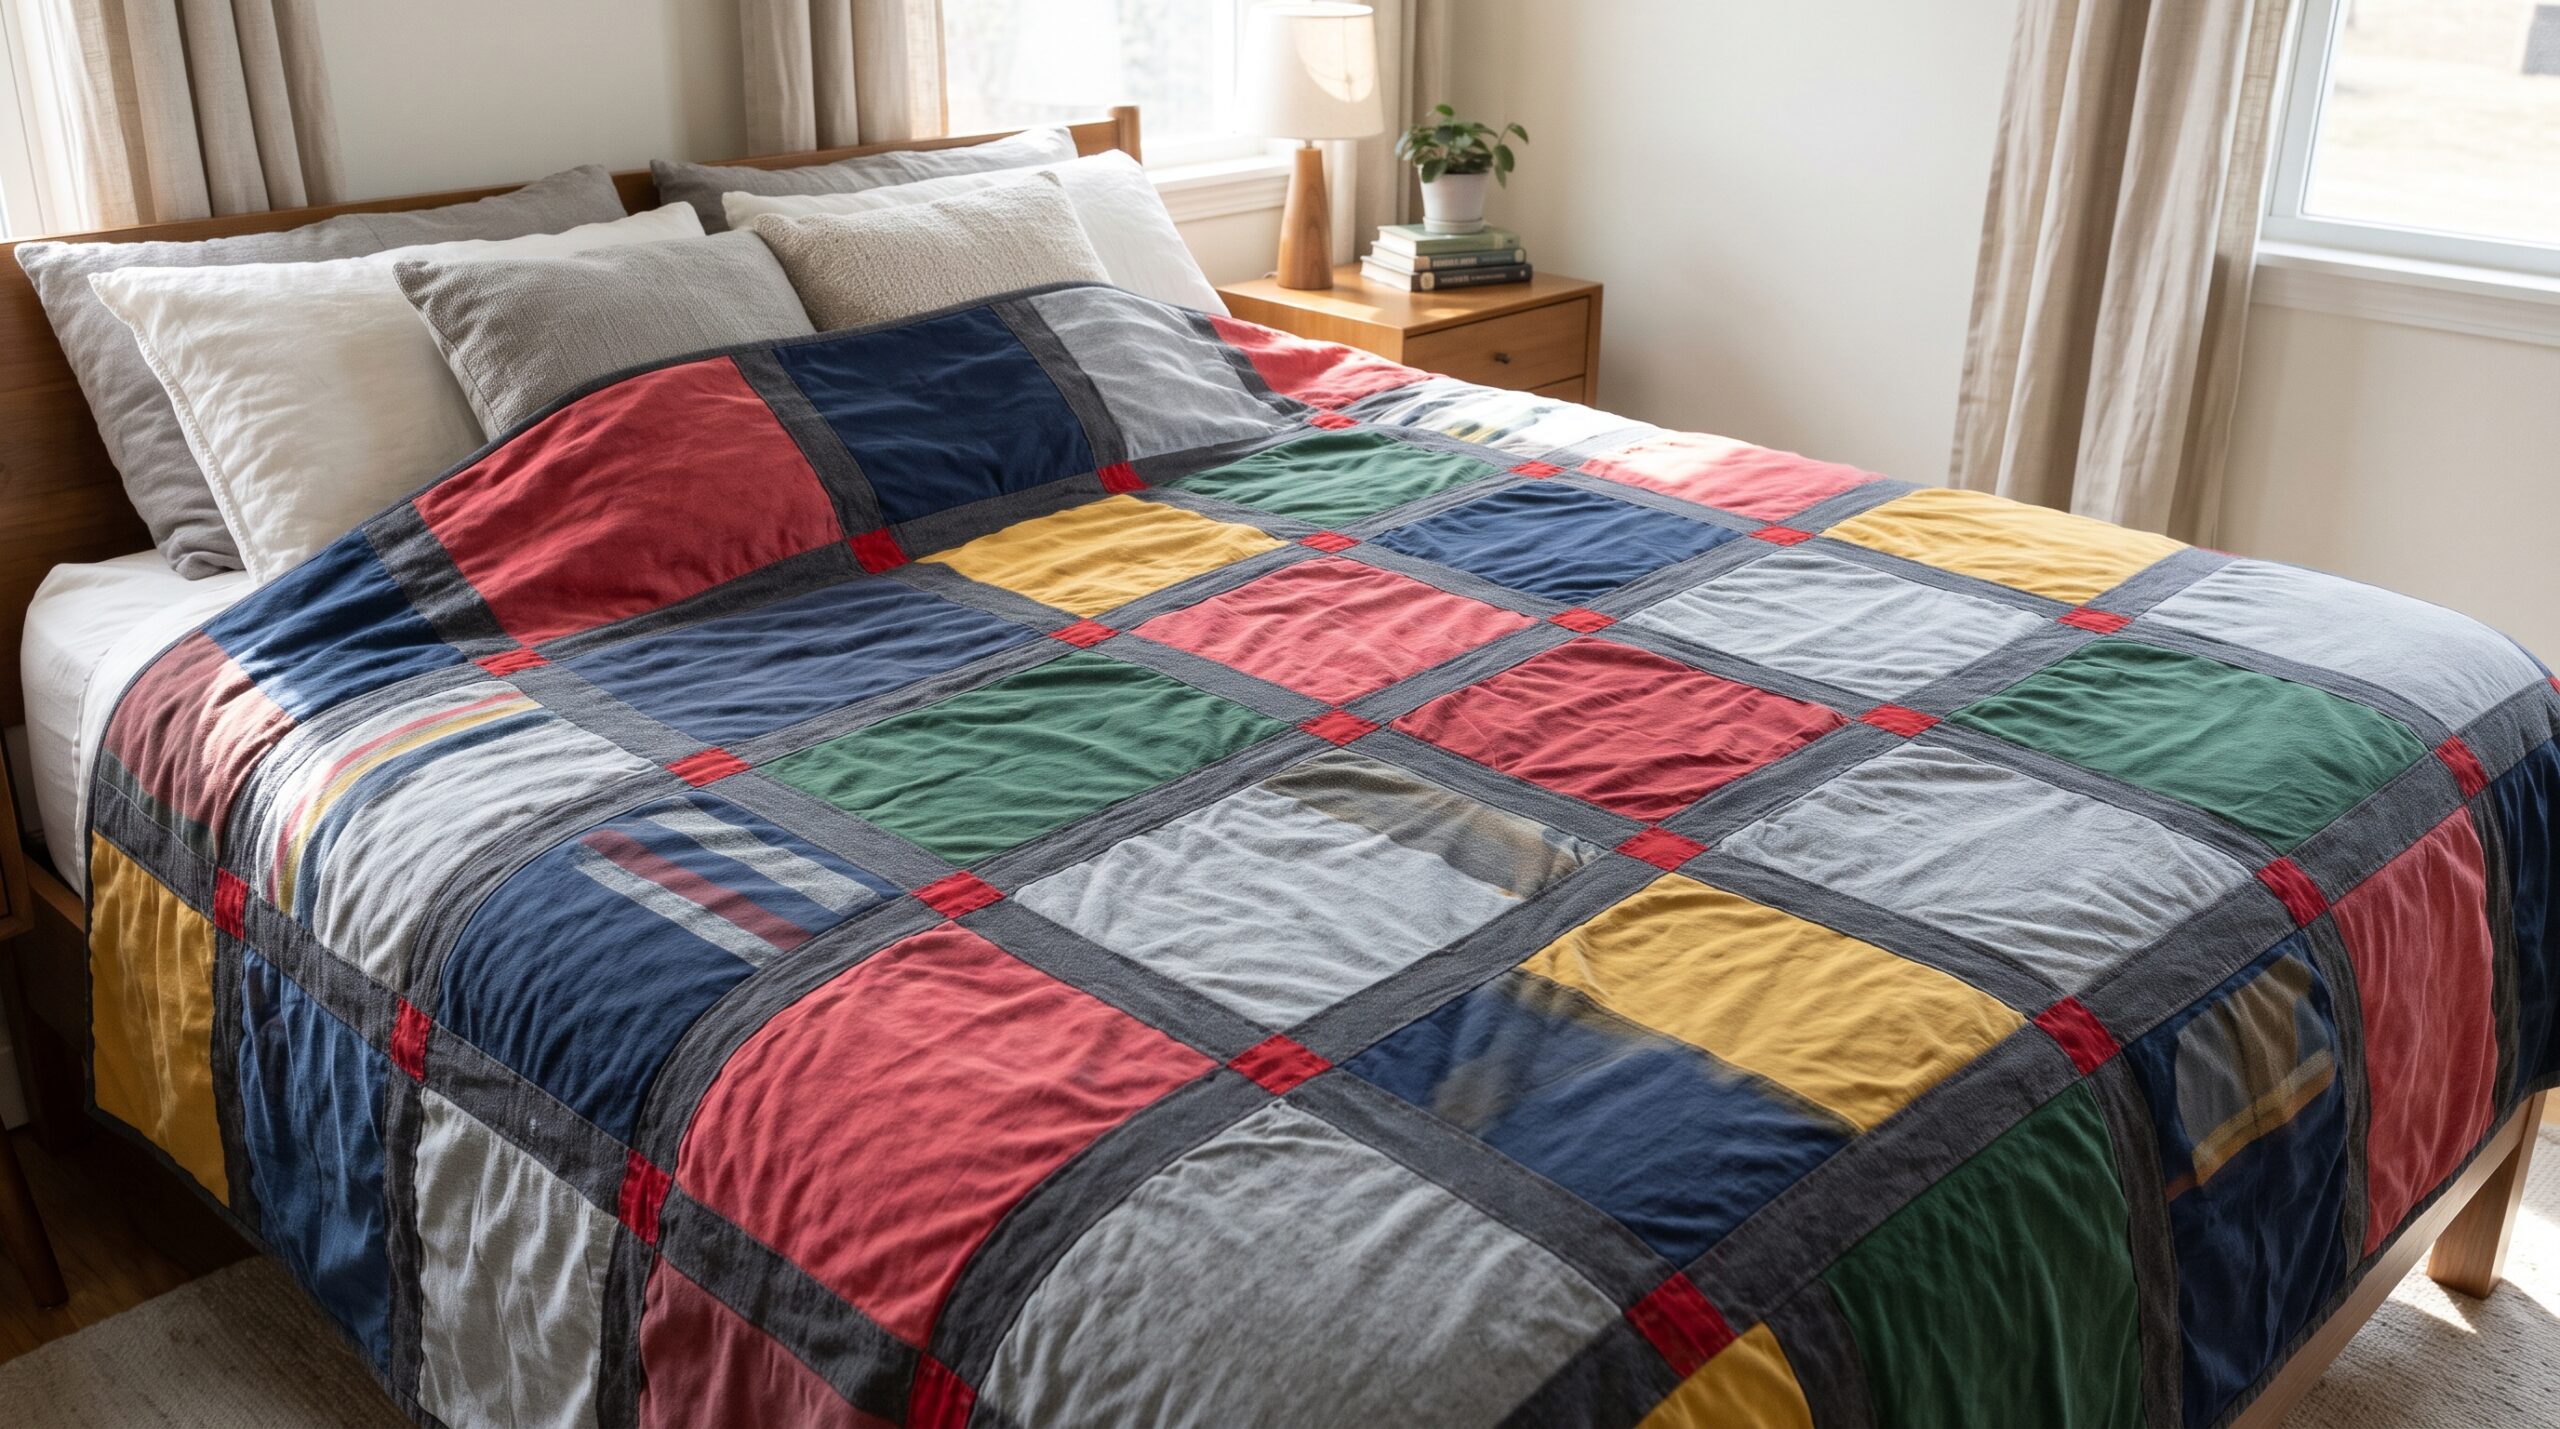
3. Sashing with cornerstones
Small squares, often in a contrasting color, sit where the sashing strips meet. Cornerstones add a classic, finished look and make it easier to line up the rows.
4. Different size blocks
Blocks are cut to fit each design, so a large logo gets a big block and a small chest logo gets a small one. The blocks fit together like a puzzle, with filler strips where needed. This T-shirt quilt layout with different size blocks wastes less of each shirt and looks modern, but it needs more planning.
5. Alternating blocks
Shirt blocks alternate with plain fabric squares or simple pieced blocks, such as a nine patch. It stretches a small number of shirts into a larger quilt.
6. Columns or rows
Shirts are sewn into vertical columns or horizontal rows of varying heights, separated by long strips of sashing. It is a good middle ground between a grid and a puzzle layout.
7. Center focus
The most important shirt sits in the middle, surrounded by the others like a medallion. It suits memory quilts made around one special shirt.
8. On point
Blocks are turned 45 degrees to sit like diamonds, with setting triangles around the edges. It is eye-catching but works best when the designs can be read at an angle.
For more ways to arrange blocks, see our guide to quilt layouts.
How many T-shirts do you need for a quilt?
The number of shirts depends on the quilt size and the block size. This T-shirt quilt size chart uses 15″ finished blocks with no sashing. Adding sashing or borders makes the quilt larger with the same number of shirts.
| Quilt size | Blocks (across x down) | Number of shirts | Approximate size (inches) |
|---|---|---|---|
| Baby | 3 x 3 | 9 | 45 x 45 |
| Lap | 3 x 4 | 12 | 45 x 60 |
| Throw | 4 x 5 | 20 | 60 x 75 |
| Twin | 5 x 6 | 30 | 75 x 90 |
| Queen | 6 x 7 | 42 | 90 x 105 |
Not sure which size you need? Check the full quilt sizes chart before you start cutting.
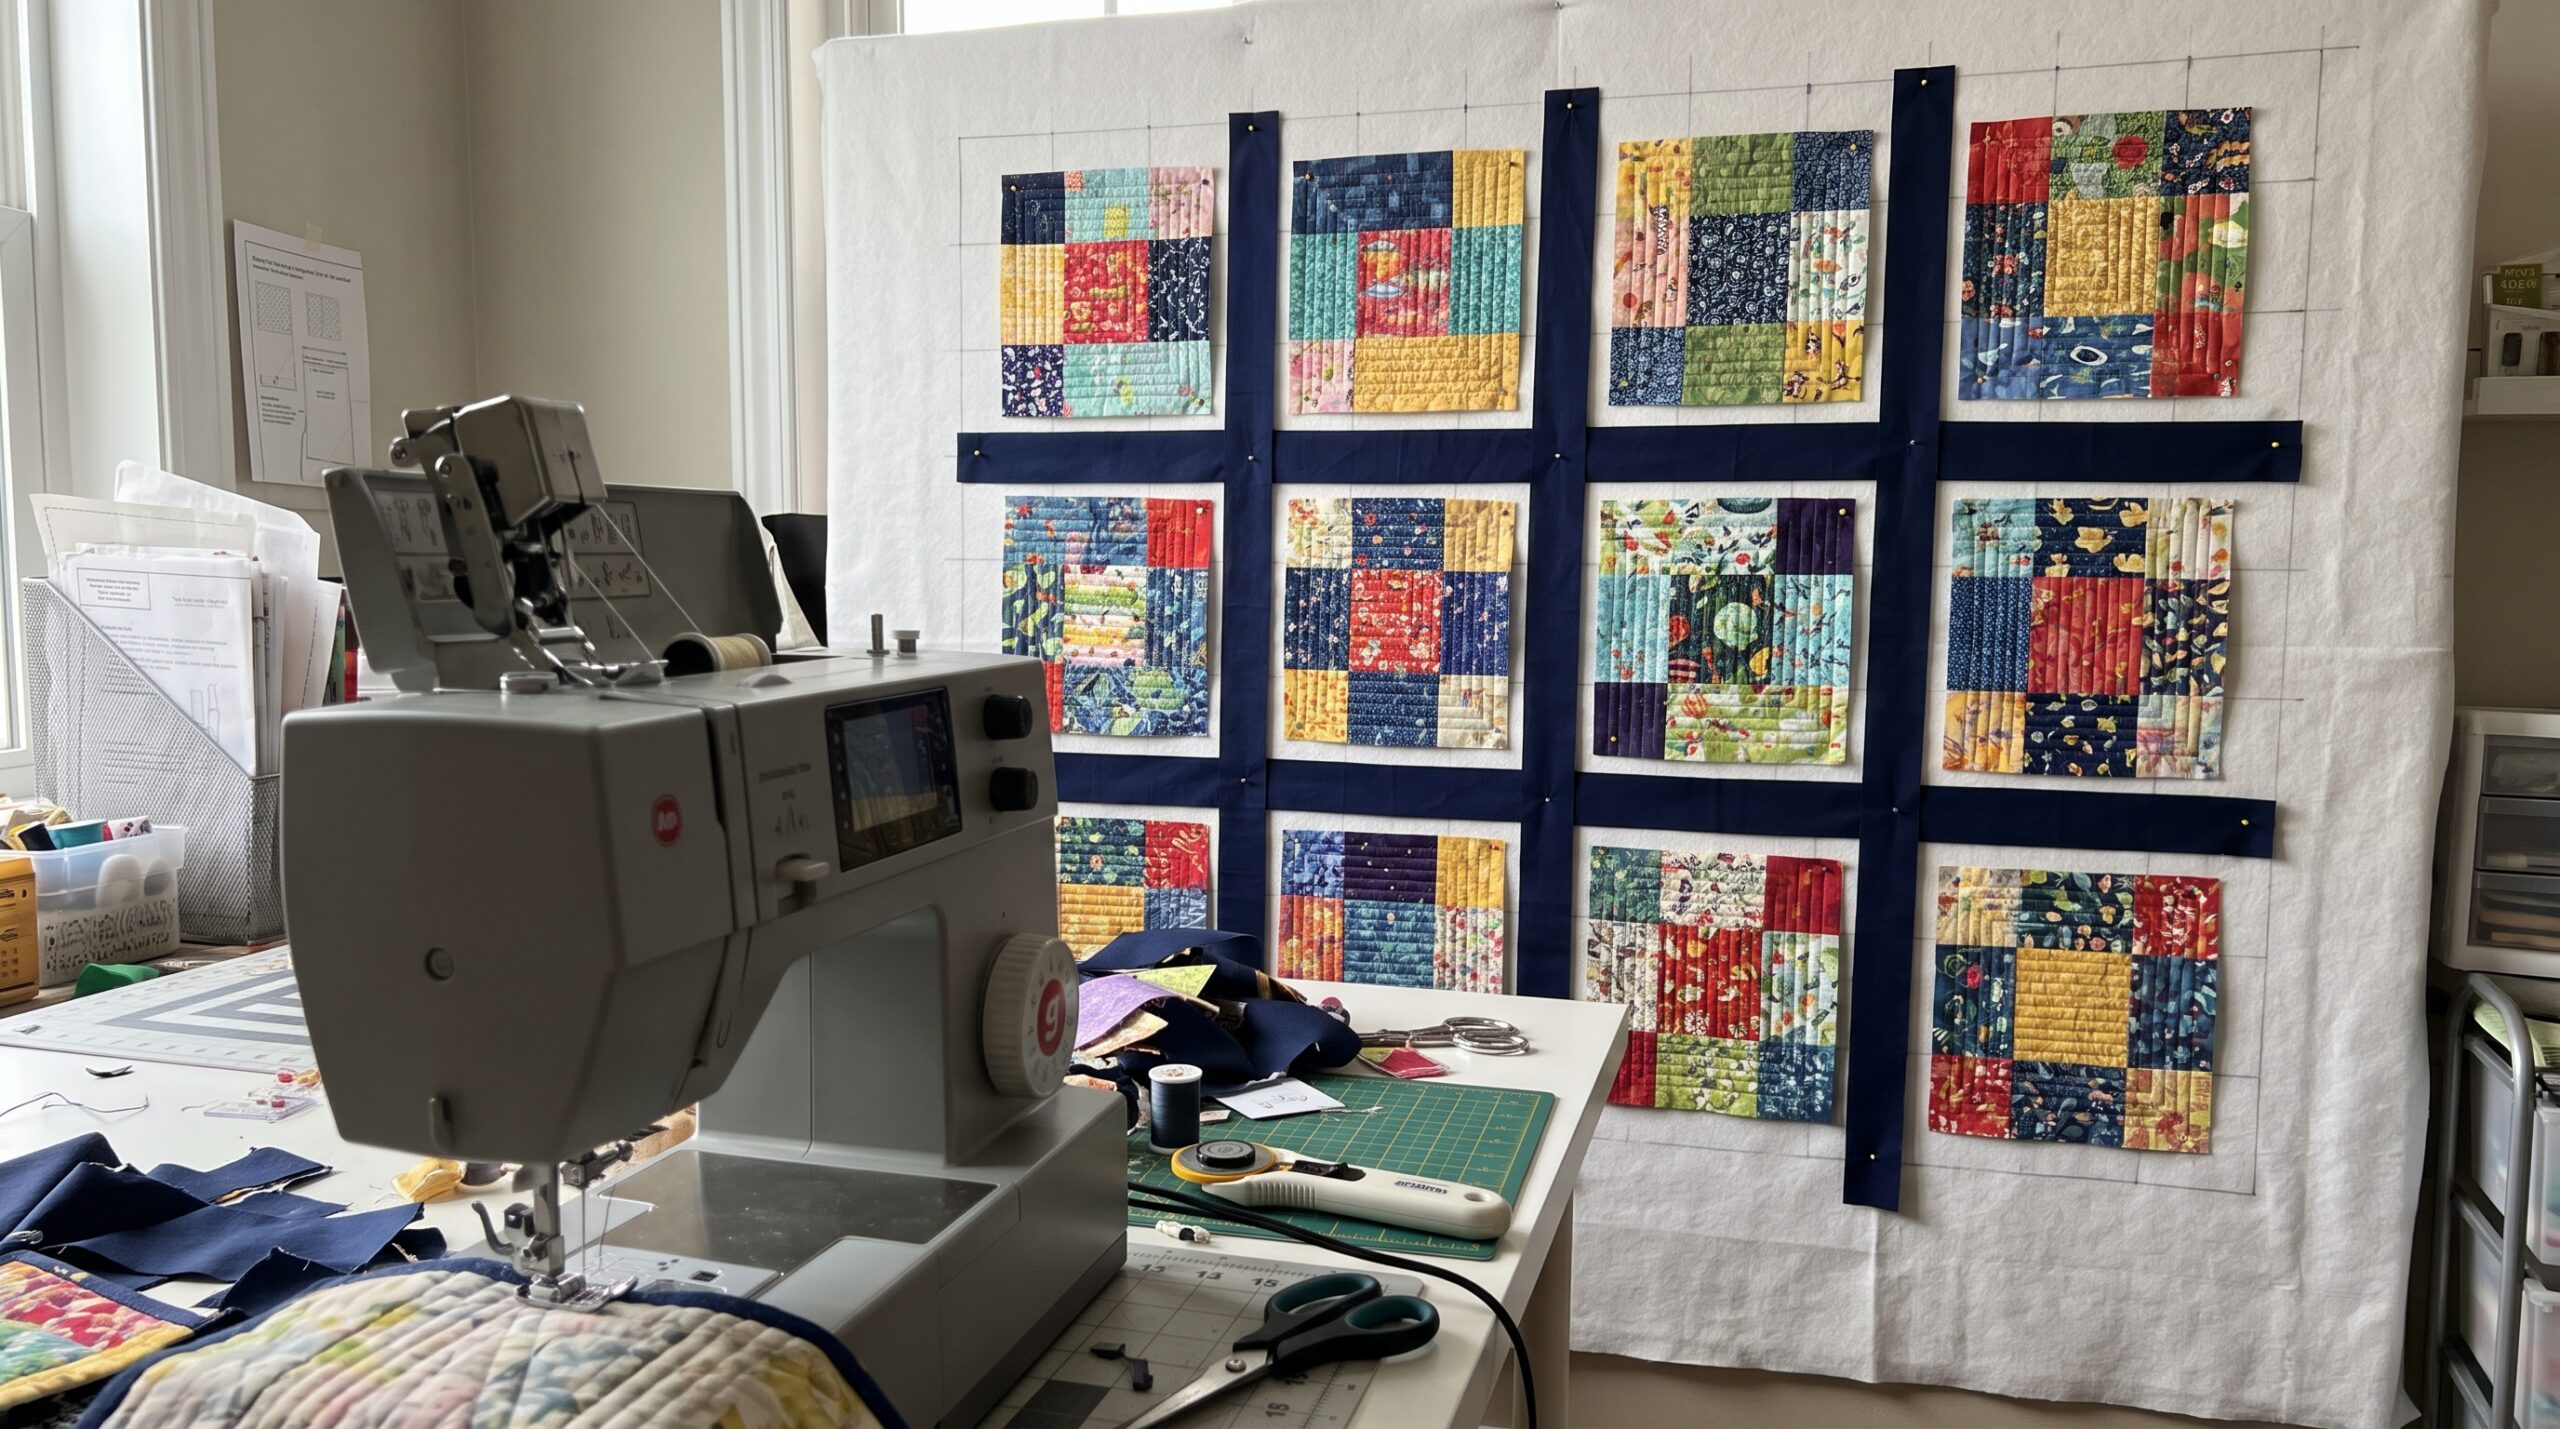
Plan your T-shirt quilt layout on a design wall
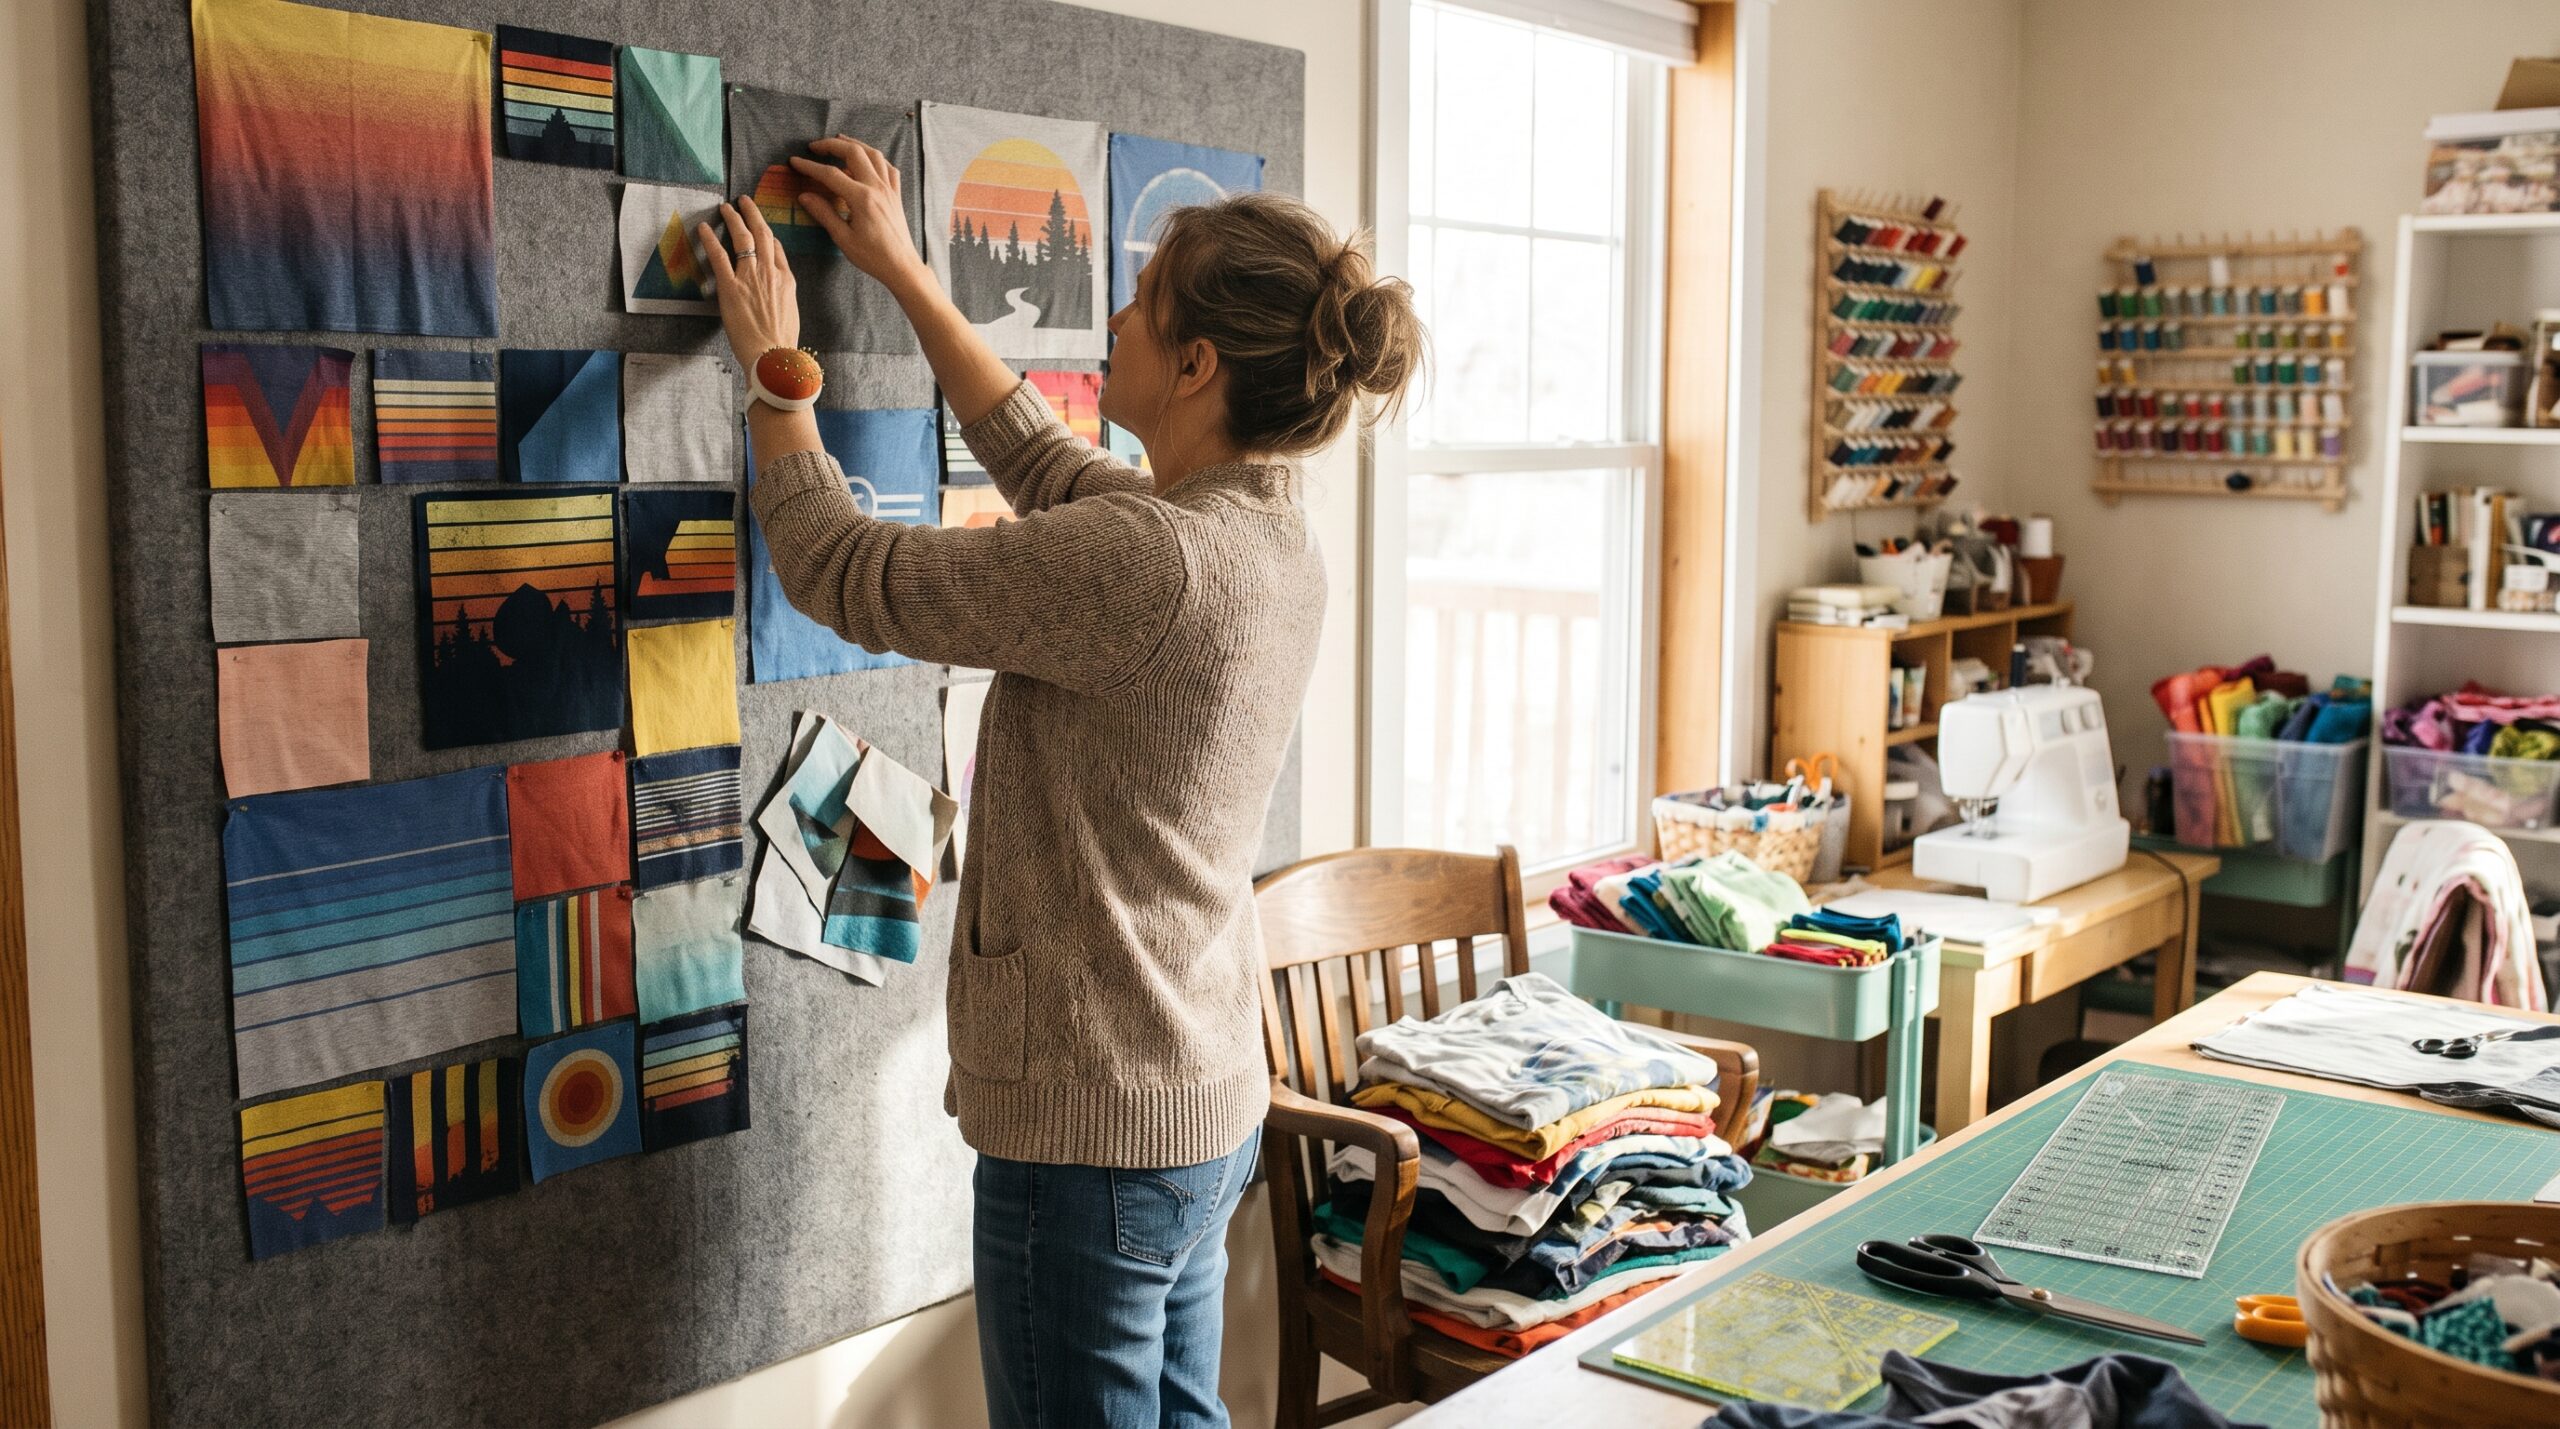
T-shirt designs vary in color, size and how busy they are, so the layout makes a big difference. Before you sew, put every block up on a quilt design wall and move them around until the quilt looks balanced.
- Spread out the strongest colors and the busiest designs so they do not cluster in one corner.
- Place the most meaningful shirts near the center, where they will be seen when the quilt is on a bed.
- Puzzle different size blocks together on the wall and measure the gaps you need to fill.
- Audition sashing and border fabrics next to the blocks before you cut them.
- Take a photo of the final layout so you can sew the blocks in the right order.
T-shirt quilts are often large, so the large quilt design wall lets you see the whole layout at once. Quilt design wall tiles work well in smaller rooms.
How to make a T-shirt quilt step by step
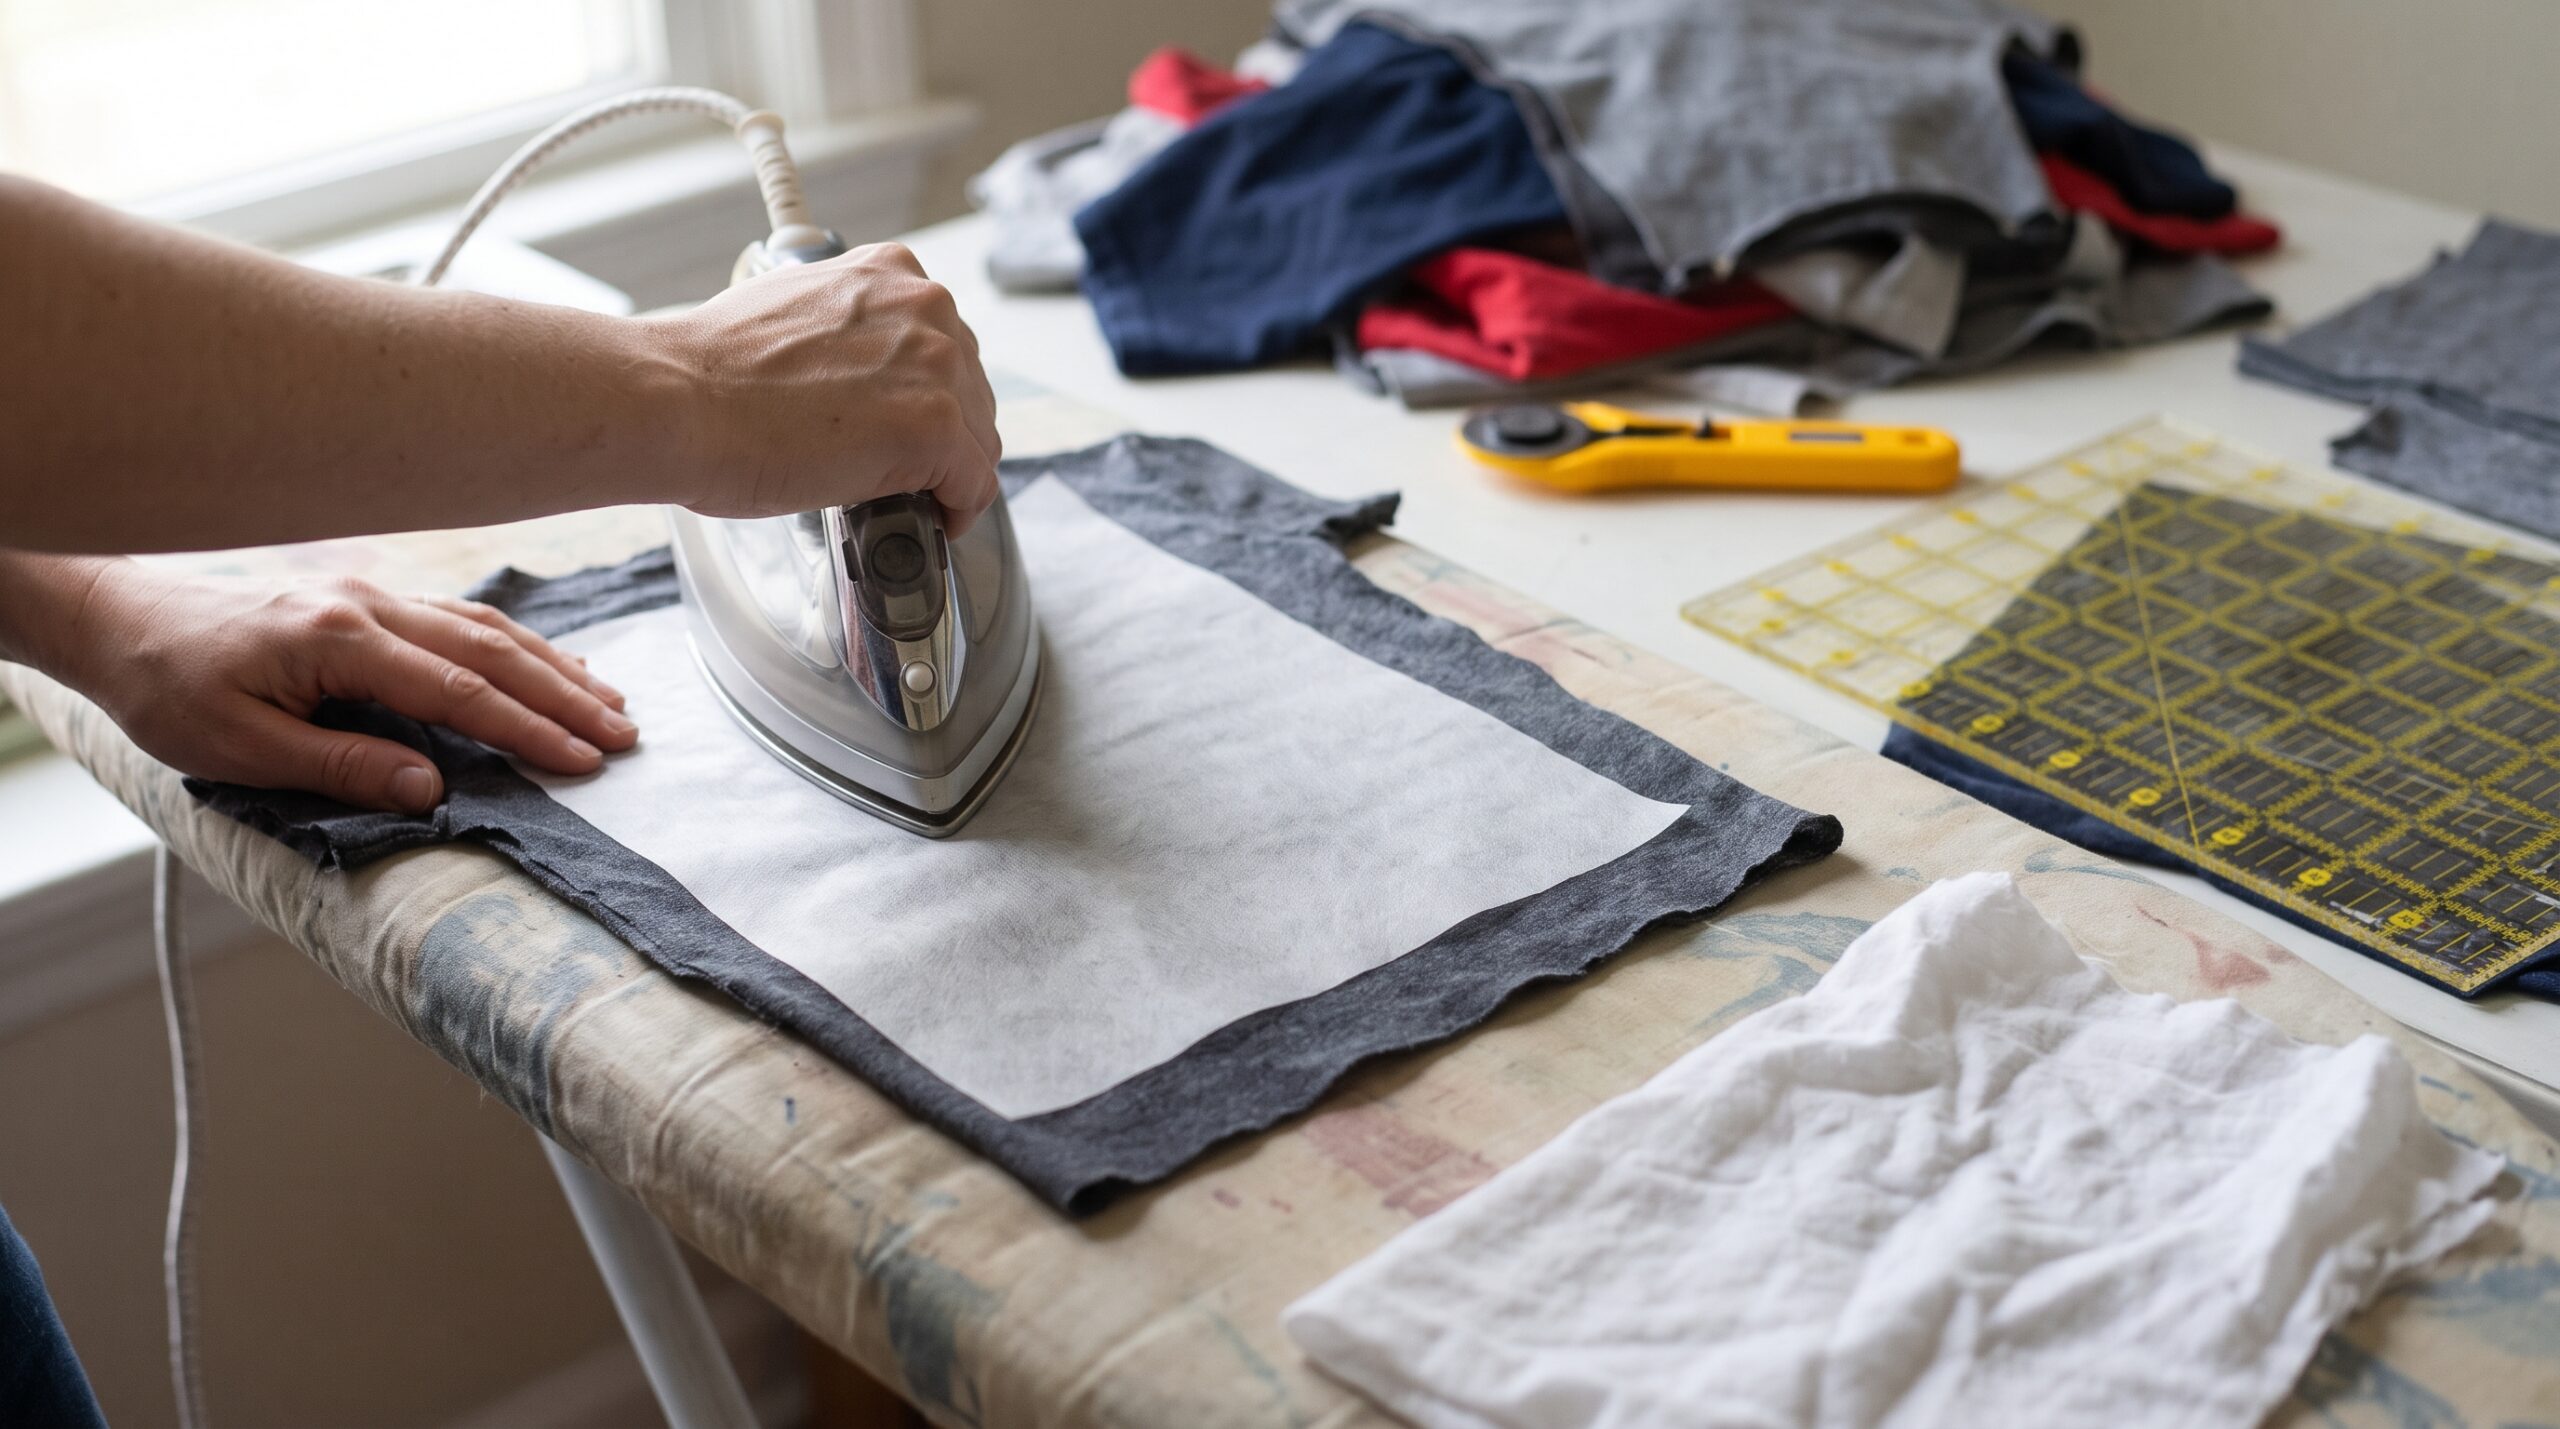
T-shirts are made of stretchy knit fabric, so the key to a T-shirt quilt is stabilizing the knit before you cut and sew. Here is how to make a T-shirt quilt from start to finish.
- Wash and dry the shirts. Skip fabric softener, because it can stop fusible interfacing from bonding.
- Cut the shirts apart. Cut up the side seams and across the shoulders to separate the front and back. Keep any sleeve or back designs you want to use.
- Rough cut each design about 2″ larger than your finished block on every side.
- Fuse interfacing to the back. Use a lightweight fusible woven interfacing. It stops the knit from stretching and makes it handle like quilting cotton. Use a pressing cloth over printed designs so the iron does not melt the print.
- Trim the blocks to size. Center each design and cut the block to its unfinished size, including a 1/4″ seam allowance on every side, with a rotary cutter and a square ruler.
- Arrange the layout on a design wall and photograph it.
- Sew the blocks together with a 1/4″ seam allowance, adding sashing if your layout uses it. A walking foot helps the layers feed evenly.
- Layer, quilt and bind. Make a quilt sandwich with batting and backing, quilt with simple straight lines or an allover pattern that avoids the printed designs, then bind the edges.
For full details on the sandwich, quilting and binding stages, read our guide on how to make a quilt, and see the quilting tools and notions checklist for what you will need.
T-shirt quilt tips
- Pick a block size that fits your largest design, or use different size blocks so nothing is cut off.
- Do not throw away the leftovers. Pockets, sleeve logos and small designs make great filler blocks.
- Choose a sashing color that ties the shirts together, such as a team color, black, gray or navy.
- Use a cotton backing rather than another knit, so the quilt stays stable.
- Keep the quilting simple. Quilting over thick screen prints can be stiff, and stitching around designs keeps them readable.
Frequently asked questions
How many T-shirts do I need for a quilt?
With 15 inch blocks and no sashing, a lap quilt needs about 12 shirts, a throw about 20, a twin about 30 and a queen about 42. Sashing and borders make the quilt larger with fewer shirts.
What size should T-shirt quilt blocks be?
Most T-shirt quilts use blocks between 12 and 16 inches finished. Choose a size that fits the largest design, or use different size blocks so each design keeps its full size.
Do I need interfacing for a T-shirt quilt?
Yes. A lightweight fusible woven interfacing stabilizes the stretchy knit, so blocks keep their shape and are much easier to cut and sew accurately.
What is the best layout for a T-shirt quilt?
A simple grid with sashing is the easiest and most popular layout. If your designs vary a lot in size, a layout with different size blocks uses more of each shirt and looks more modern.
Can a beginner make a T-shirt quilt?
Yes. A T-shirt quilt in a simple grid is a good beginner project because the blocks are large and the seams are straight. Stabilizing the shirts with interfacing is the main extra step.