Laying quilt blocks out on the floor works until your knees, your back or your pets object. A design wall solves that by holding fabric upright so you can step back and see the whole quilt top. The good news is that you can build one in an afternoon. This guide shows how to make a quilt design wall three ways, from a no-tools hanging sheet to a rigid foam board wall, plus tips for getting blocks to stick and when a ready-made wall is the better buy.
What you need for a DIY quilt design wall
Every DIY quilt design wall has two parts: a surface that grips fabric, and a way to hold that surface flat and upright.
Surface (pick one):
- Cotton or polyester batting: the cheapest option. A queen-size package covers a large wall.
- Flannel: grips best. Buy wide flannel or a flannel-backed vinyl tablecloth, used flannel side out.
- Felt: smooth and easy to peel pieces from. Choose a heavier, wool-blend felt; thin craft felt pills quickly.
Support (pick one):
- Painter’s tape or removable adhesive strips, for hanging straight on the wall
- A tension rod or curtain rod, for a hanging sheet
- Rigid foam insulation board, about 1/2″ to 1″ thick, from a hardware store
Tools: scissors, a measuring tape, a utility knife for foam, spray adhesive or duct tape, and a staple gun if you are covering boards.
Method 1: Batting or flannel hung straight on the wall
This is the fastest way to try a design wall, and it needs no tools.
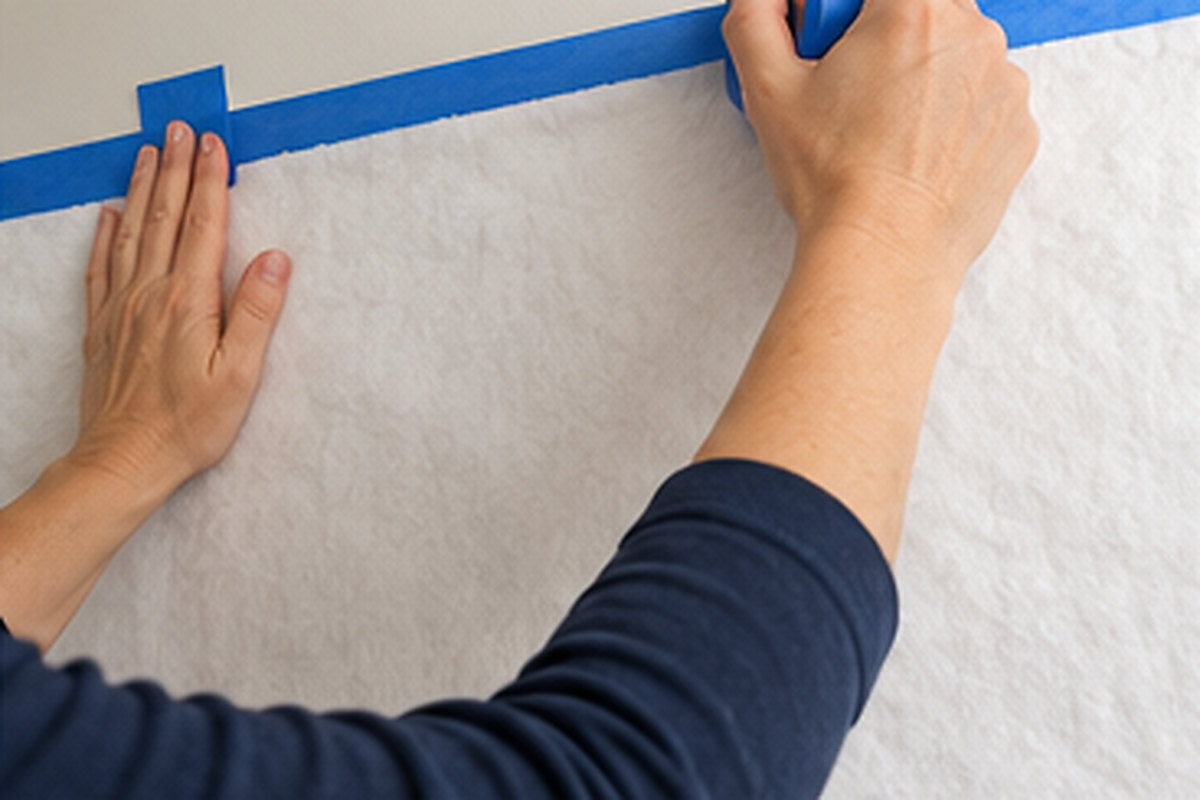
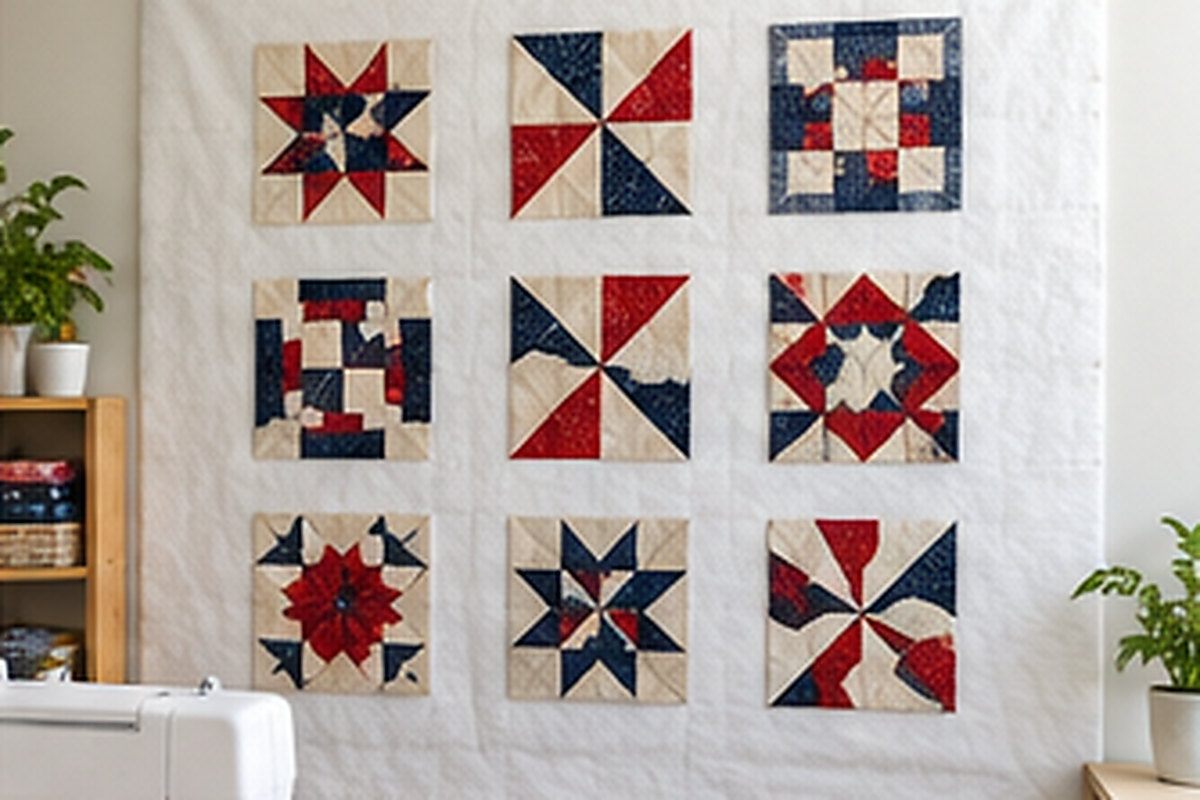
- Measure the space. Pick a clear wall you can stand back from by at least 6 feet, so you can see the layout as a whole.
- Cut the fabric to size. Leave a couple of inches extra on each side.
- Attach the top edge first. Use painter’s tape or removable strips along the top, keeping it level.
- Smooth downward and secure the sides. Work from the center out so the surface is flat, then tape the sides and bottom.
Good for: renters and anyone testing whether they like a design wall. Downside: batting sags and stretches over time, and the surface has no grid.
Method 2: A hanging design wall on a rod
A hanging wall can be taken down and rolled up, so it works in a guest room or a shared space.
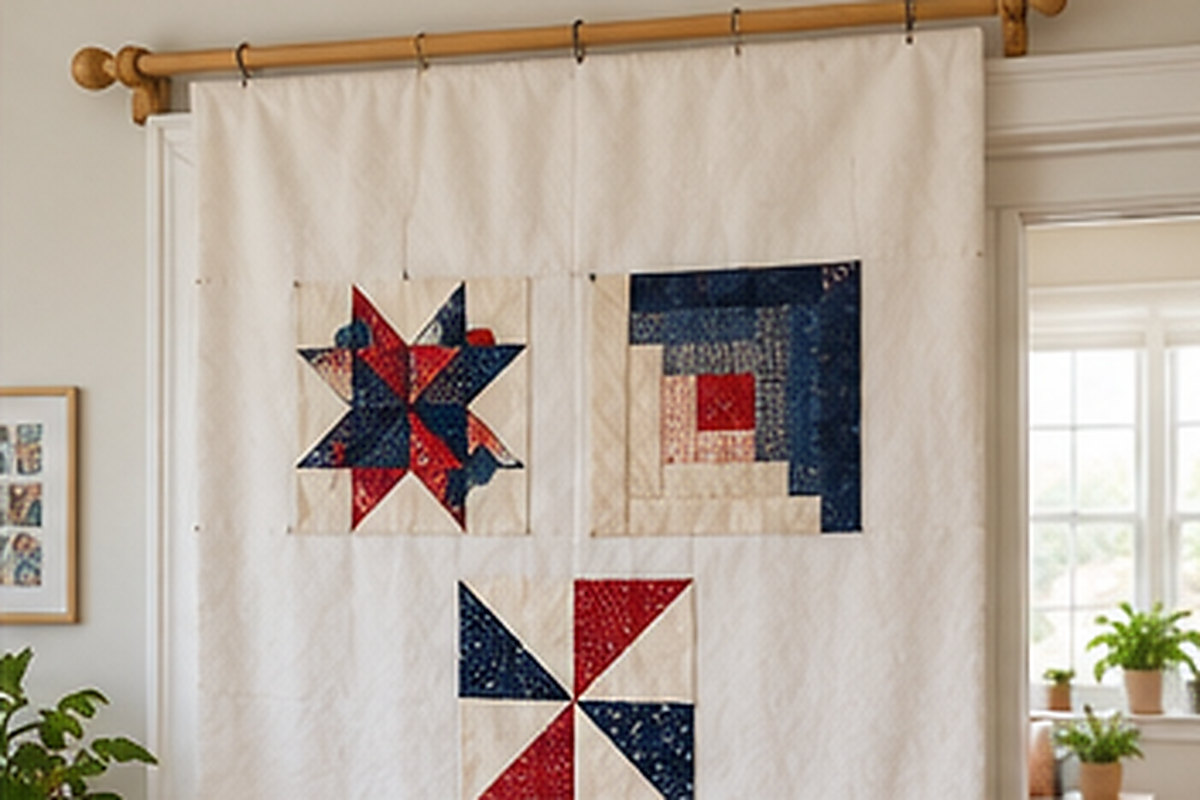
- Sew a rod pocket. Fold over the top edge of your flannel or batting by about 3 inches and stitch it down. If you are using batting, back it with a lightweight cotton first so it does not stretch.
- Add weight at the bottom. Sew a second pocket at the bottom and slide in a thin dowel, so the wall hangs flat.
- Hang it. Slide a curtain rod or tension rod through the top pocket and mount it on brackets or inside a closet doorway.
Good for: flexible spaces. Downside: it can sway when you press blocks onto it, so the bottom dowel matters.
Method 3: Foam board design wall
This is the sturdiest DIY version. Rigid foam gives you a firm surface you can also pin into when you need to.
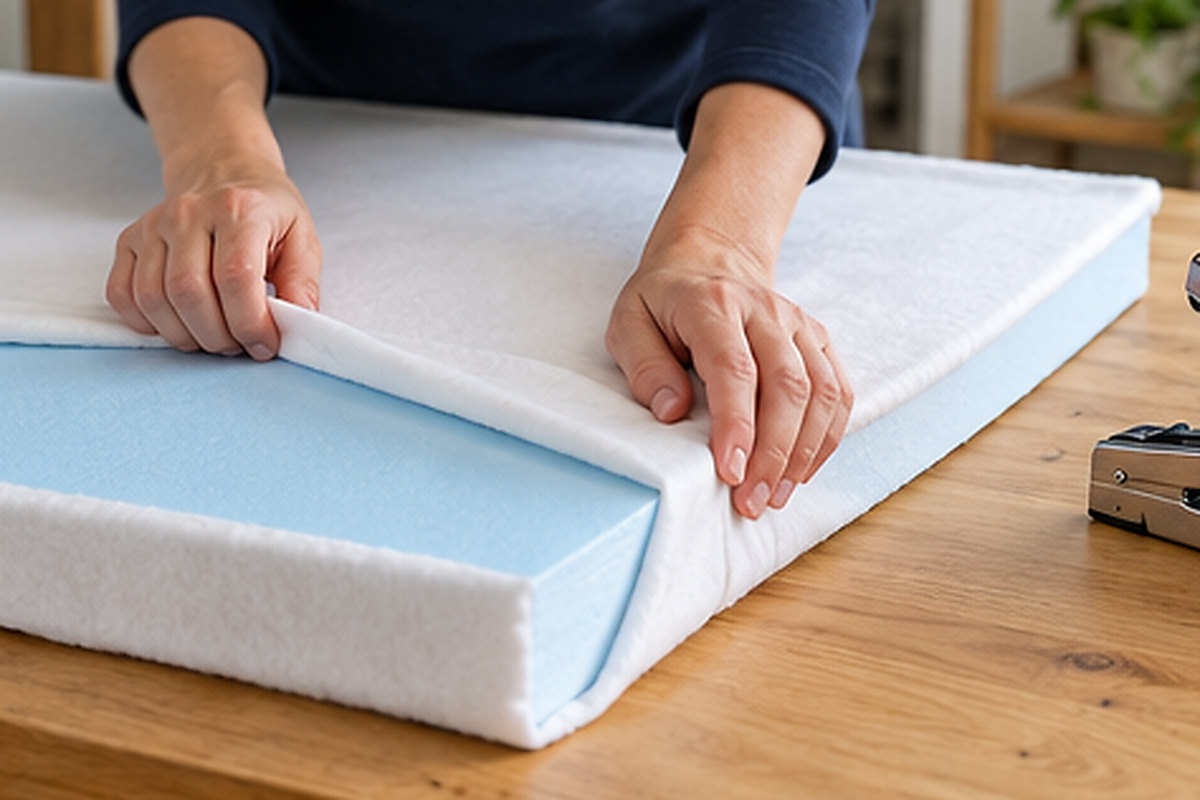
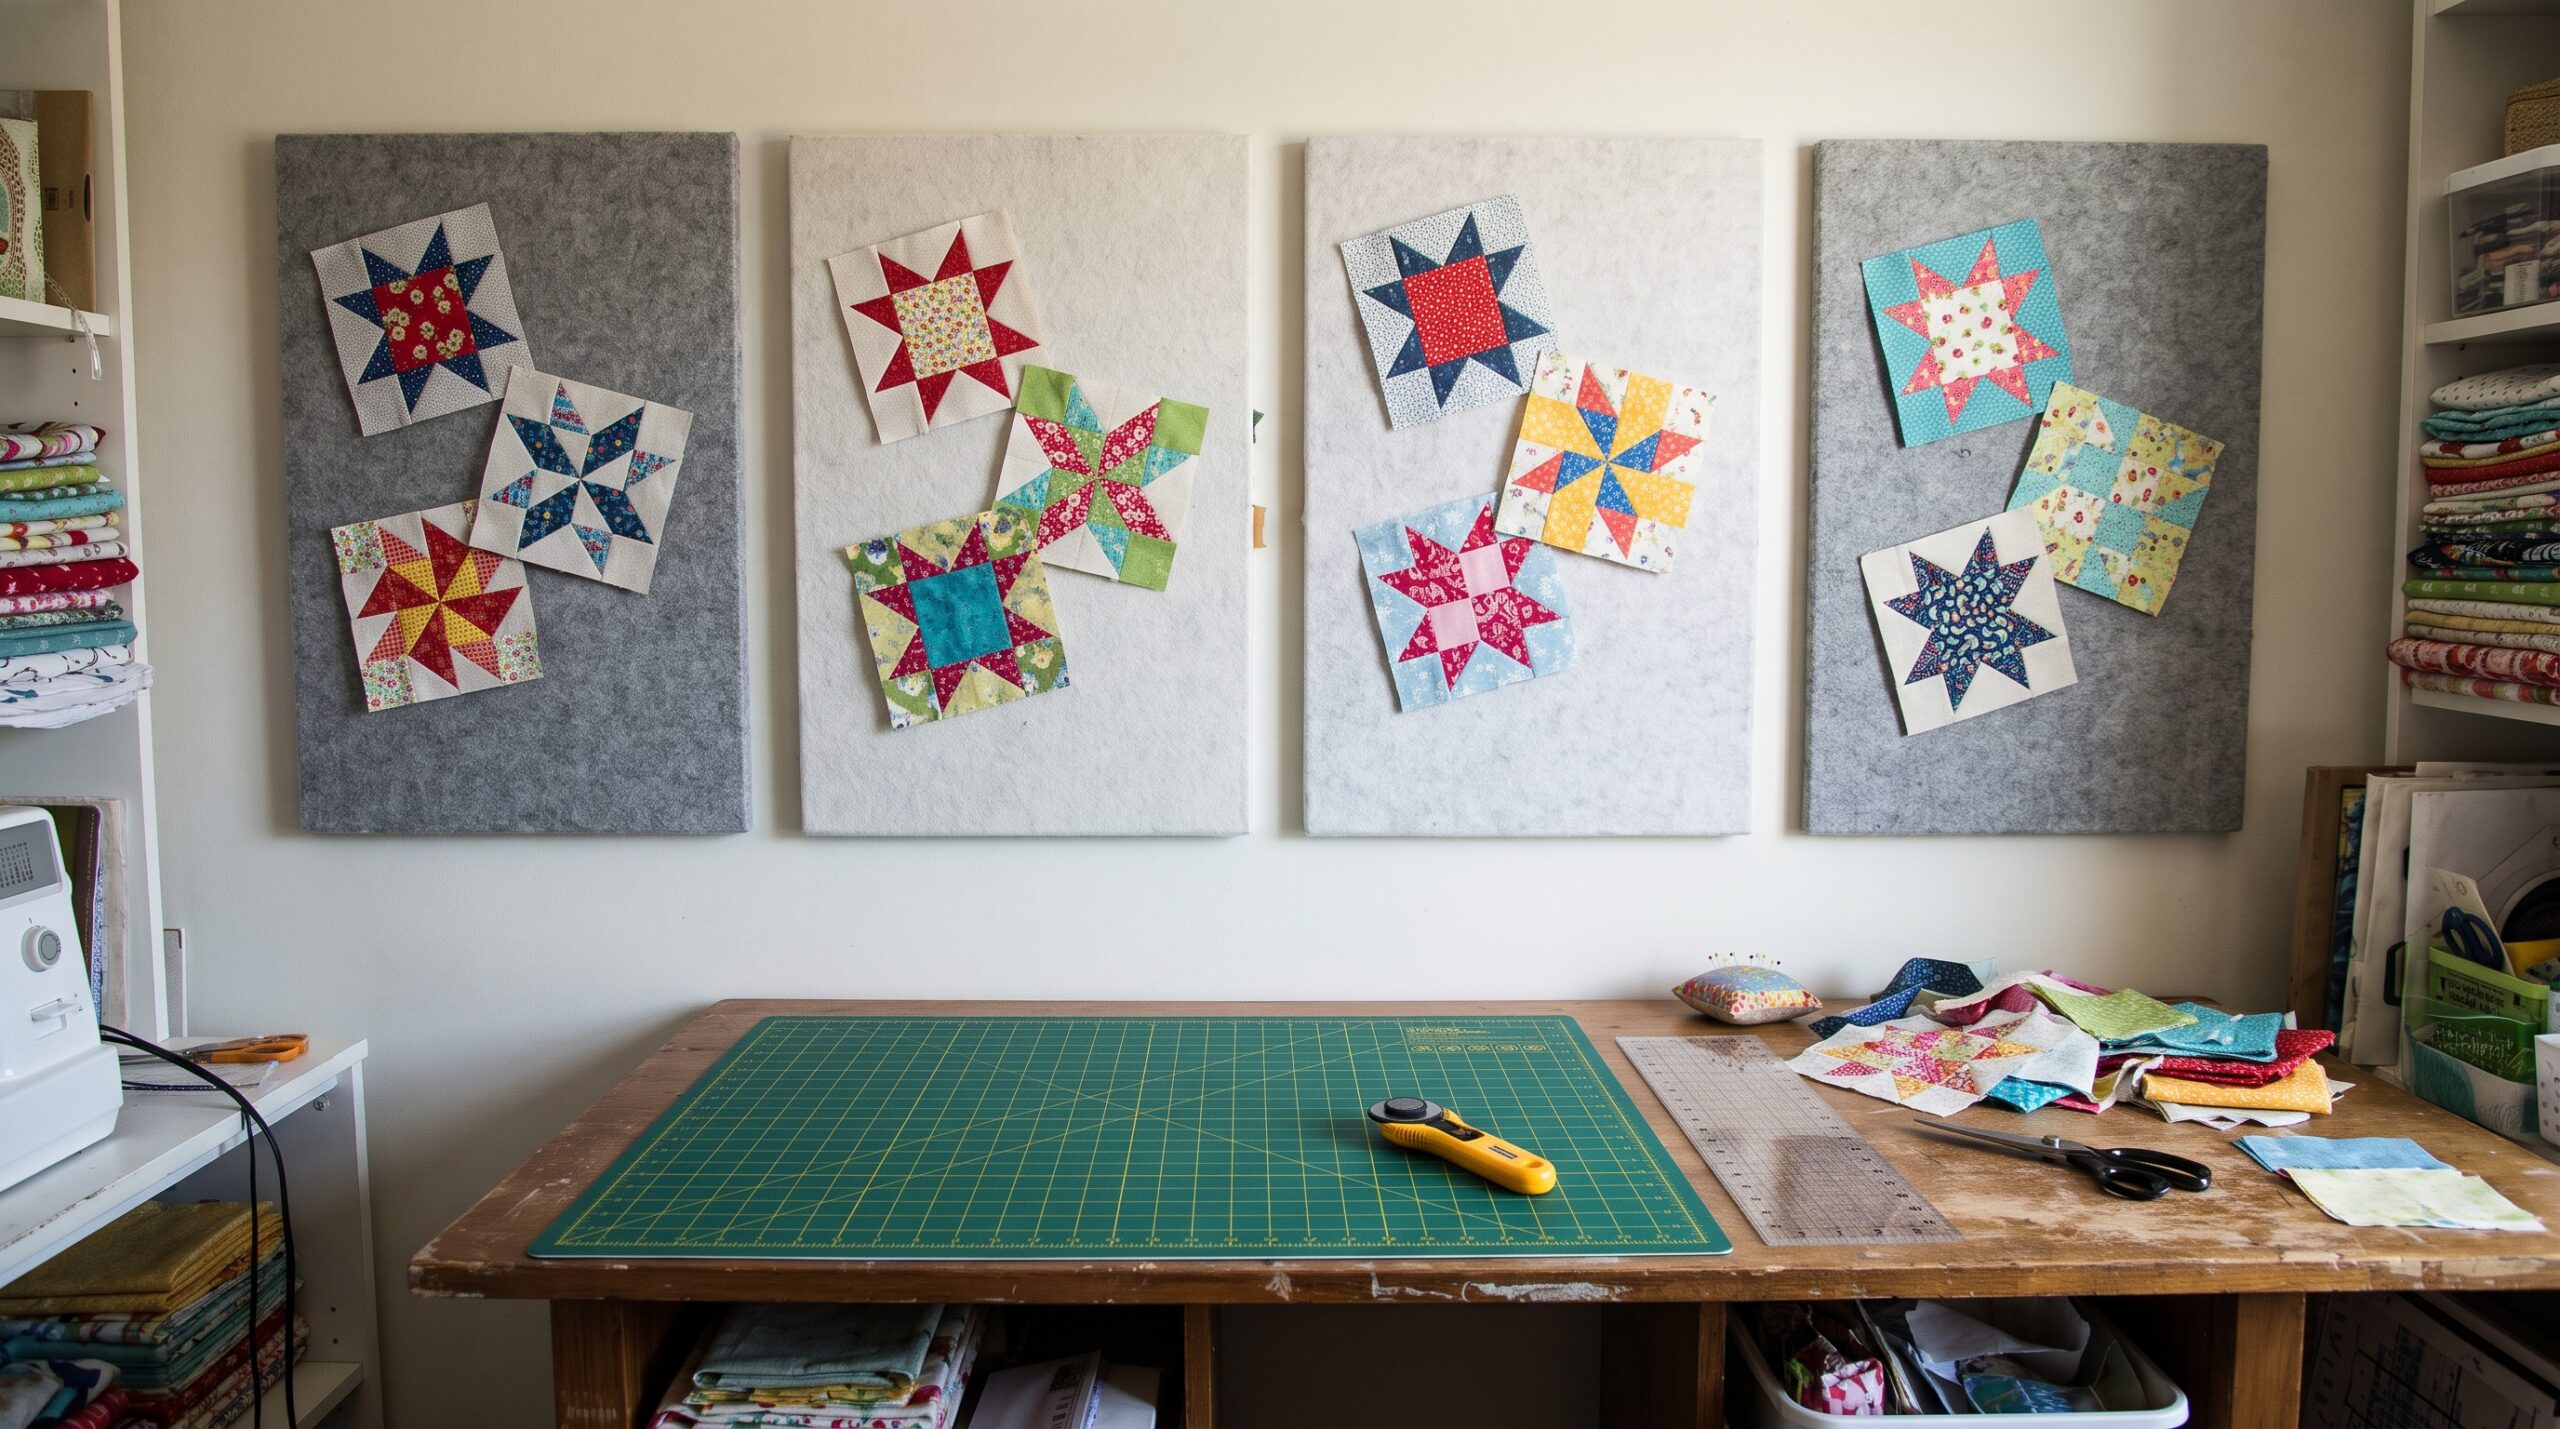
- Cut the foam boards. Score with a utility knife and snap them to size. Two or three boards side by side make a full wall.
- Cover each board. Lay the board on your batting, flannel or felt, wrap the fabric around the edges and fix it on the back with spray adhesive, duct tape or staples. Pull it taut but do not stretch it.
- Butt the boards together. Line them up edge to edge so the seams are as tight as possible.
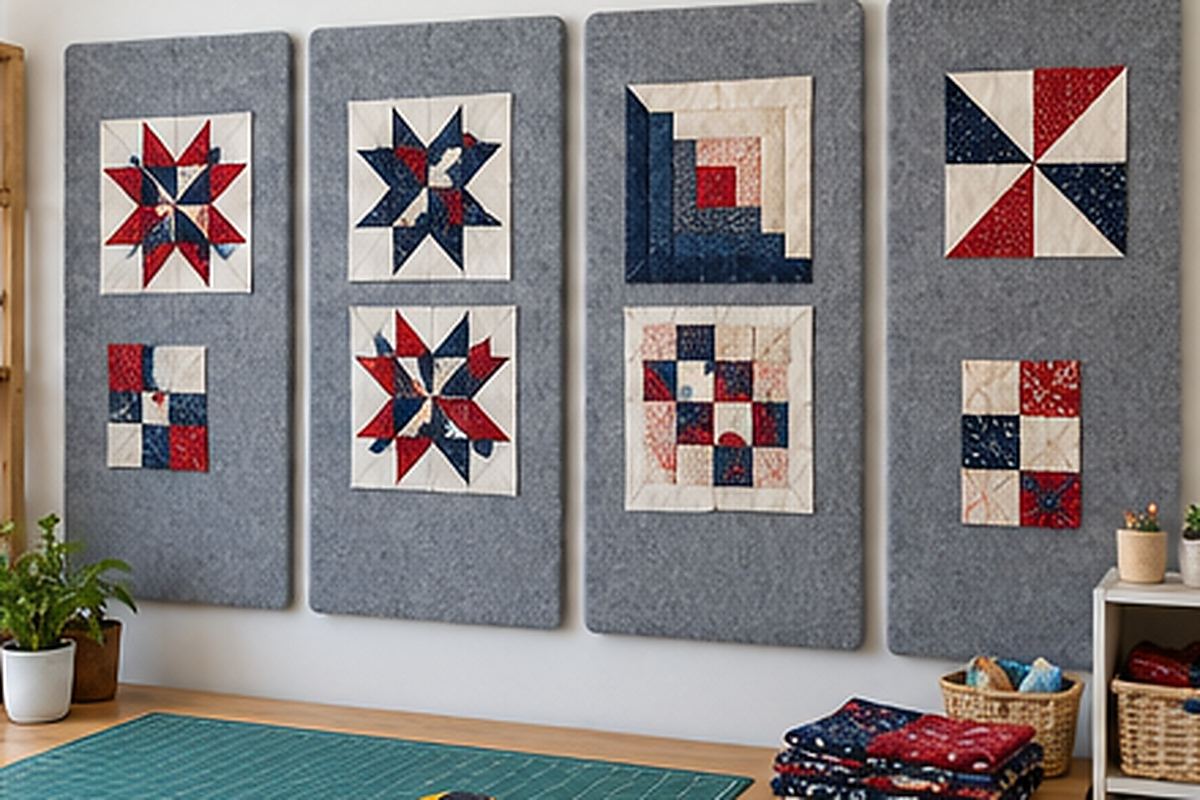
- Mount them. Use removable mounting strips, or lean them on a ledge or shelf behind your sewing table.
Good for: a permanent sewing room. Downside: boards are bulky to store, and seams between them break up the surface.
How to add grid lines to your design wall
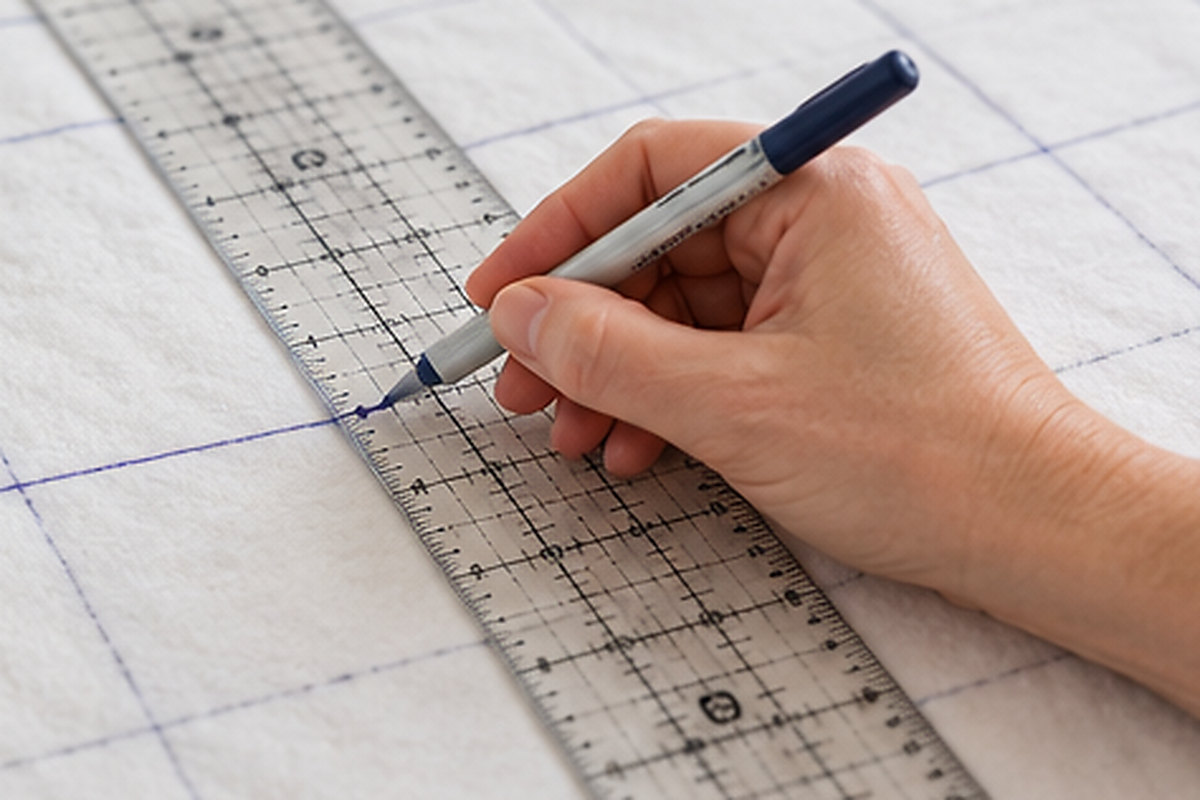
A grid makes it much easier to square up rows and keep block spacing even. On flannel or felt, mark lines every 2 or 6 inches with a long ruler and a fine permanent fabric marker. Test the marker on a scrap first, since some bleed on felt. On batting, a grid is hard to draw cleanly, which is one reason many quilters switch to flannel later.
Tips for getting blocks to stick
- Press blocks before placing them. Flat blocks cling better than wrinkled ones.
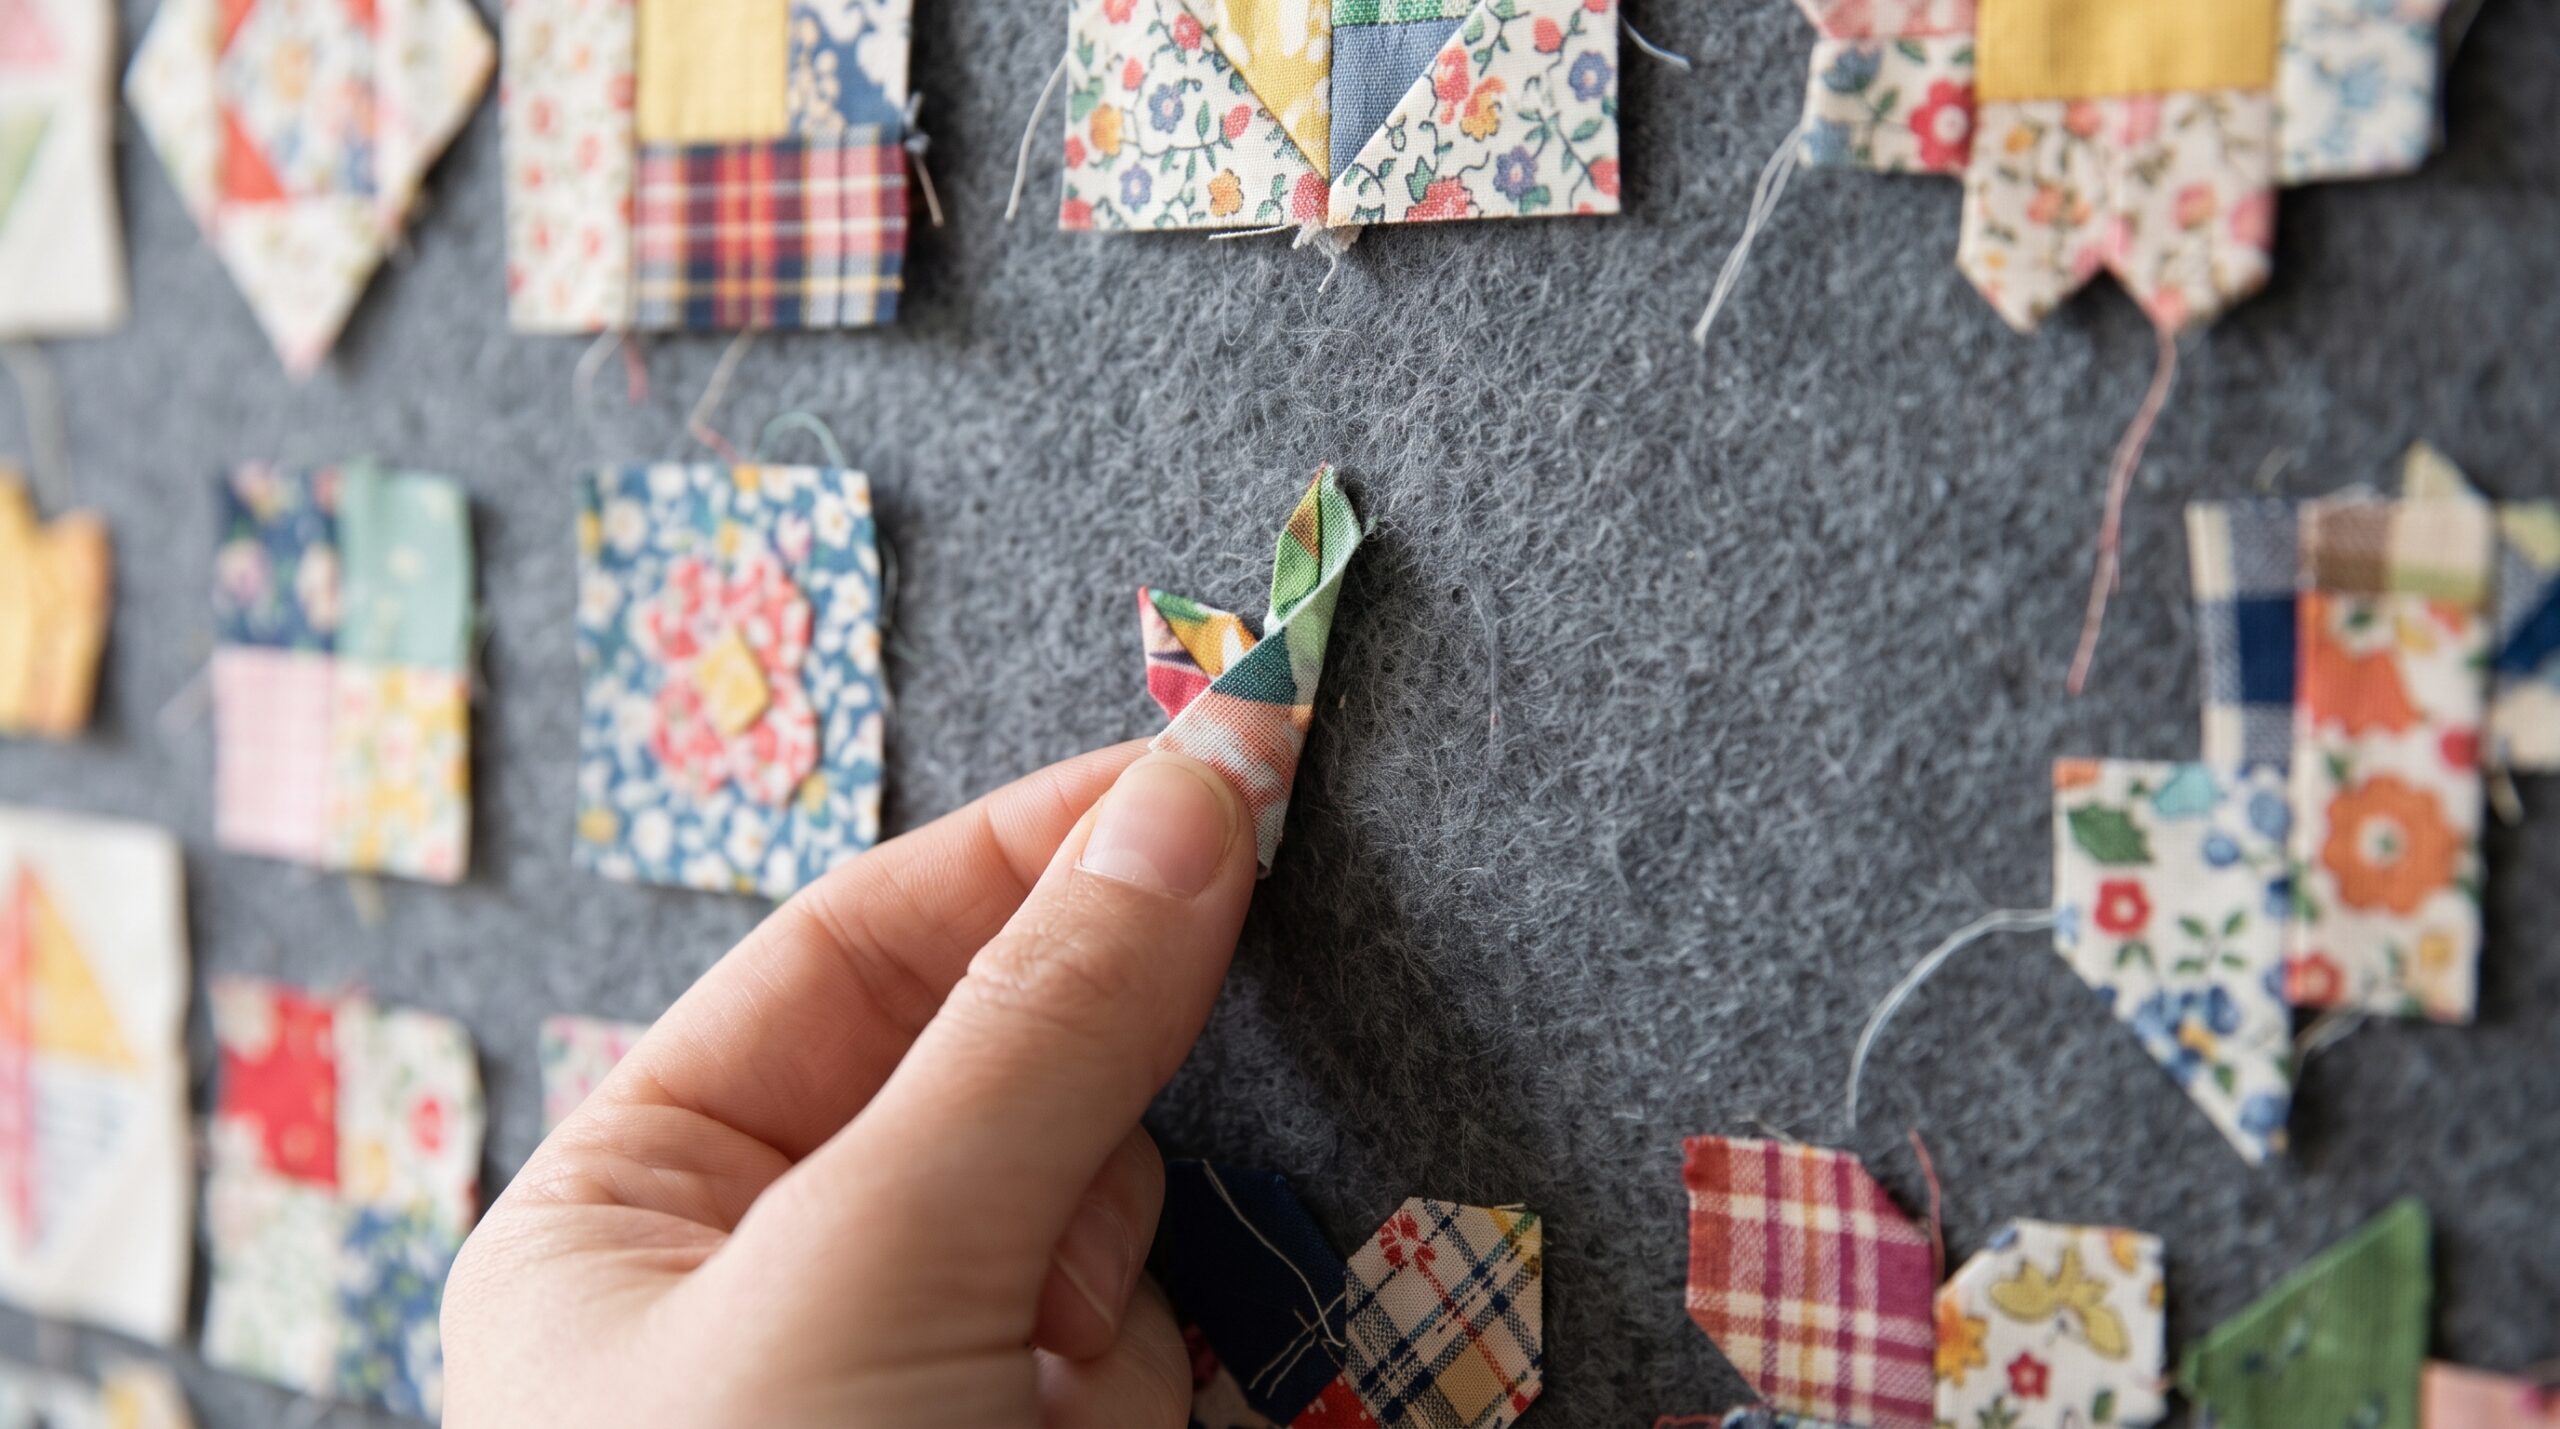
- Smooth blocks on with a flat palm rather than just touching them to the wall.
- Lint-roll the wall regularly. Built-up threads reduce grip.
- Pin only what slides. On a foam board wall, a pin through a heavy finished block into the foam keeps it in place.
- Take a photo of the layout. Viewing it on your phone, or in black and white, shows value contrast you might miss in person.
DIY vs ready-made: which is right for you?
| DIY design wall | Ready-made design wall | |
|---|---|---|
| Cost | Lowest, especially with batting | Higher up front |
| Time | An afternoon of cutting and mounting | Hang it and start |
| Grip | Batting fades as it sags; flannel holds well | Made for quilting fabric |
| Grid lines | Drawn by hand | Printed and straight |
| Storage | Foam boards are bulky | Rolls up or comes apart |
A DIY wall is a great way to find out how you like to work. If you would rather skip the cutting and taping, or your homemade wall has started to sag, a ready-made wall gives you a straight grid and a surface built to hold fabric. Our quilt design wall is a 60″ x 72″ flannel wall with grid lines. For more space, the large quilt design wall hangs from grommets, and our quilt design wall tiles give you portable boards for small rooms. If you are comparing materials, read our guide to the best quilt design wall, where we put flannel, felt and tiles side by side.
Frequently asked questions
How do you make a quilt design wall cheaply?
Tape a piece of cotton or polyester batting to a clear wall with painter’s tape. It costs very little and needs no tools, though it will sag over time.
What is the best material for a DIY quilt design wall?
Flannel grips cotton blocks best and lasts longer than batting. Felt is a good choice if you work with small pieces, since they peel off easily.
Can you make a design wall without damaging the wall?
Yes. Use painter’s tape, removable adhesive strips, a tension rod in a doorway, or foam boards leaned on a ledge. None of these need nails or screws.
How big should a DIY quilt design wall be?
Aim for about 60″ x 72″ so you can lay out a throw or lap quilt in full. For bigger quilts, lay out one half or one quarter at a time.
Why do my blocks fall off my design wall?
Usually the surface has lost its nap or is full of lint, or the blocks are heavy with seams. Lint-roll the wall, press the blocks flat, and switch from batting to flannel if the problem keeps coming back.